
Projects » HOTD 2 Repair + Semi-Conversion

HOTD 2 Repair + Semi-Conversion

HOTD 2 Repair + Semi-Conversion
StatusActive
StartedJan 5, 2026
Last updateNov 2, 2026
Updates6

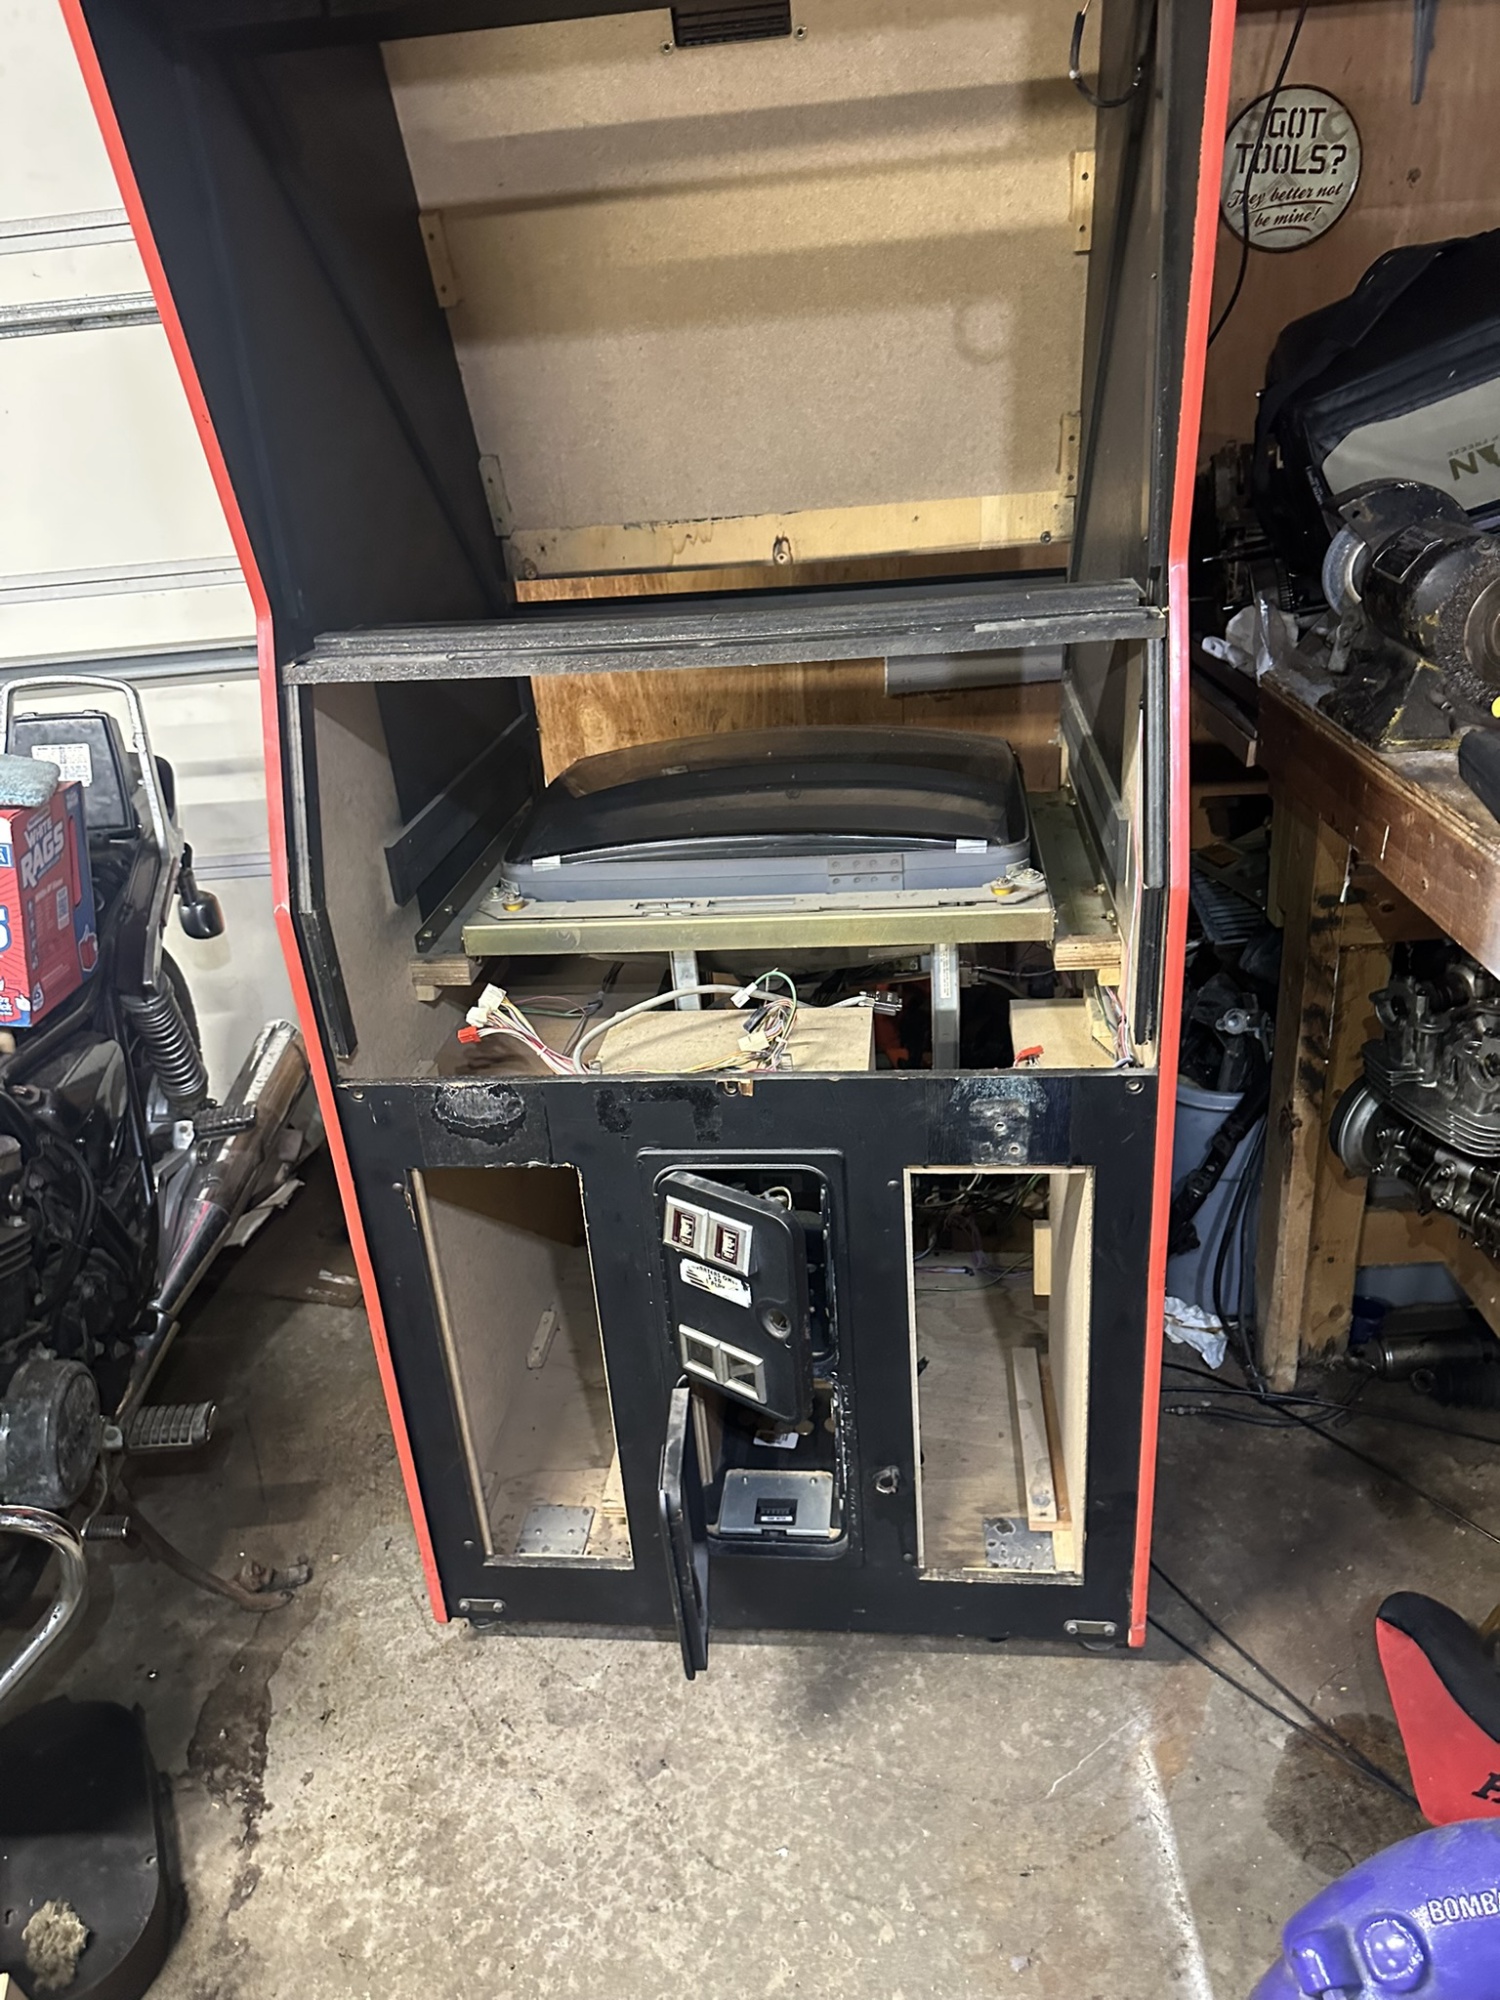
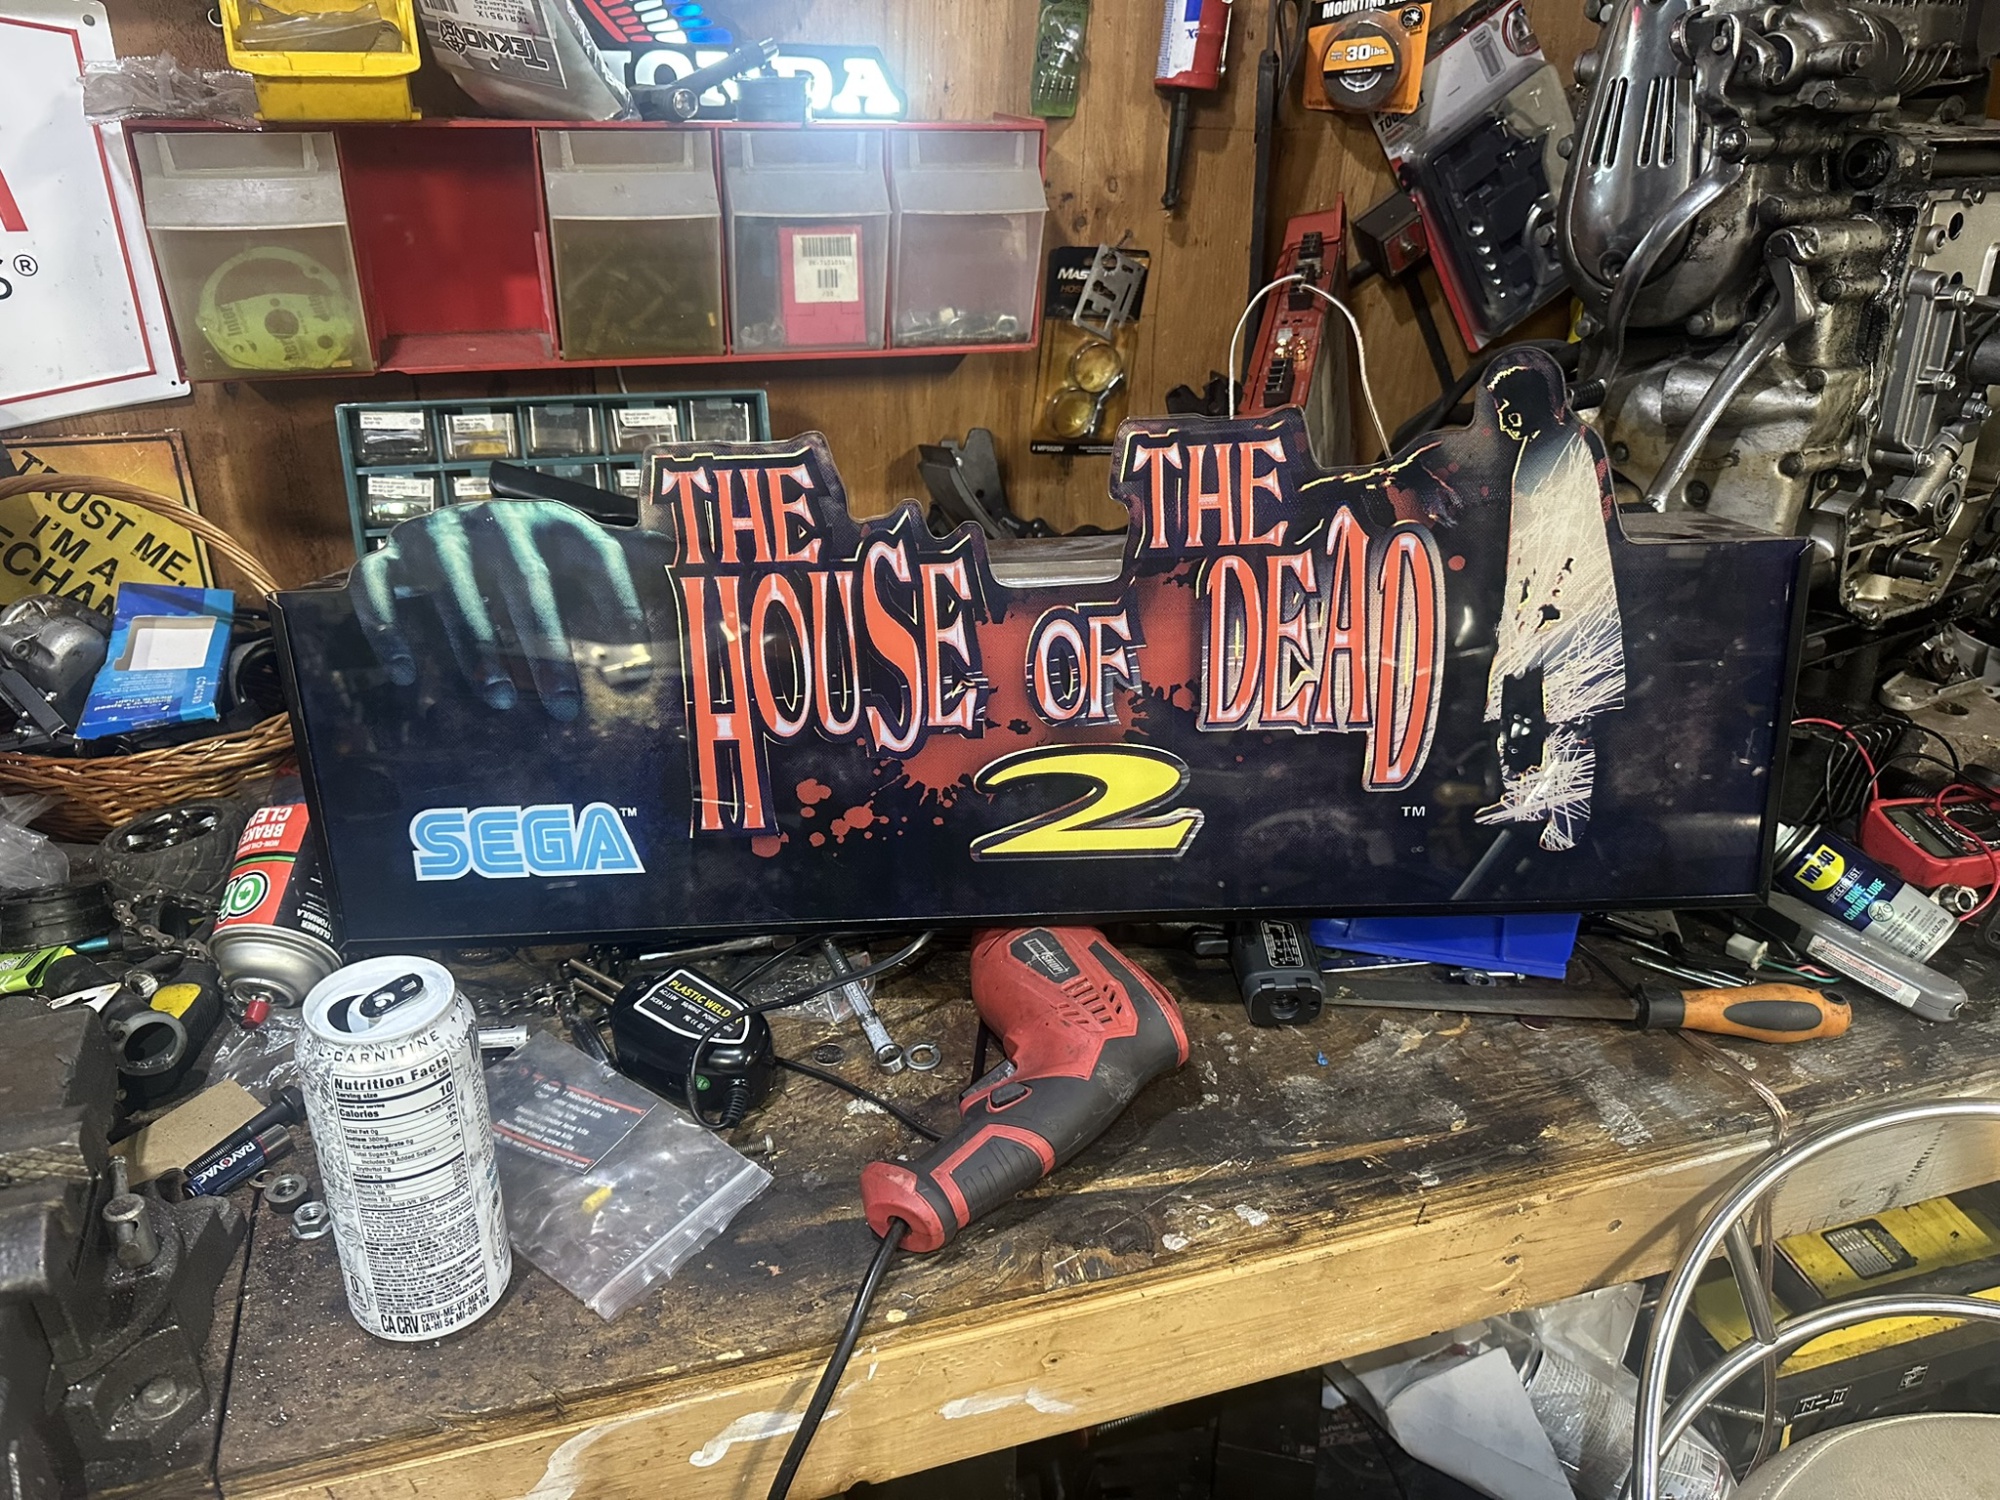
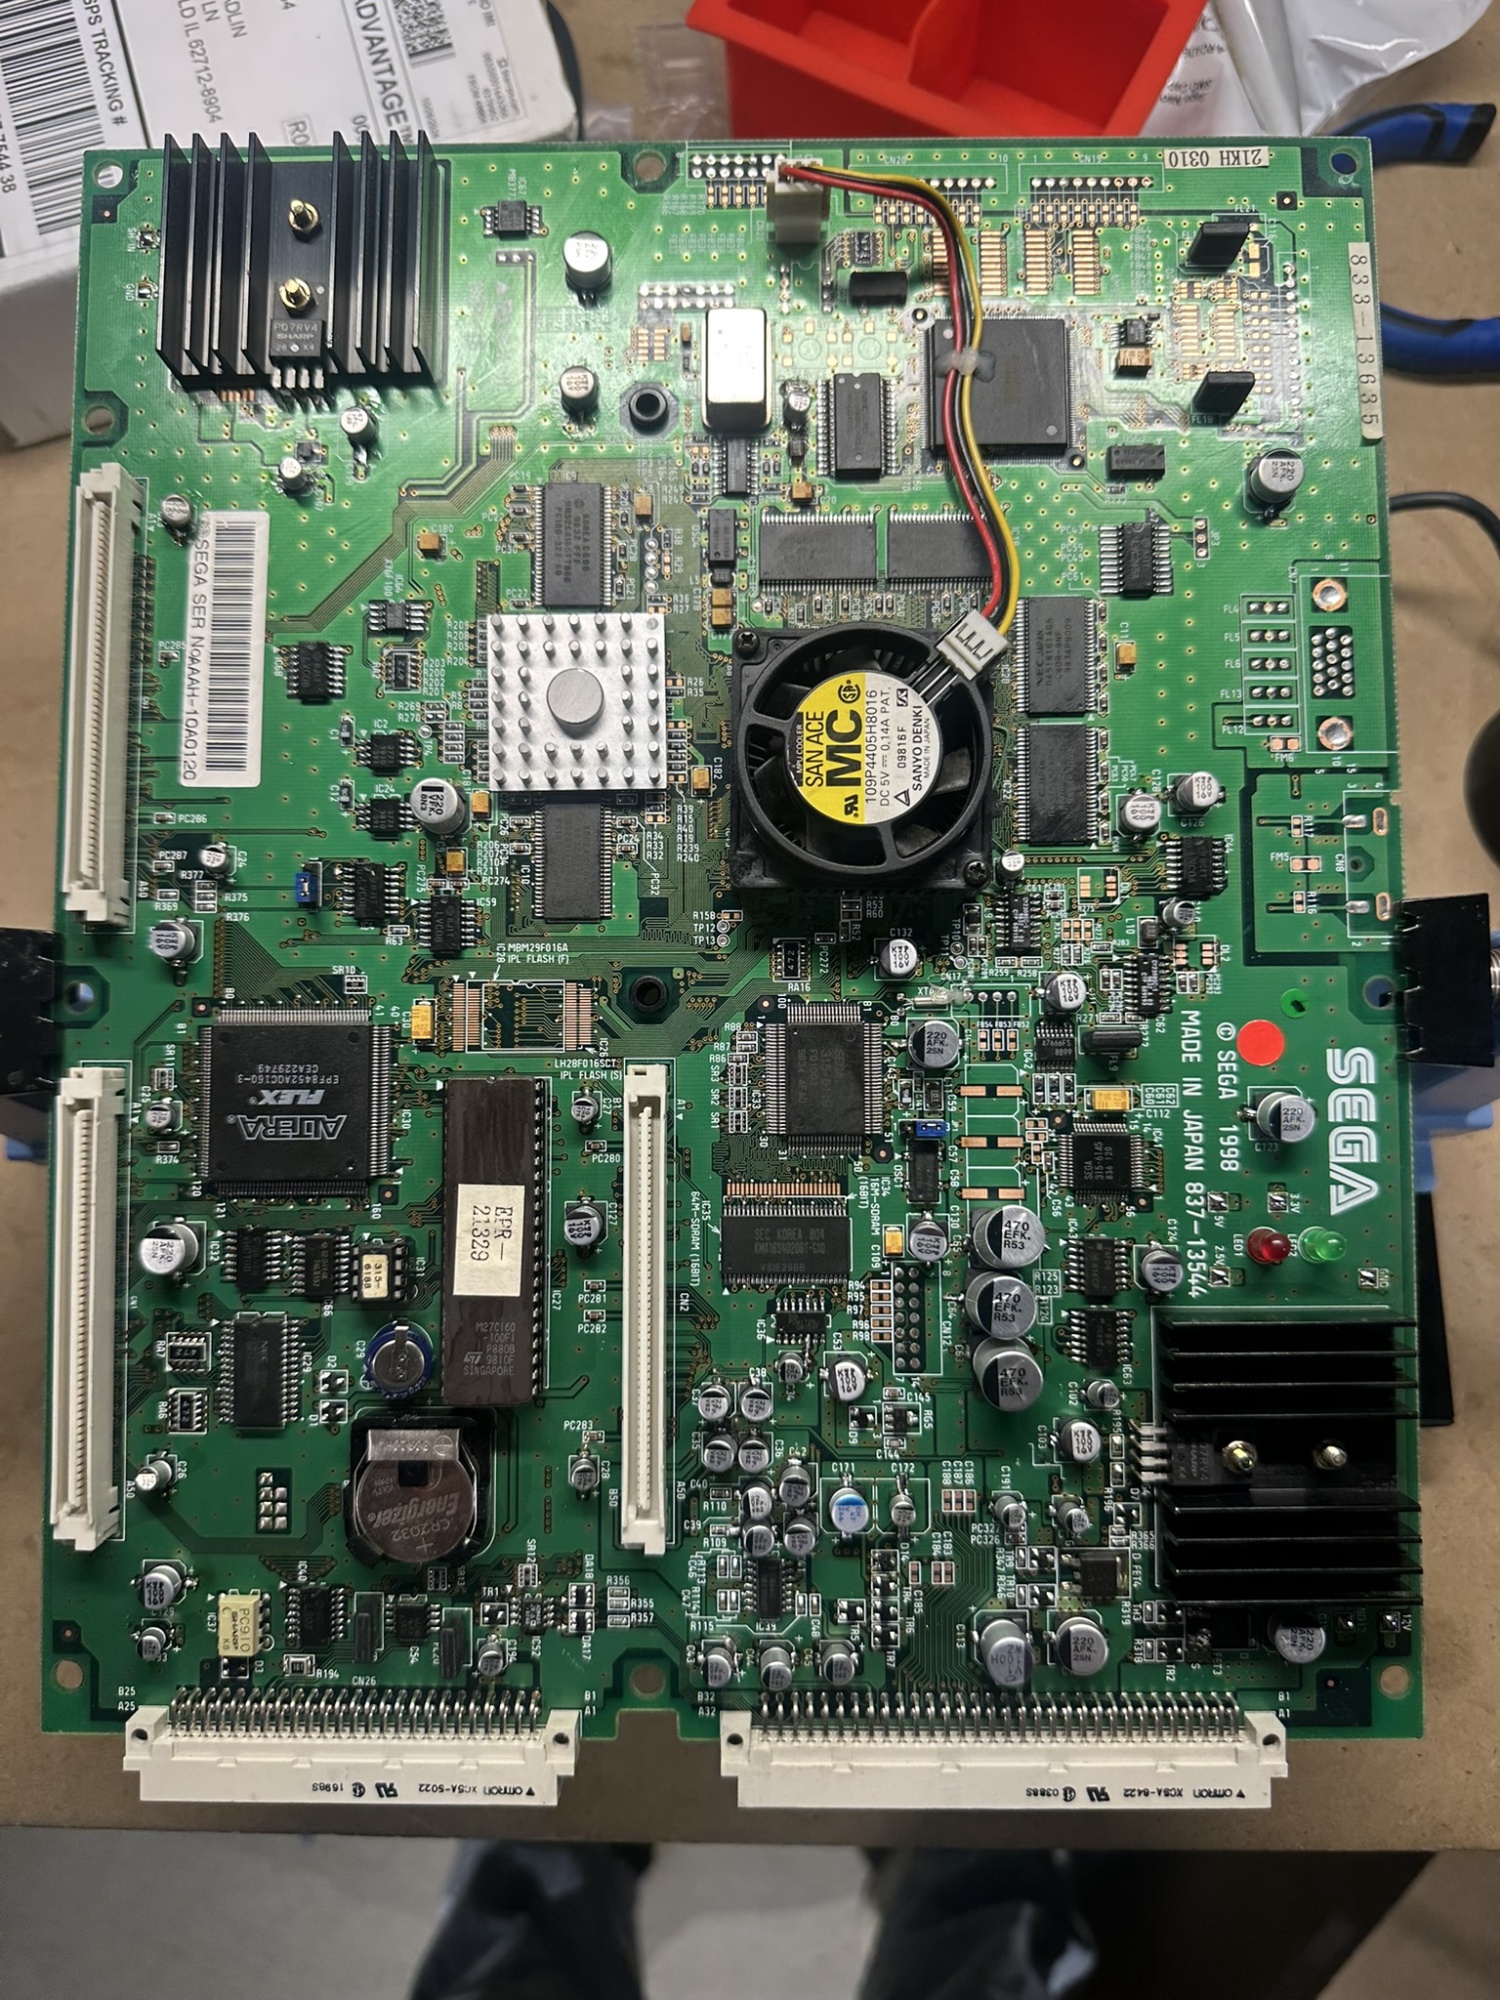
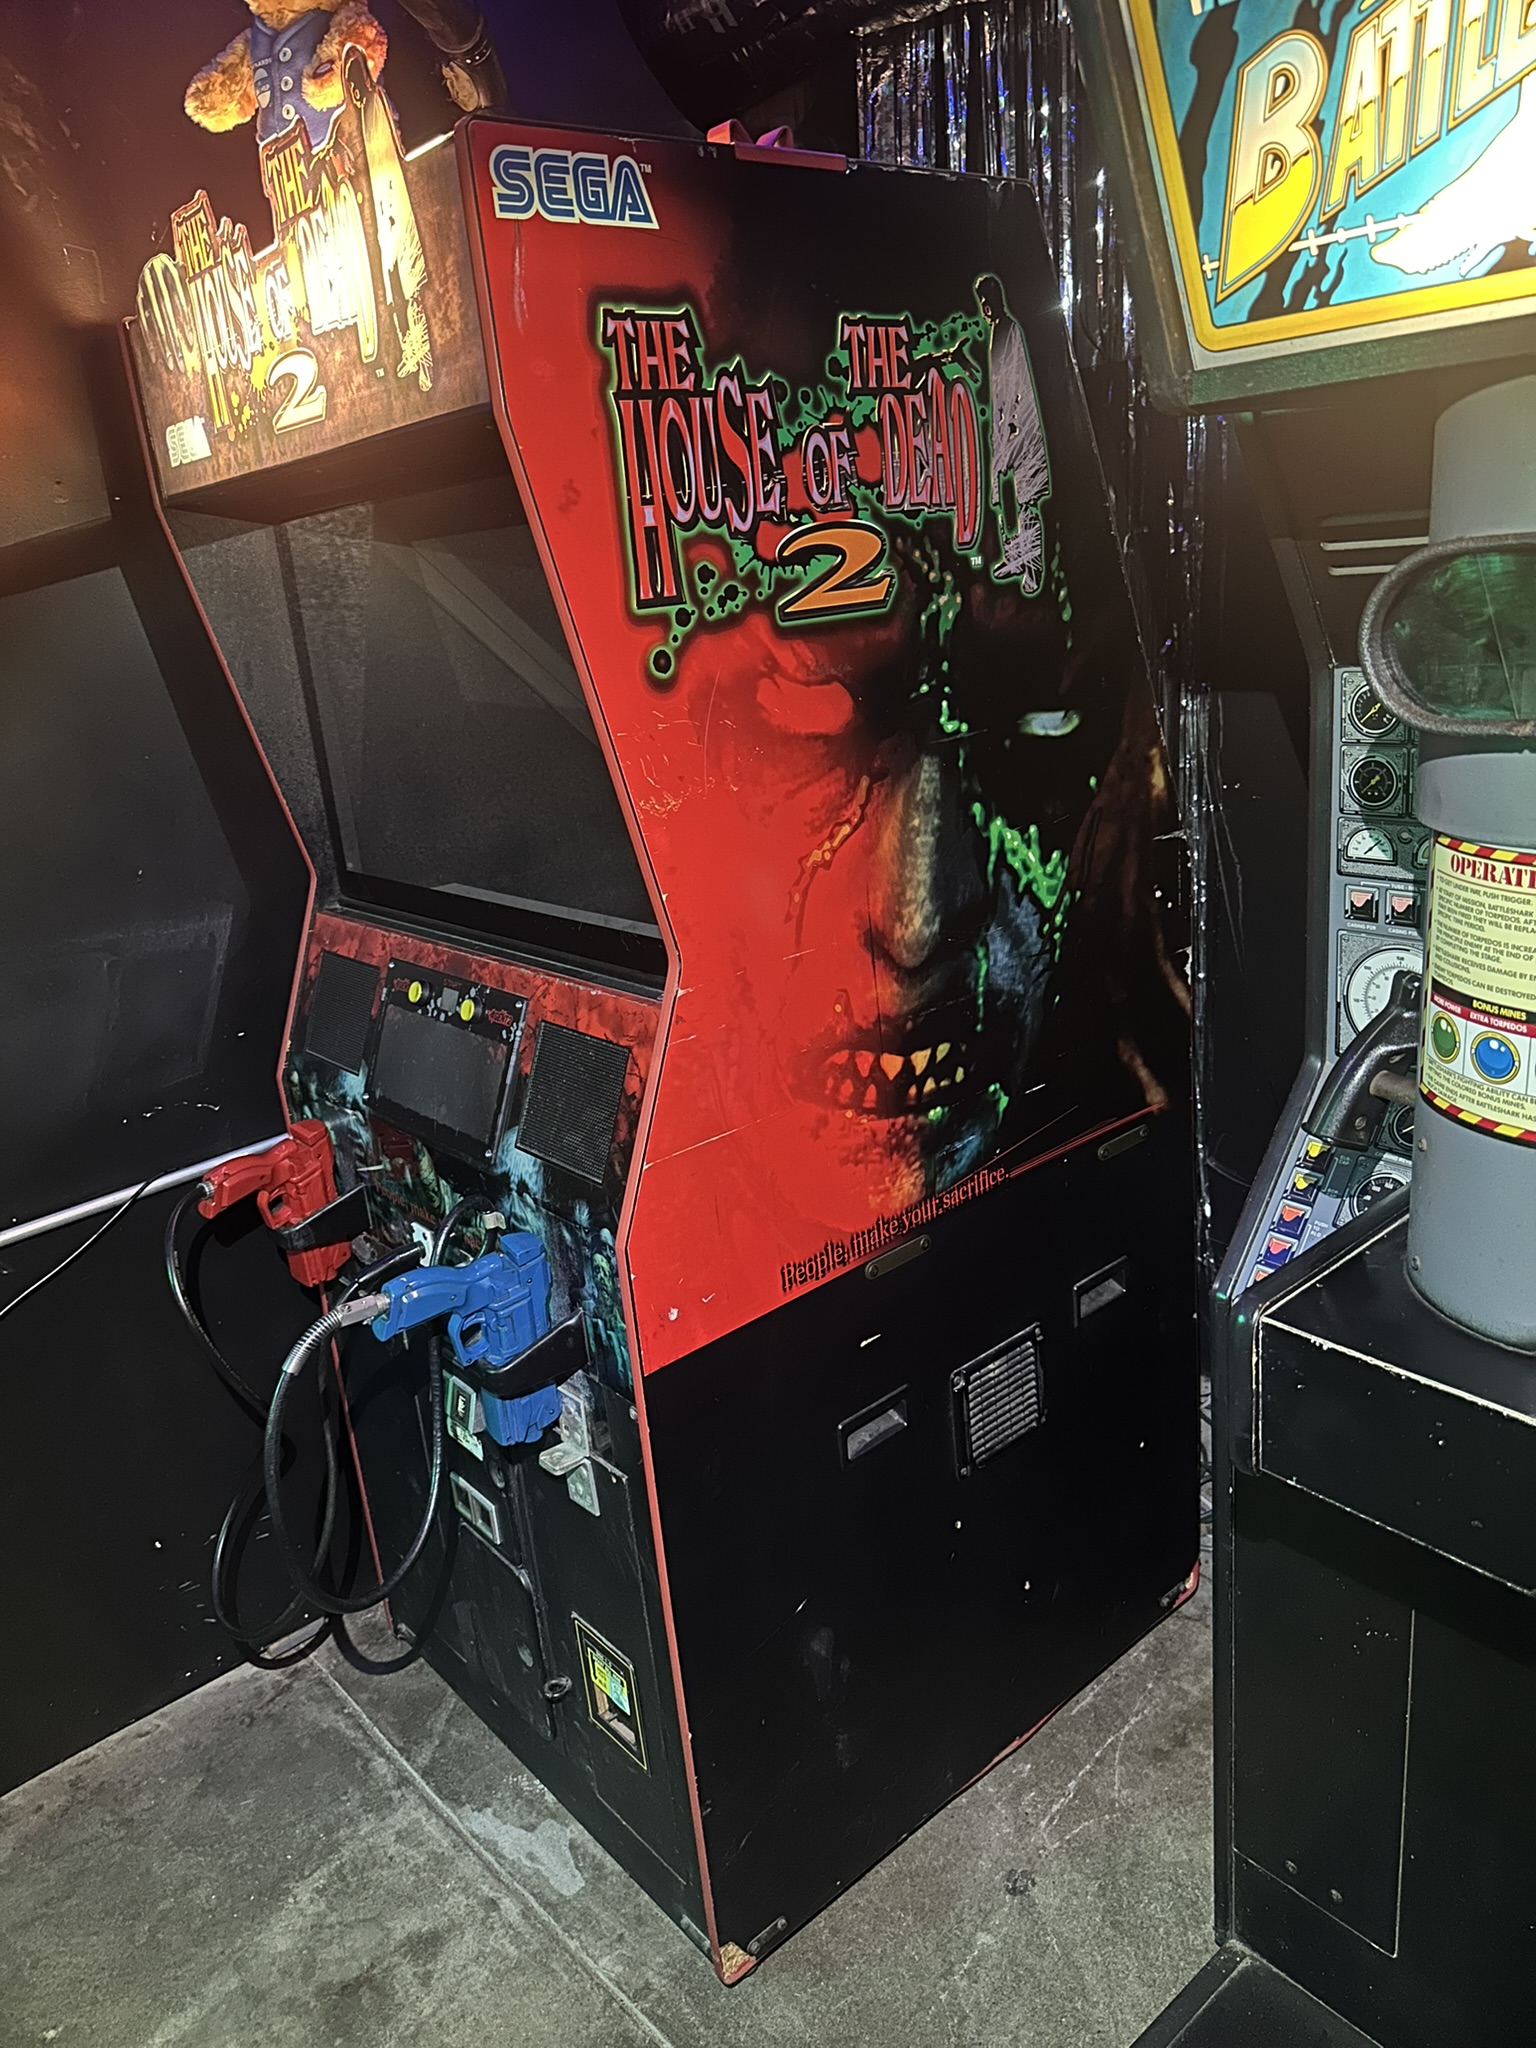
I was graciously given this House of the Dead 2 Arcade cabinet for free by one of my local arcades (Thanks Jeff!!!) with the caviet that it appears the Naomi board stopped working. First I plan to repair the original cabinet to full working order and as original as possible, then I want to daisy chain in a dedicated unit that will run as an emulation machine for all light gun games, home console and arcade unit alike. Full original HOTD cabinet, full library of all other light gun games. Best of both worlds!

Update Log [6]

Stage 6: Chasing Ghosts Nov 2, 2026

And now we arrive to the real issue at hand, of which I only recalled being a part of the original issue when I was given the cabinet. Before it became completely unresponsive for Jeff, it would sometimes take 3-4 boot cycles to actually get the game to display and/or needed a lengthy warm up time and then a reboot. After the recap, I was now experiencing this same issue. Although in more of my tests no pattern seemed to emerge from what I could see.

In the morning, before I did the deep clean and gun repair in the previous posts, I ran through a few preliminaries and heres what I found:

  • Cold boot after 12 hours, initially started up just fine but froze after 3-4 minutes. Black screen, start button lights stuck solid instead of flashing
  • All fans were running fine and nothing seemed overly hot on the motherboard.
  • Left powered off for 5 minutes, nothing on repower.

After this, I let it sit for awhile as I did my full cleaning and reseated all connectors in the hope that just one was loose or funky which would be causing my issues. Once that was done I reinstalled the board and attempted boot again, but no luck. I let the board sit for awhile as I ran out to do a repair job and picked it back up when I came back about 4 hours later. 

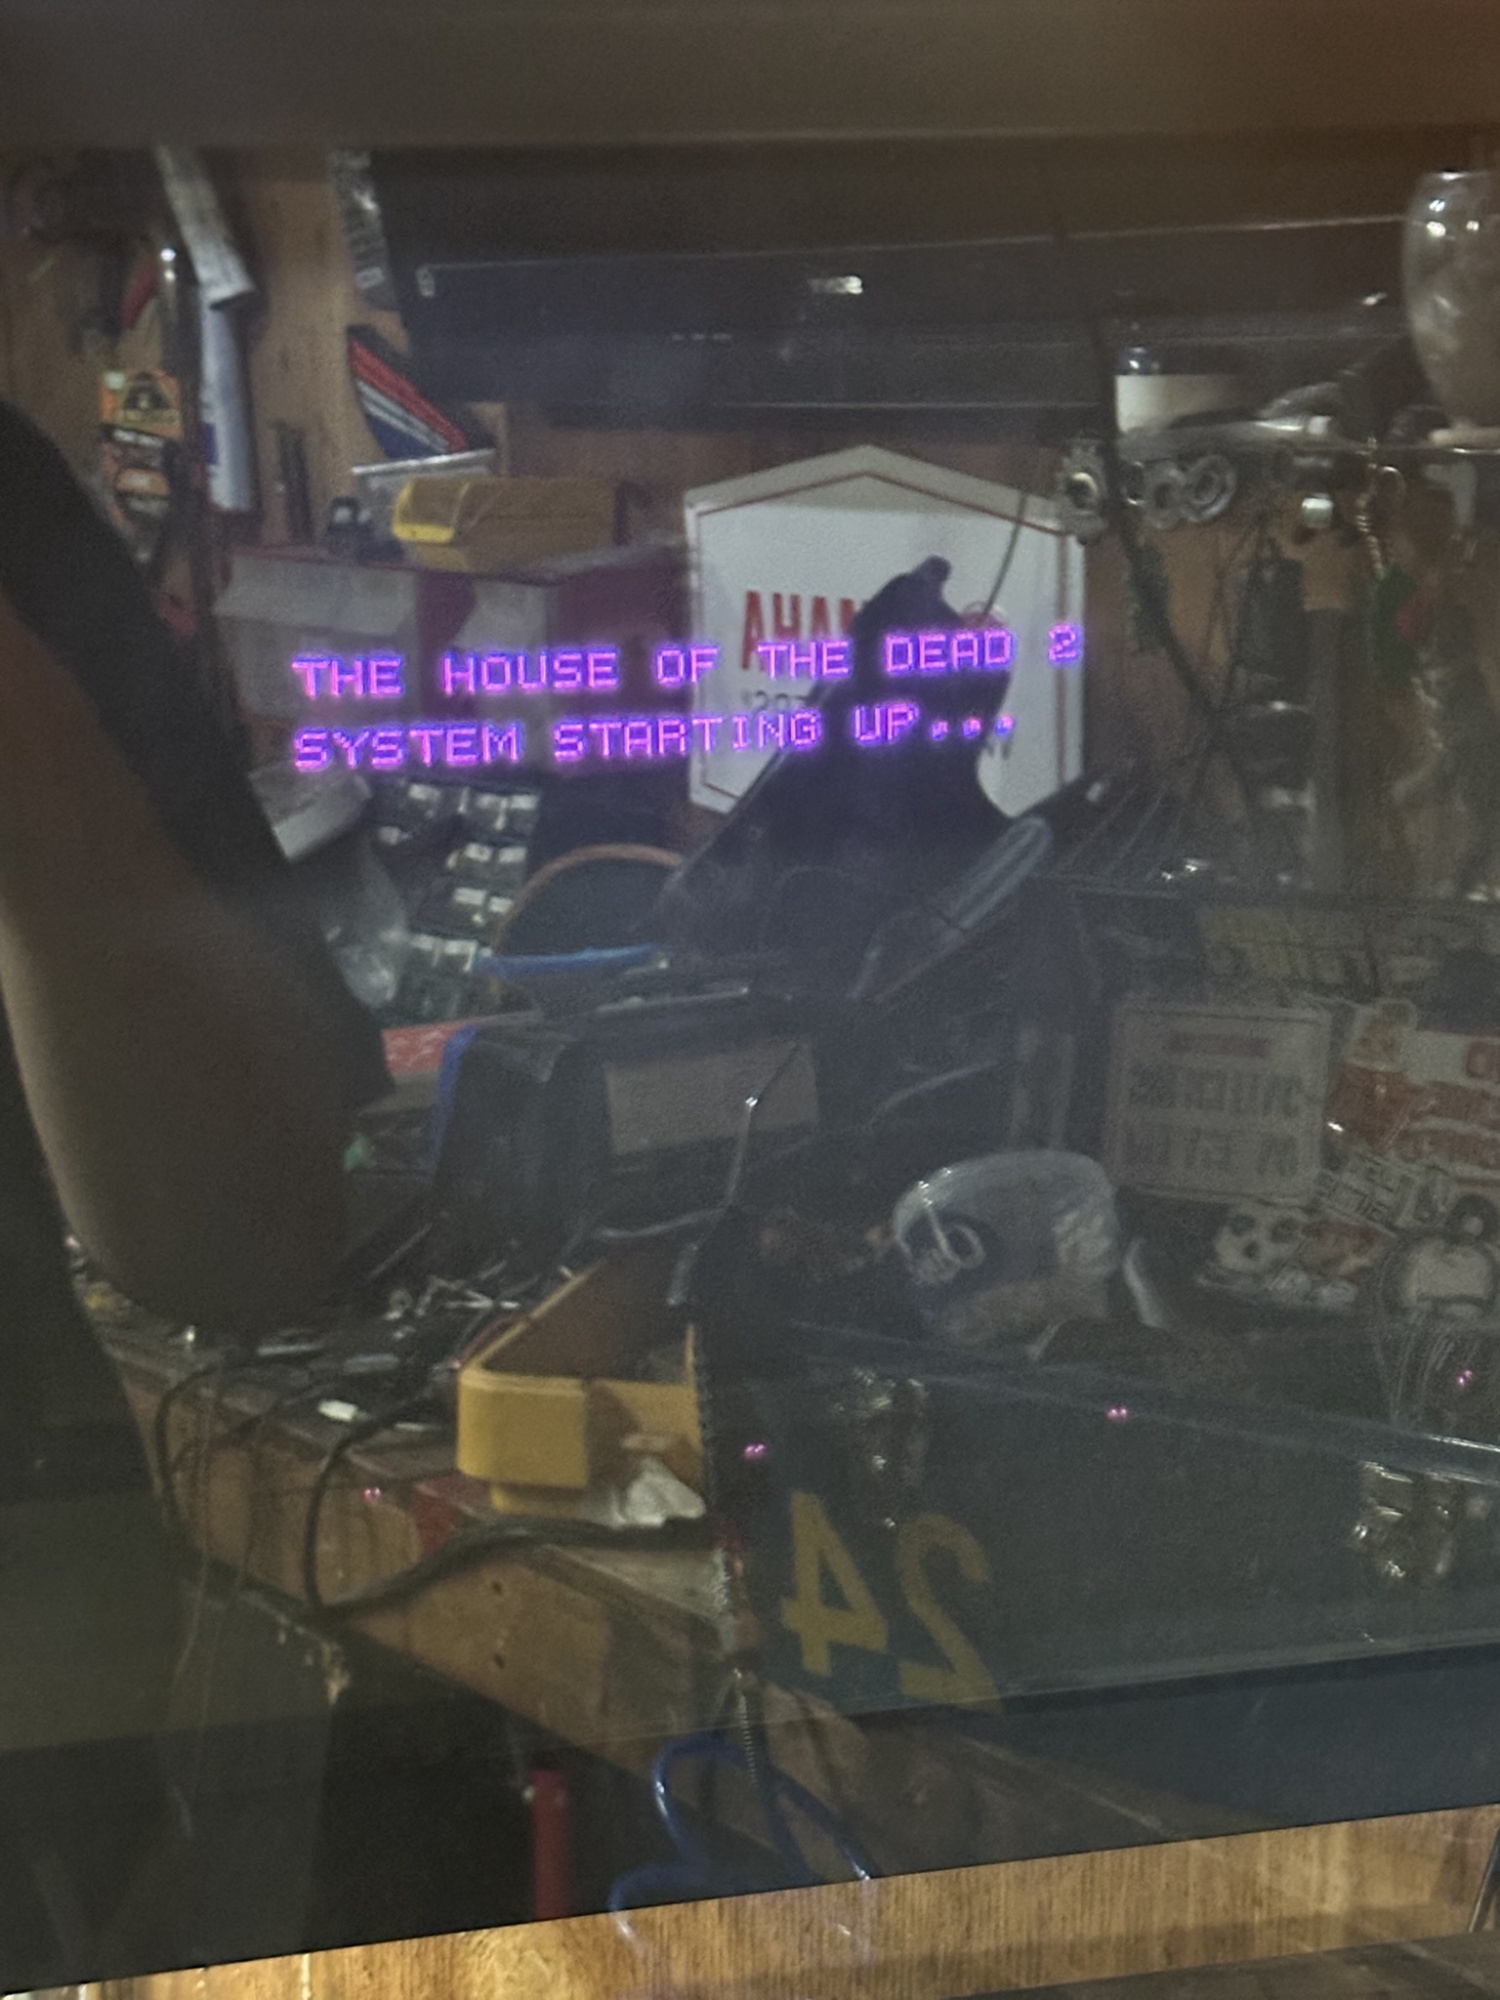
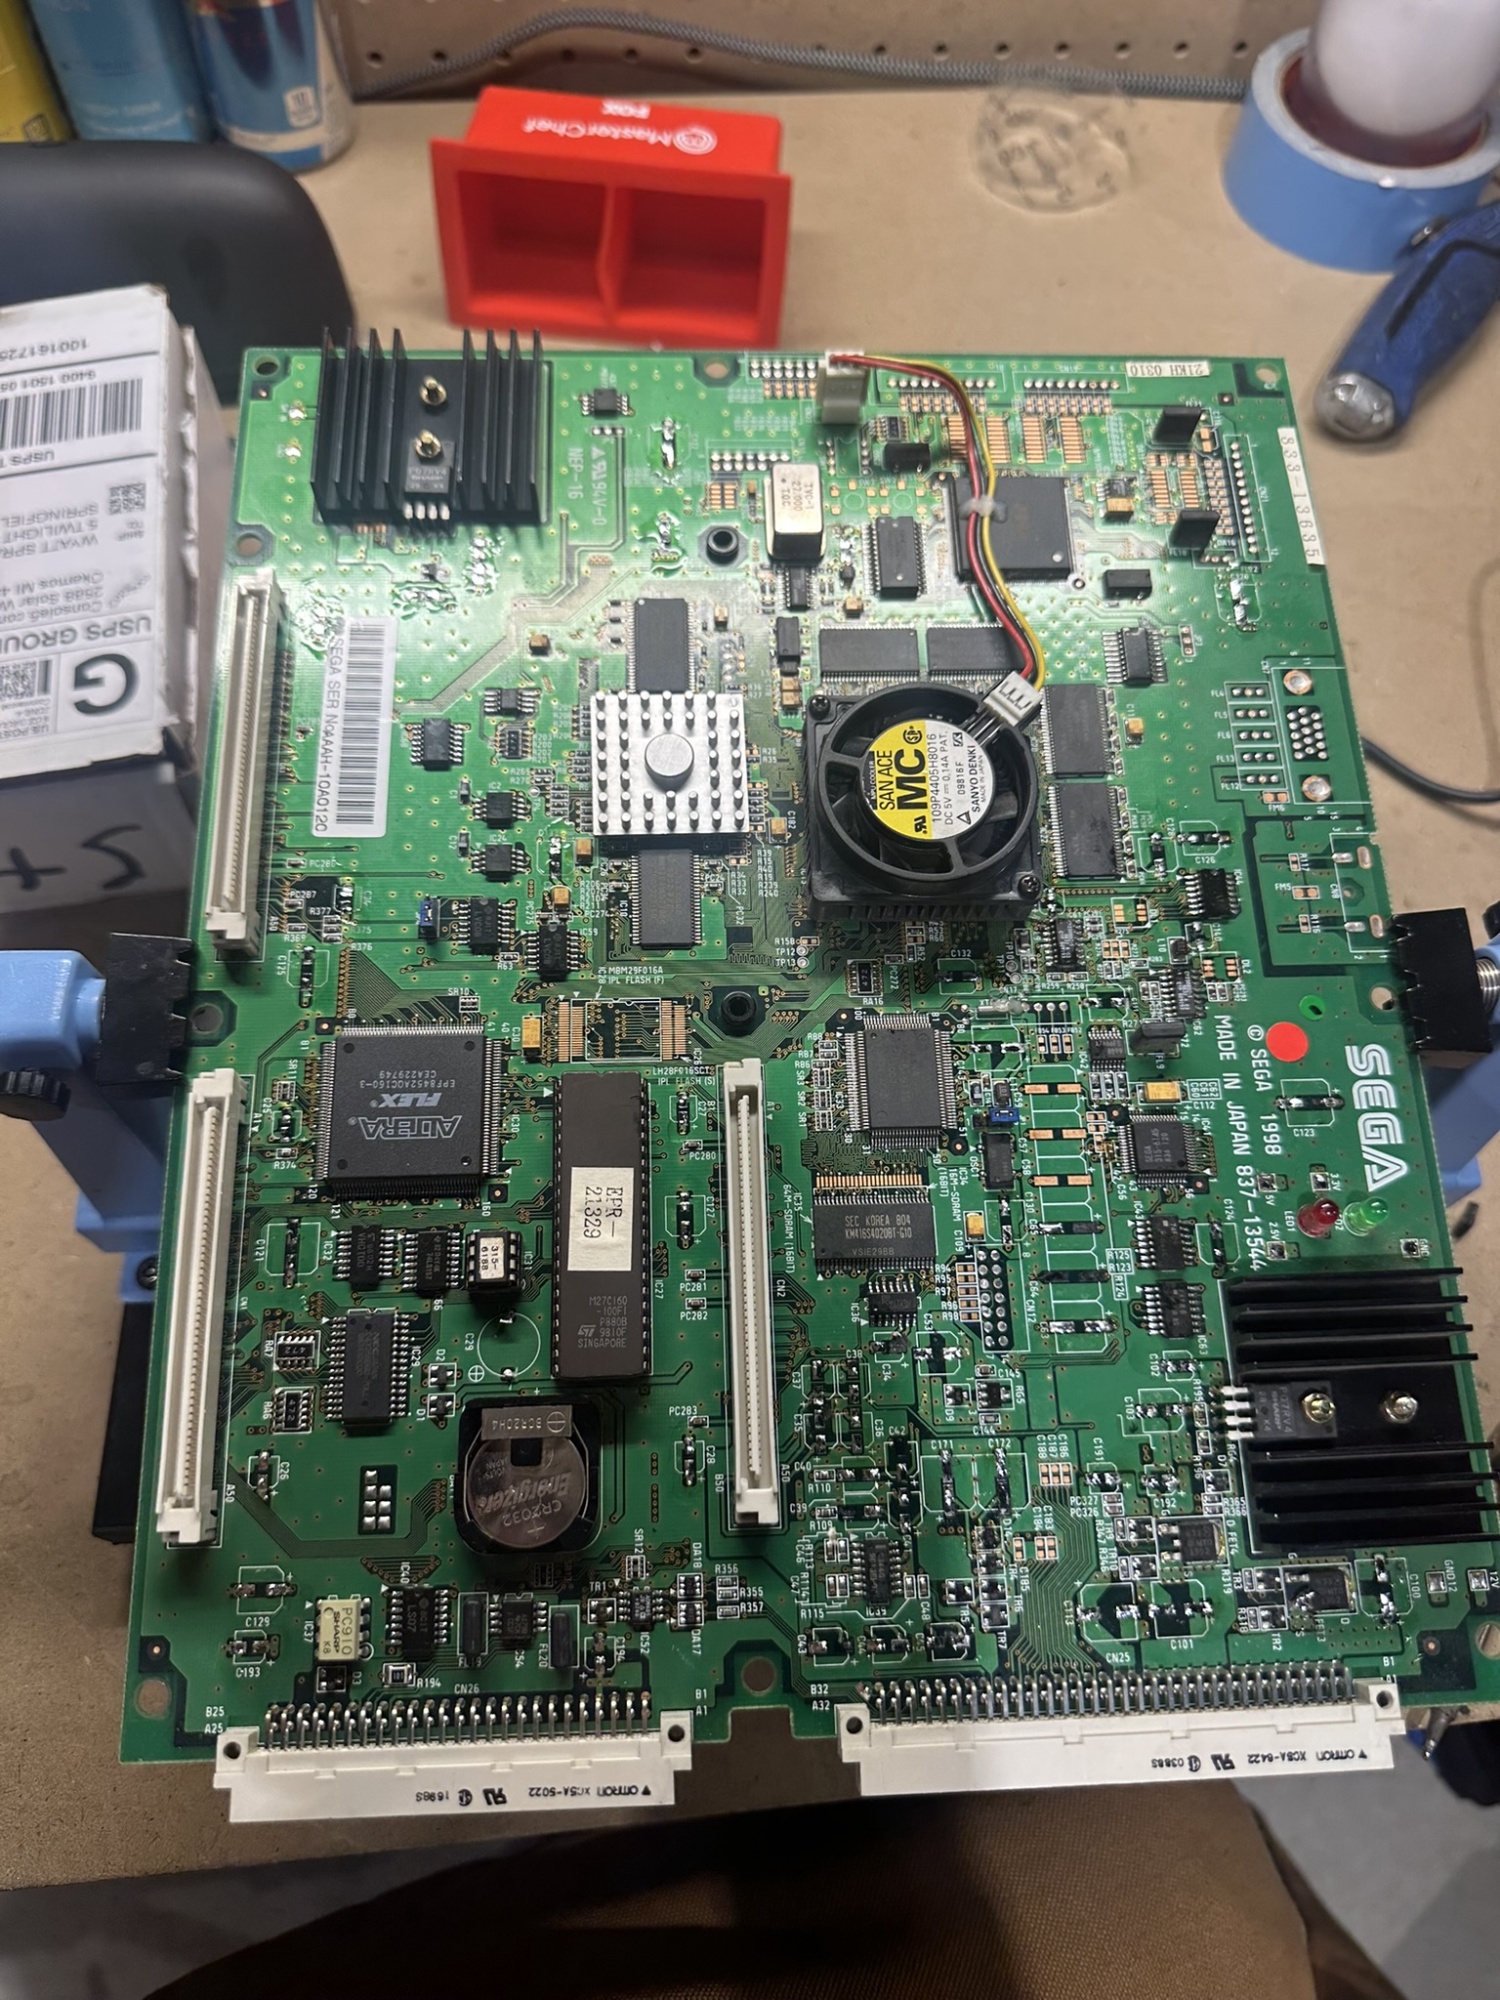
Doing a sanity check, I ran a few boots without the game cartridge inside to see if I could get a bios screen, more on that later, but still no response. I wanted to test voltage rails once more time while I had the board sitting in an unresponsive state when suddenly, after about 7 minutes of it sitting at a black screen, it booted into the game. Confused, I continued to run tests including testing the 5 oscillators on the board where it crashed again after about 30 minutes of testing. I kept running test during this and then decided to power cycle it again to run some memory tests if I could get back into the menu. Surprisingly I had an almost 100% boot success rate after this for the rest of the night, almost. 

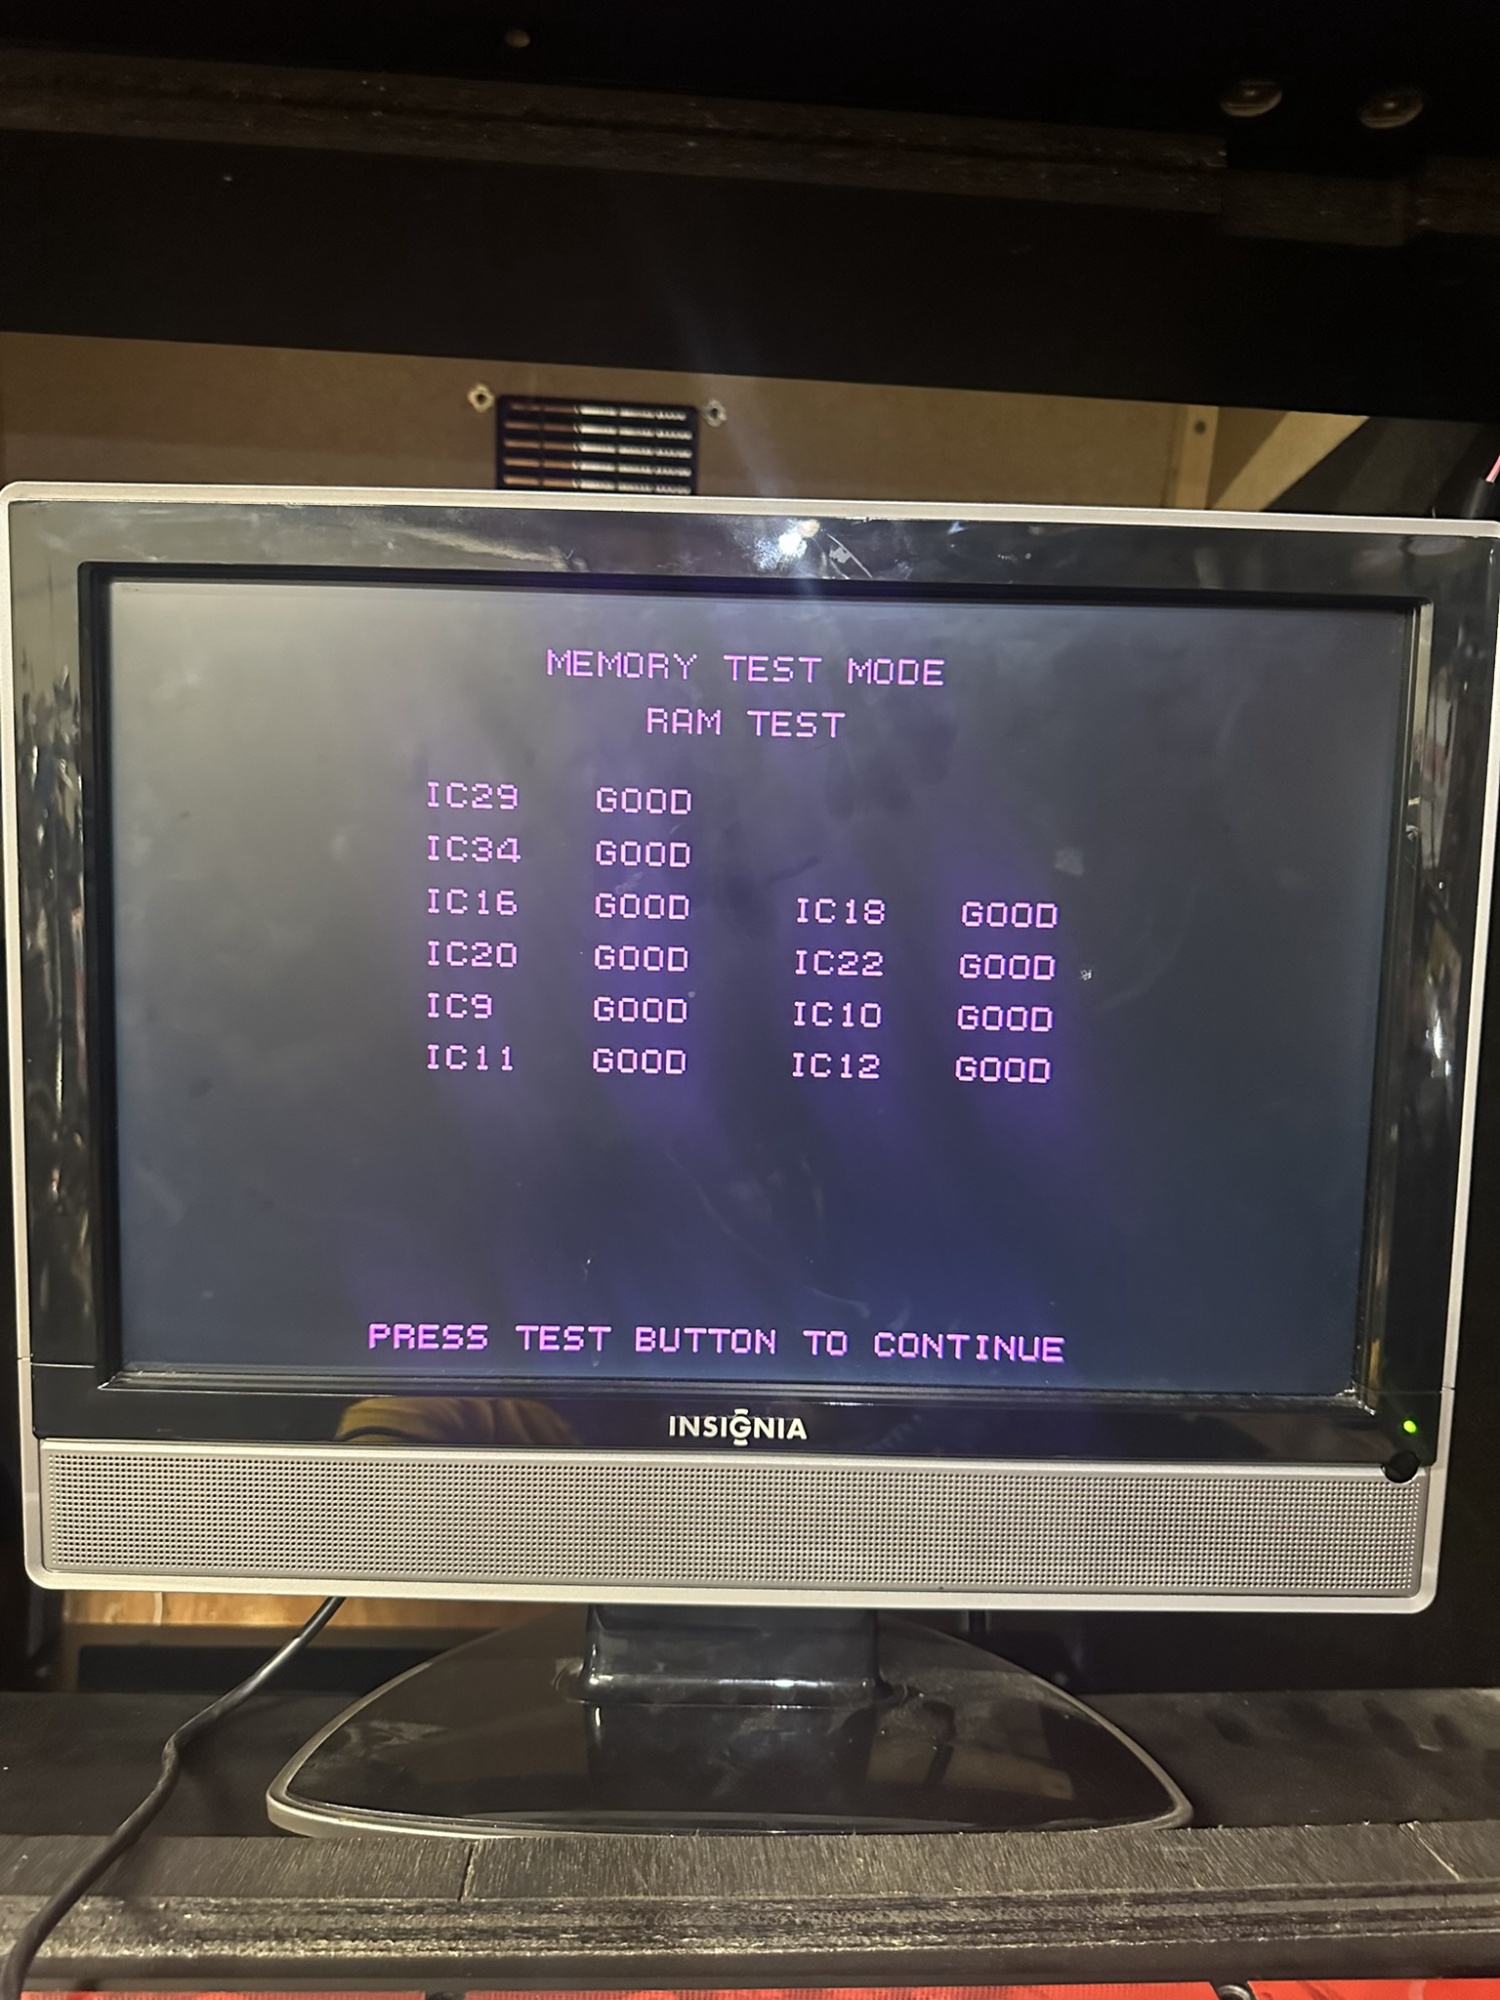
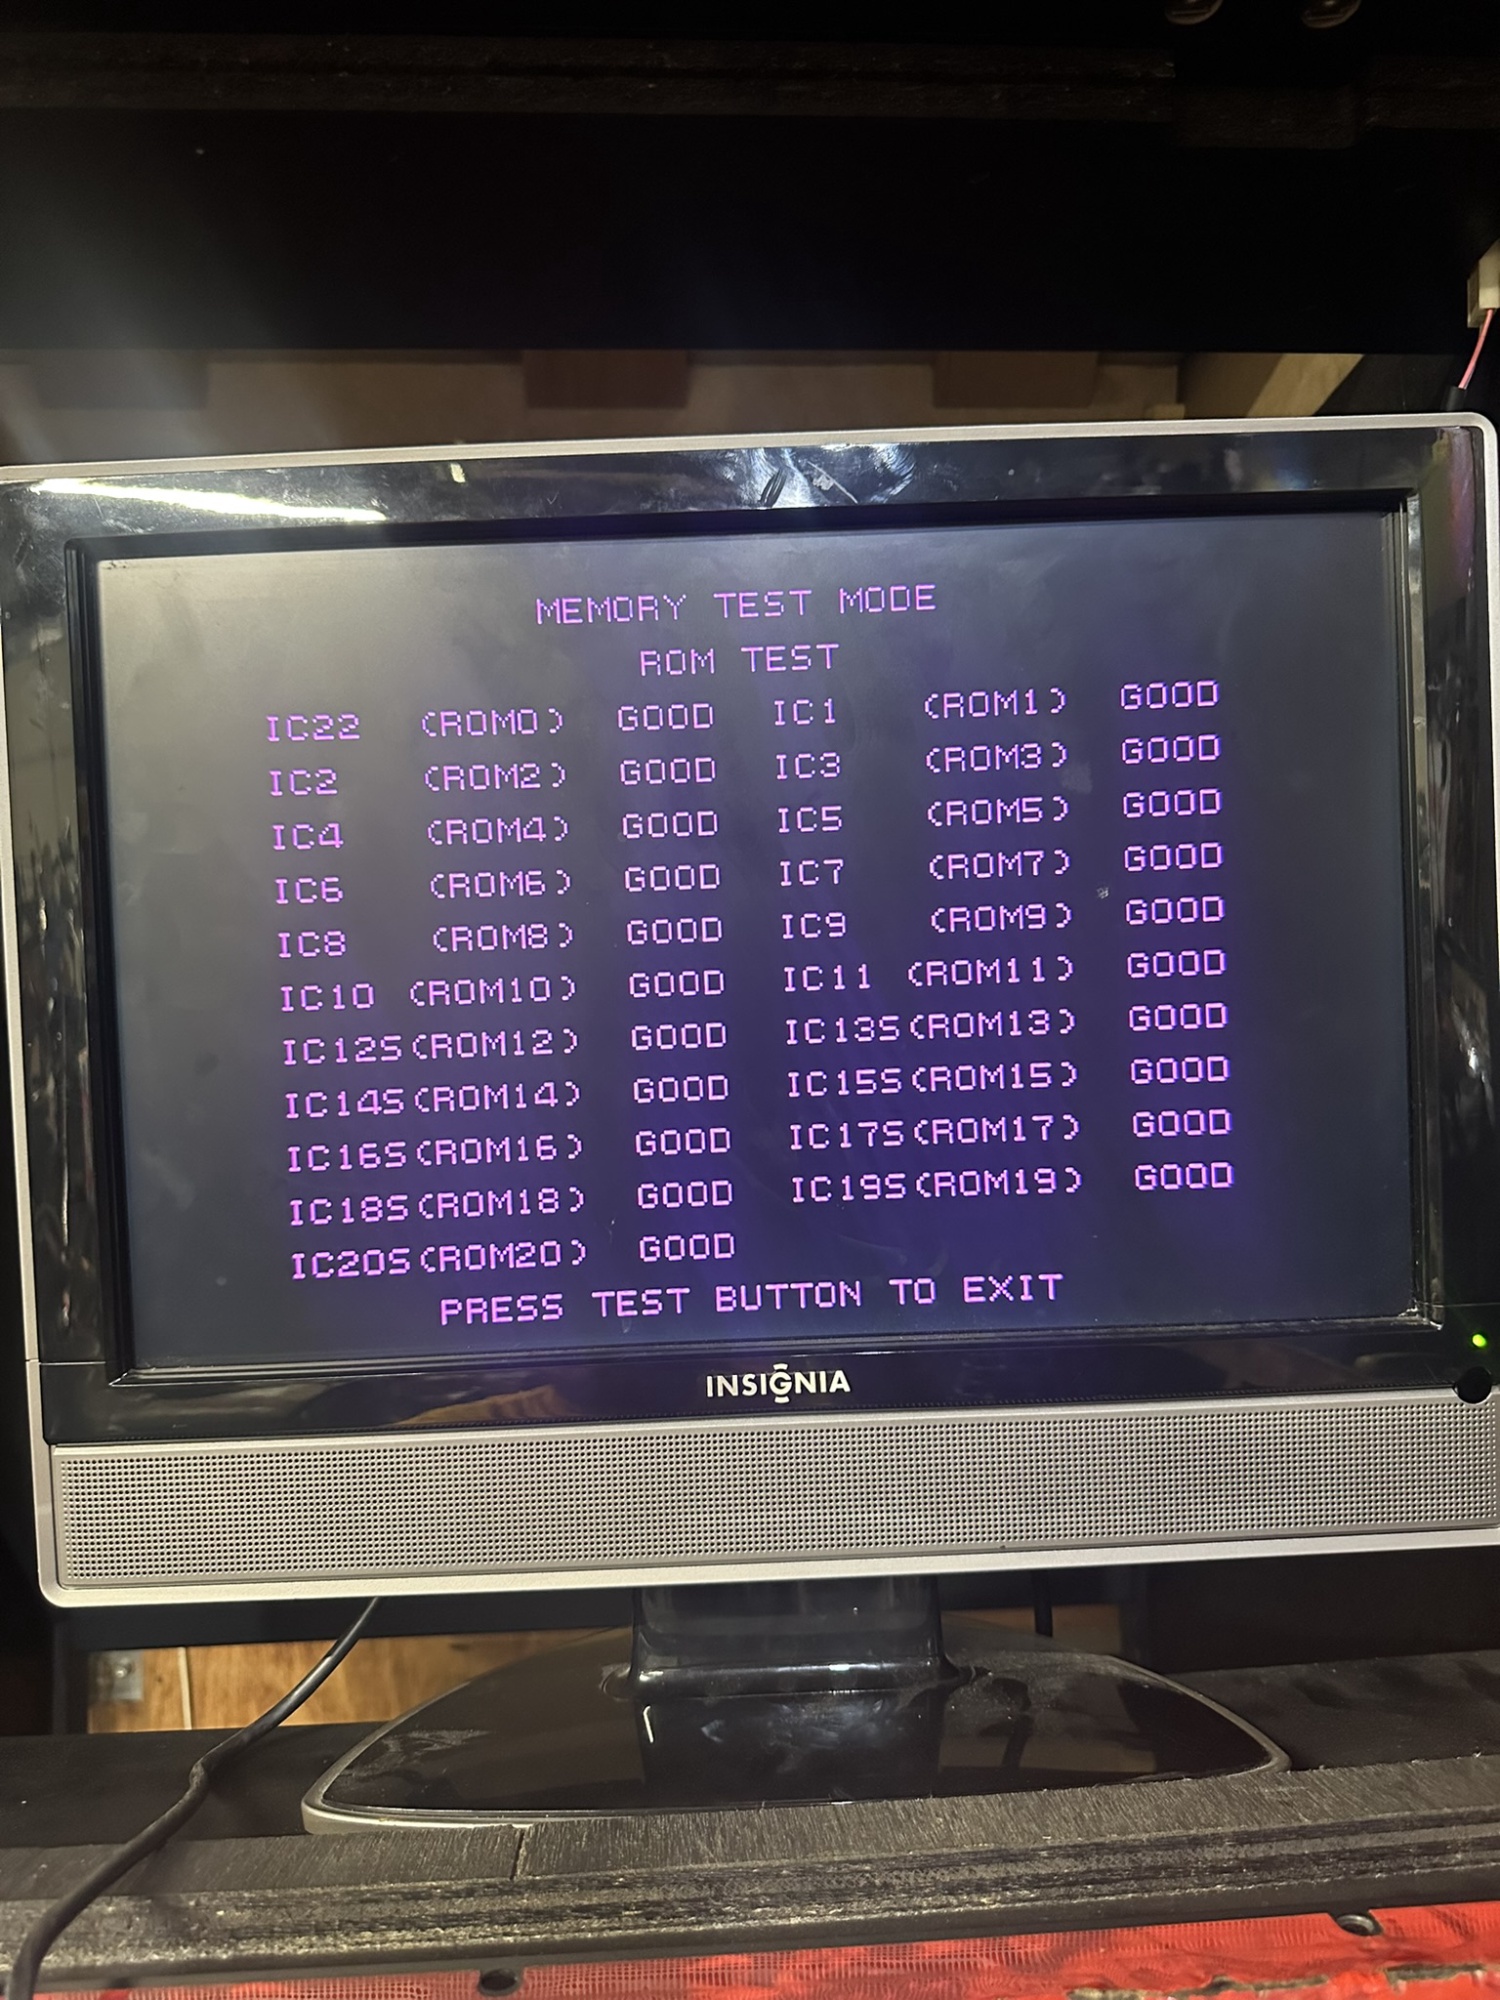
I ran 5 back to back passes of RAM and ROM tests twice, one batch from a cold boot and one after 12 minutes of attract mode, both came back 100% with no reported faults or errors. While I had a good stroke of luck with booting I wanted to see if I could see the Naomi BIOS screen by removing the game cartridge. Come to find out the 1st gen Naomi, which HOTD2 uses as its the first game to utilize this platform, does not have a dedicated BIOS screen, you can only access test menus when you are already booted into a game environment. This was further confirmed by the fact that I was able to boot back into the game immediately once I reinstalled the game board and could access all test menus once again. 

Coming off of this information I decided to do a soak test, let the game sit in attract mode for over an hour and see if we got a freeze, crash, or any abnormalities. To my surprise, nothing of the sort happen. We played a few games to push the motherboard a bit harder but we were able to play just find (outside of the guns not being calibrated correctly, but thats a later issue).

For one final test for the night I wanted to do a cool down test to see if I would get any different results from letting the board cool in between power cycles. The test report is as follows:

  • 5 seconds off, Boot
  • 30 seconds off, Boot
  • 2 minutes off, Boot
  • 5 minutes off, Boot
  • 10 minutes off, No Boot.
    • It booted about 1 minute later after pressing PSW2 on the filter board, not sure if related
  • Another 10 minutes off, Boot

With seemingly no pattern or correlation between tests, issues, replacements, etc. I'm beginning to worry that this board might just be failing at its core. I'm going to continue to try different tests and solutions to hopefully get this board in 100% working order.

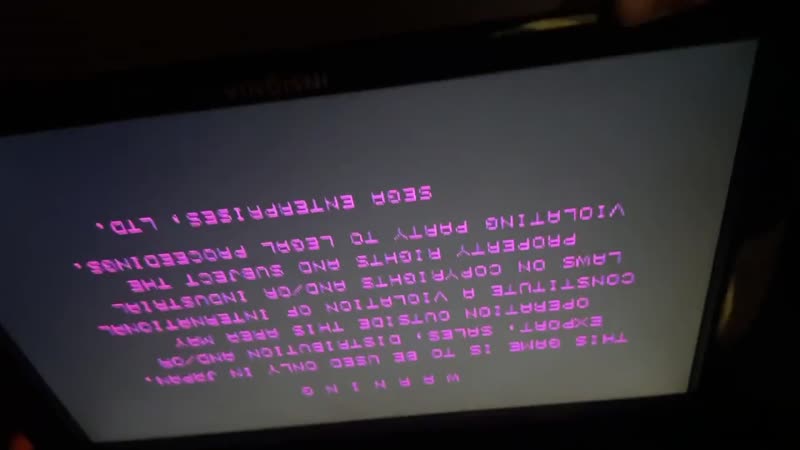
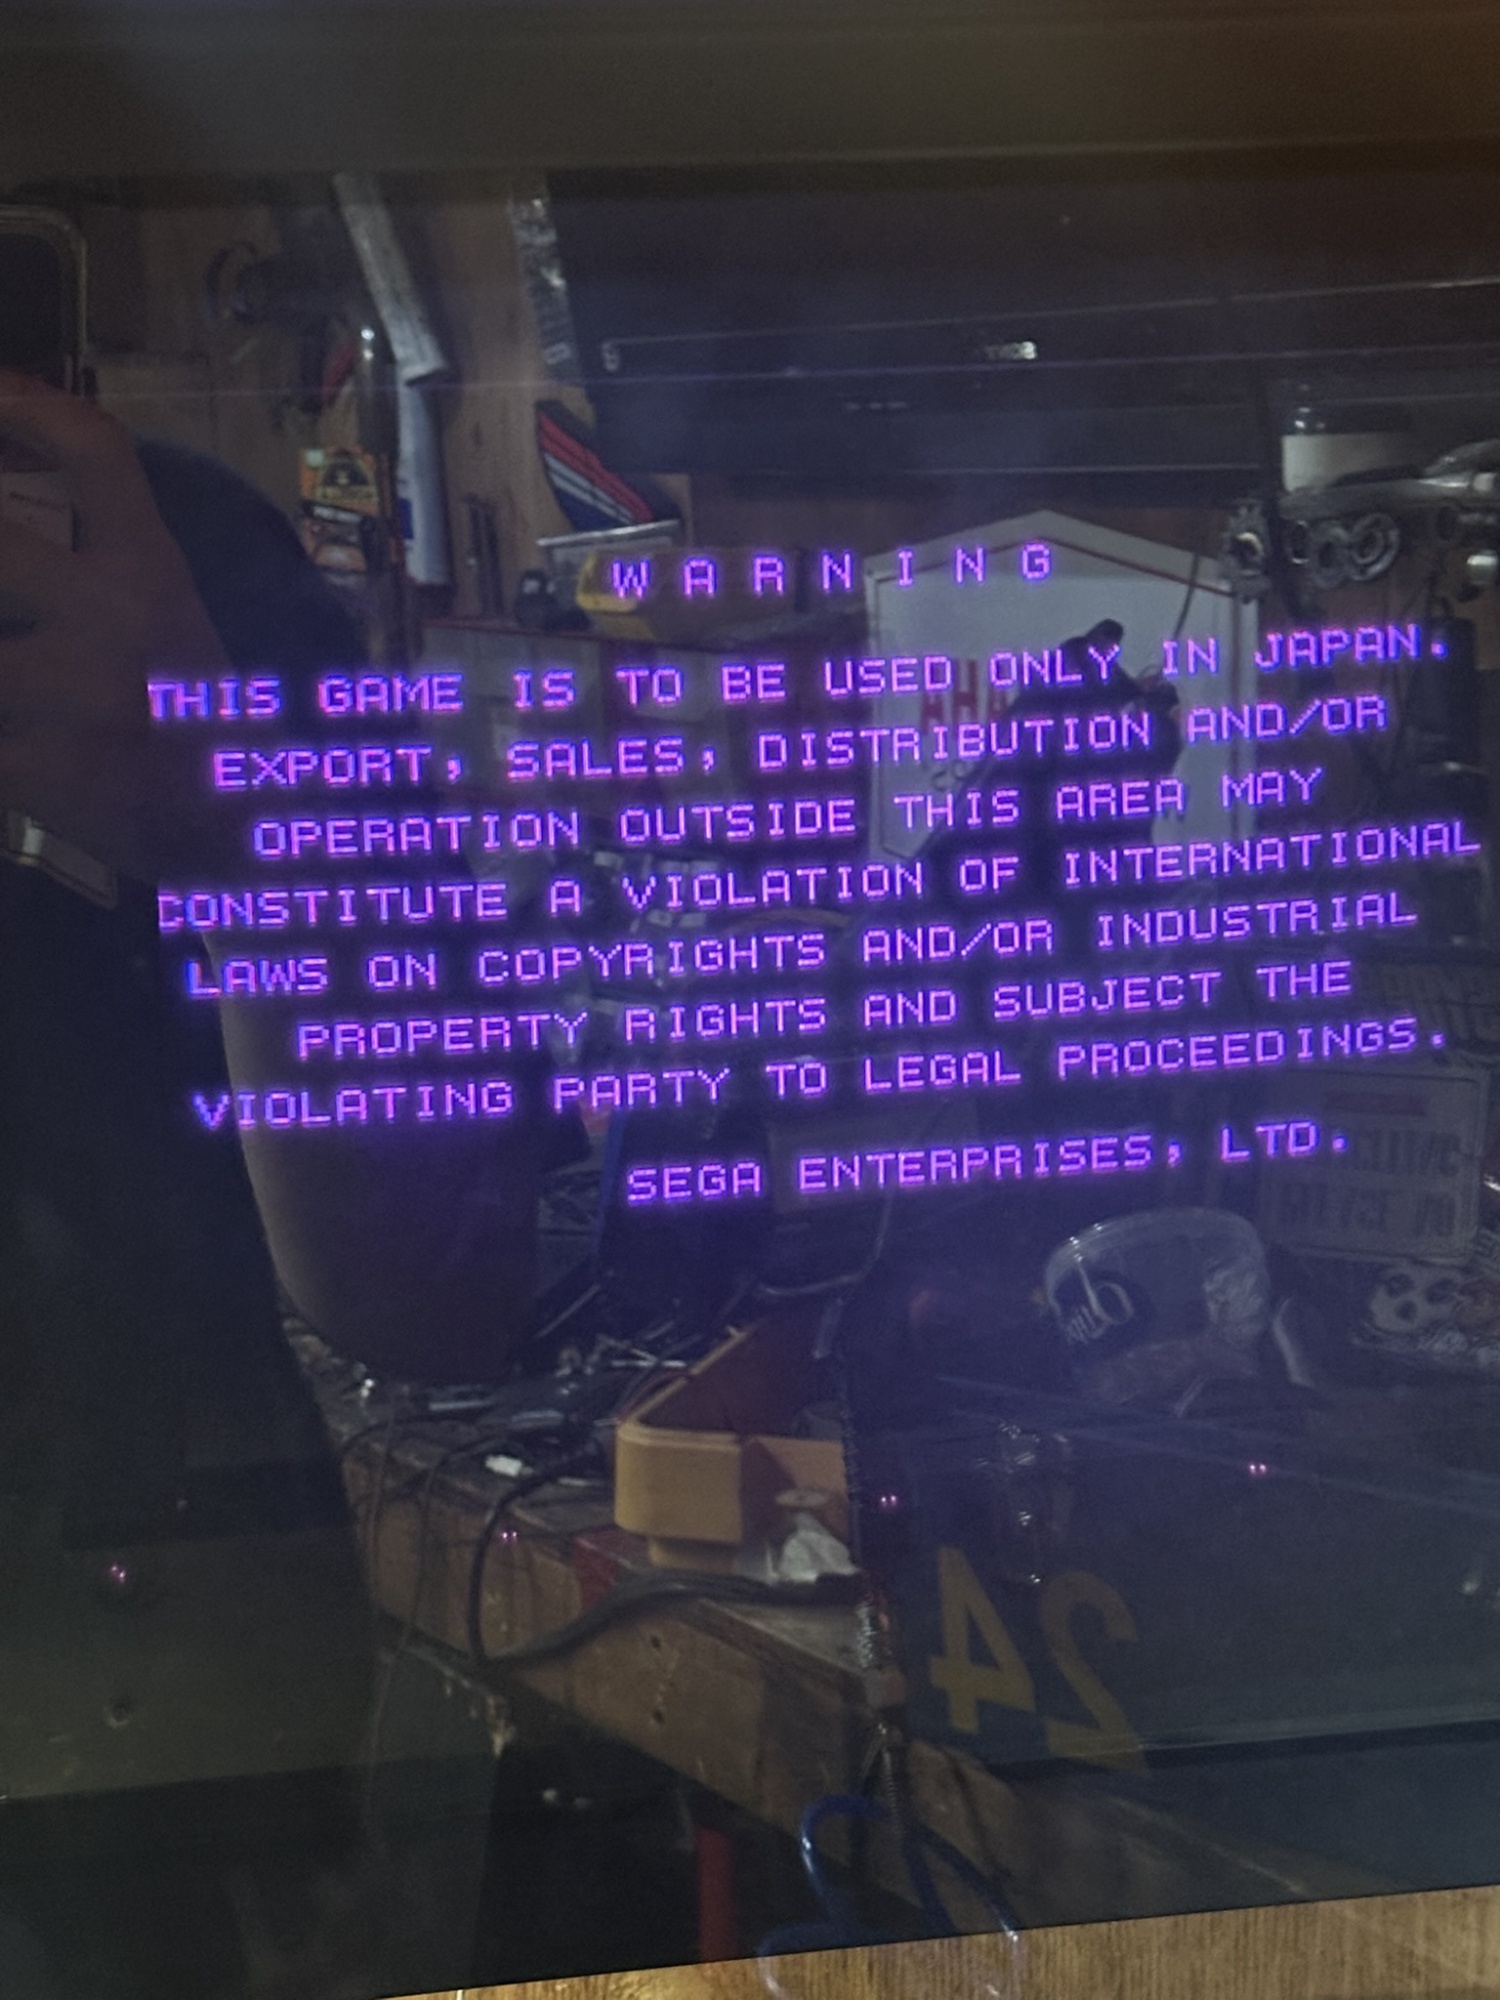
Sidenote, I also figured out that this board has a Japanese BIOS rom installed despite all of the test menus being in English (the tooltips in HOTD show in japanese), so I have a new region free BIOS coming in the mail. Maybe a BIOS chip replacement will let all of these issues go away, a man can dream!
0 comments
Stage 5: Spring Cleaning Nov 2, 2026

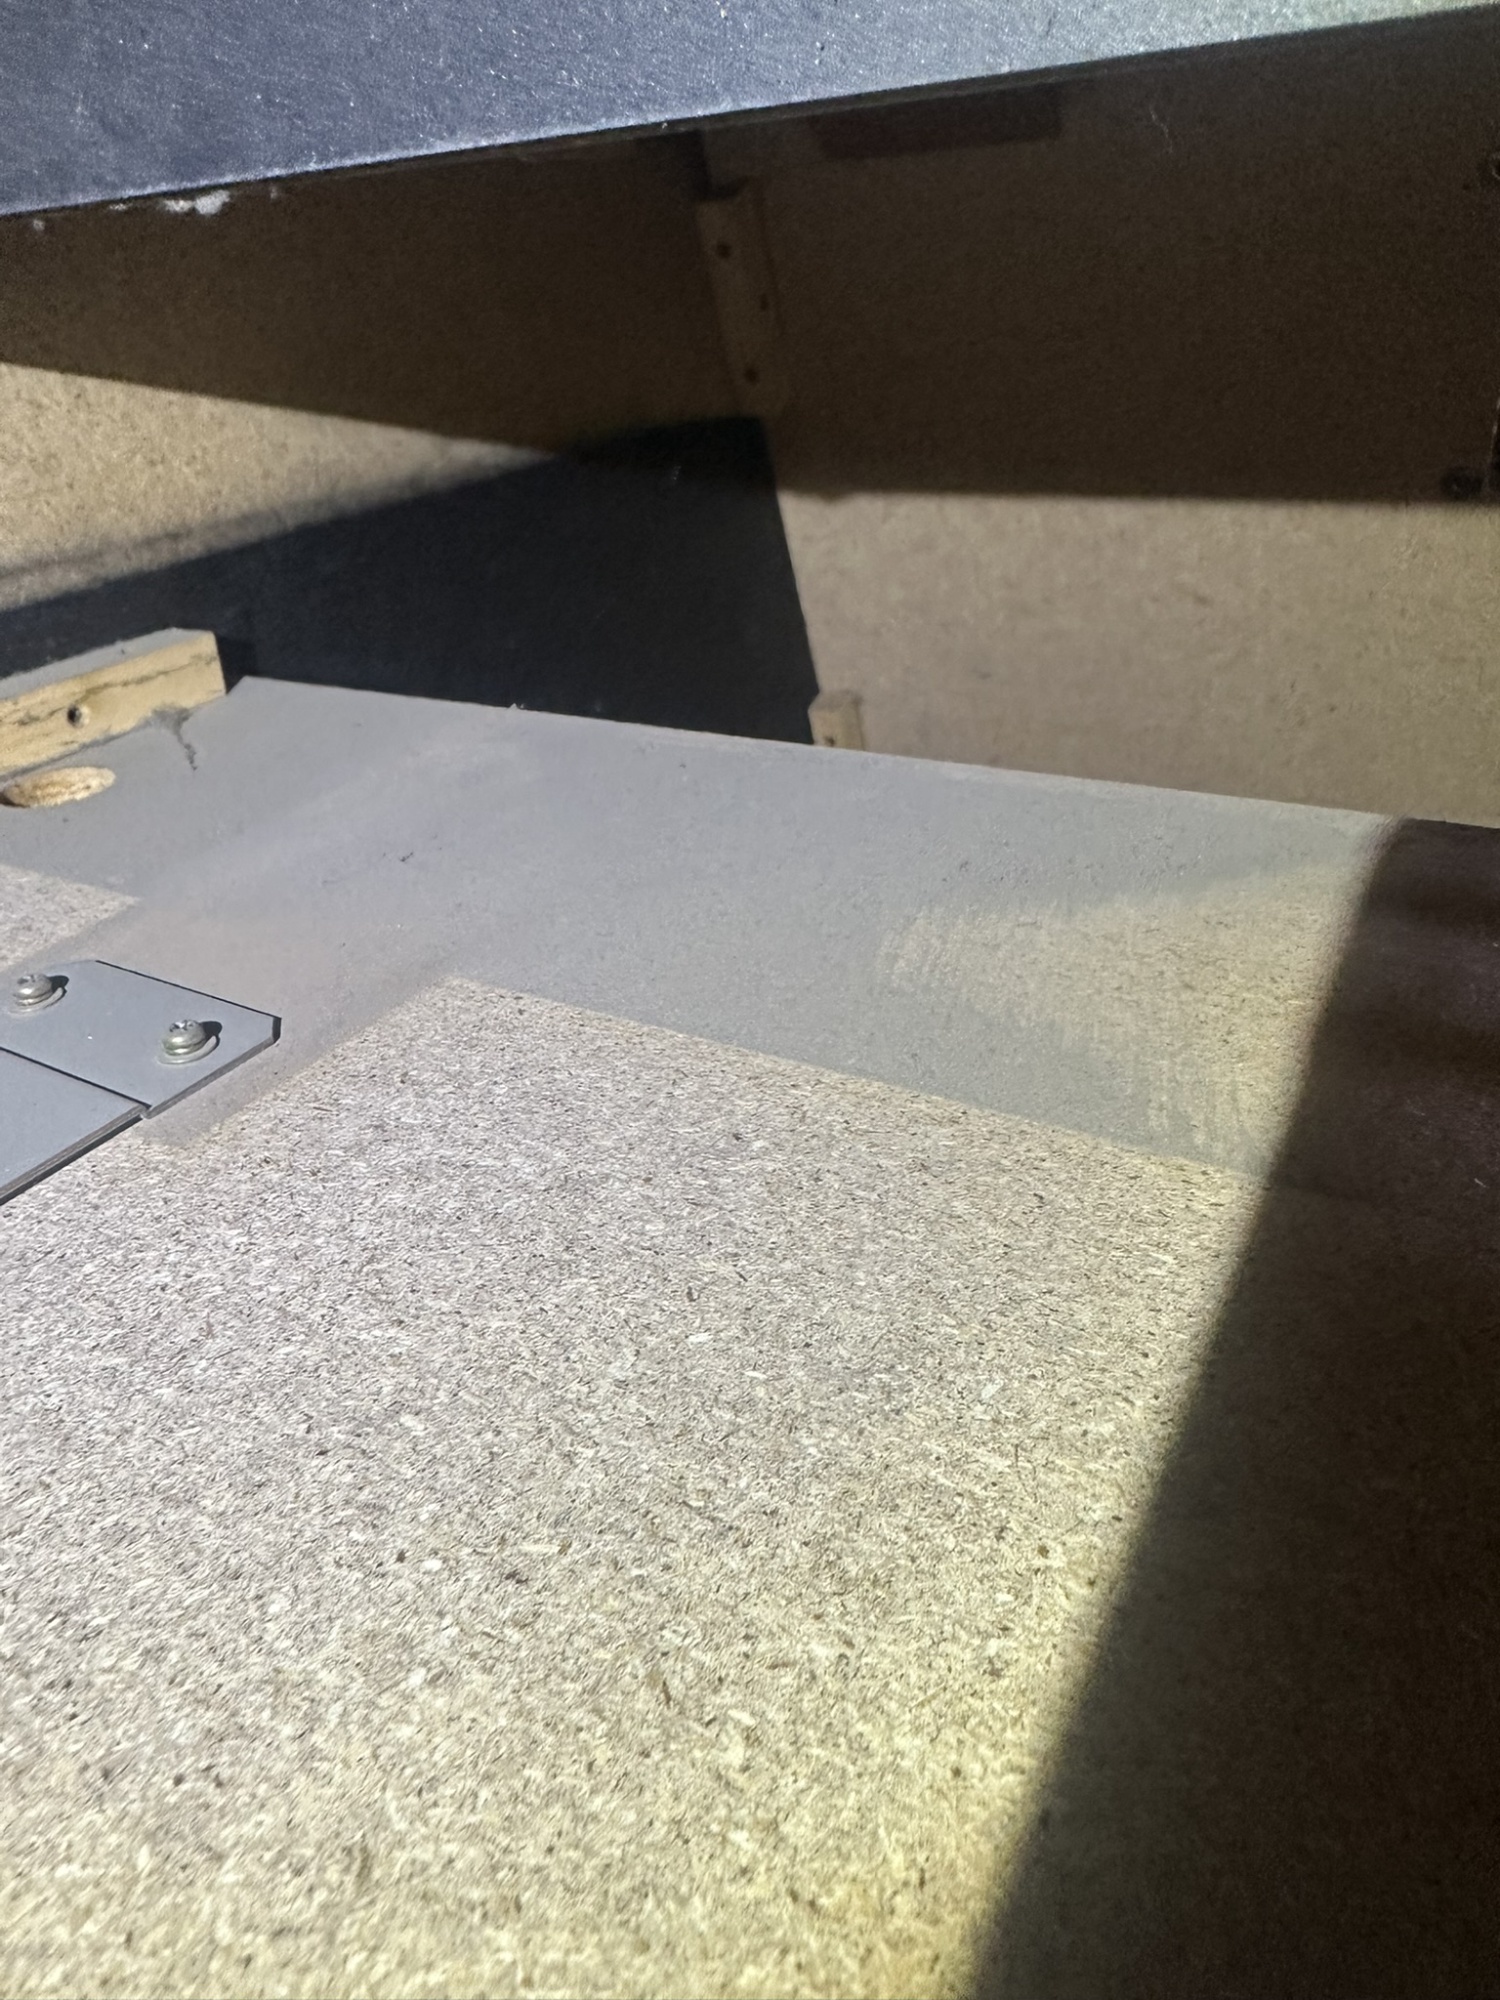
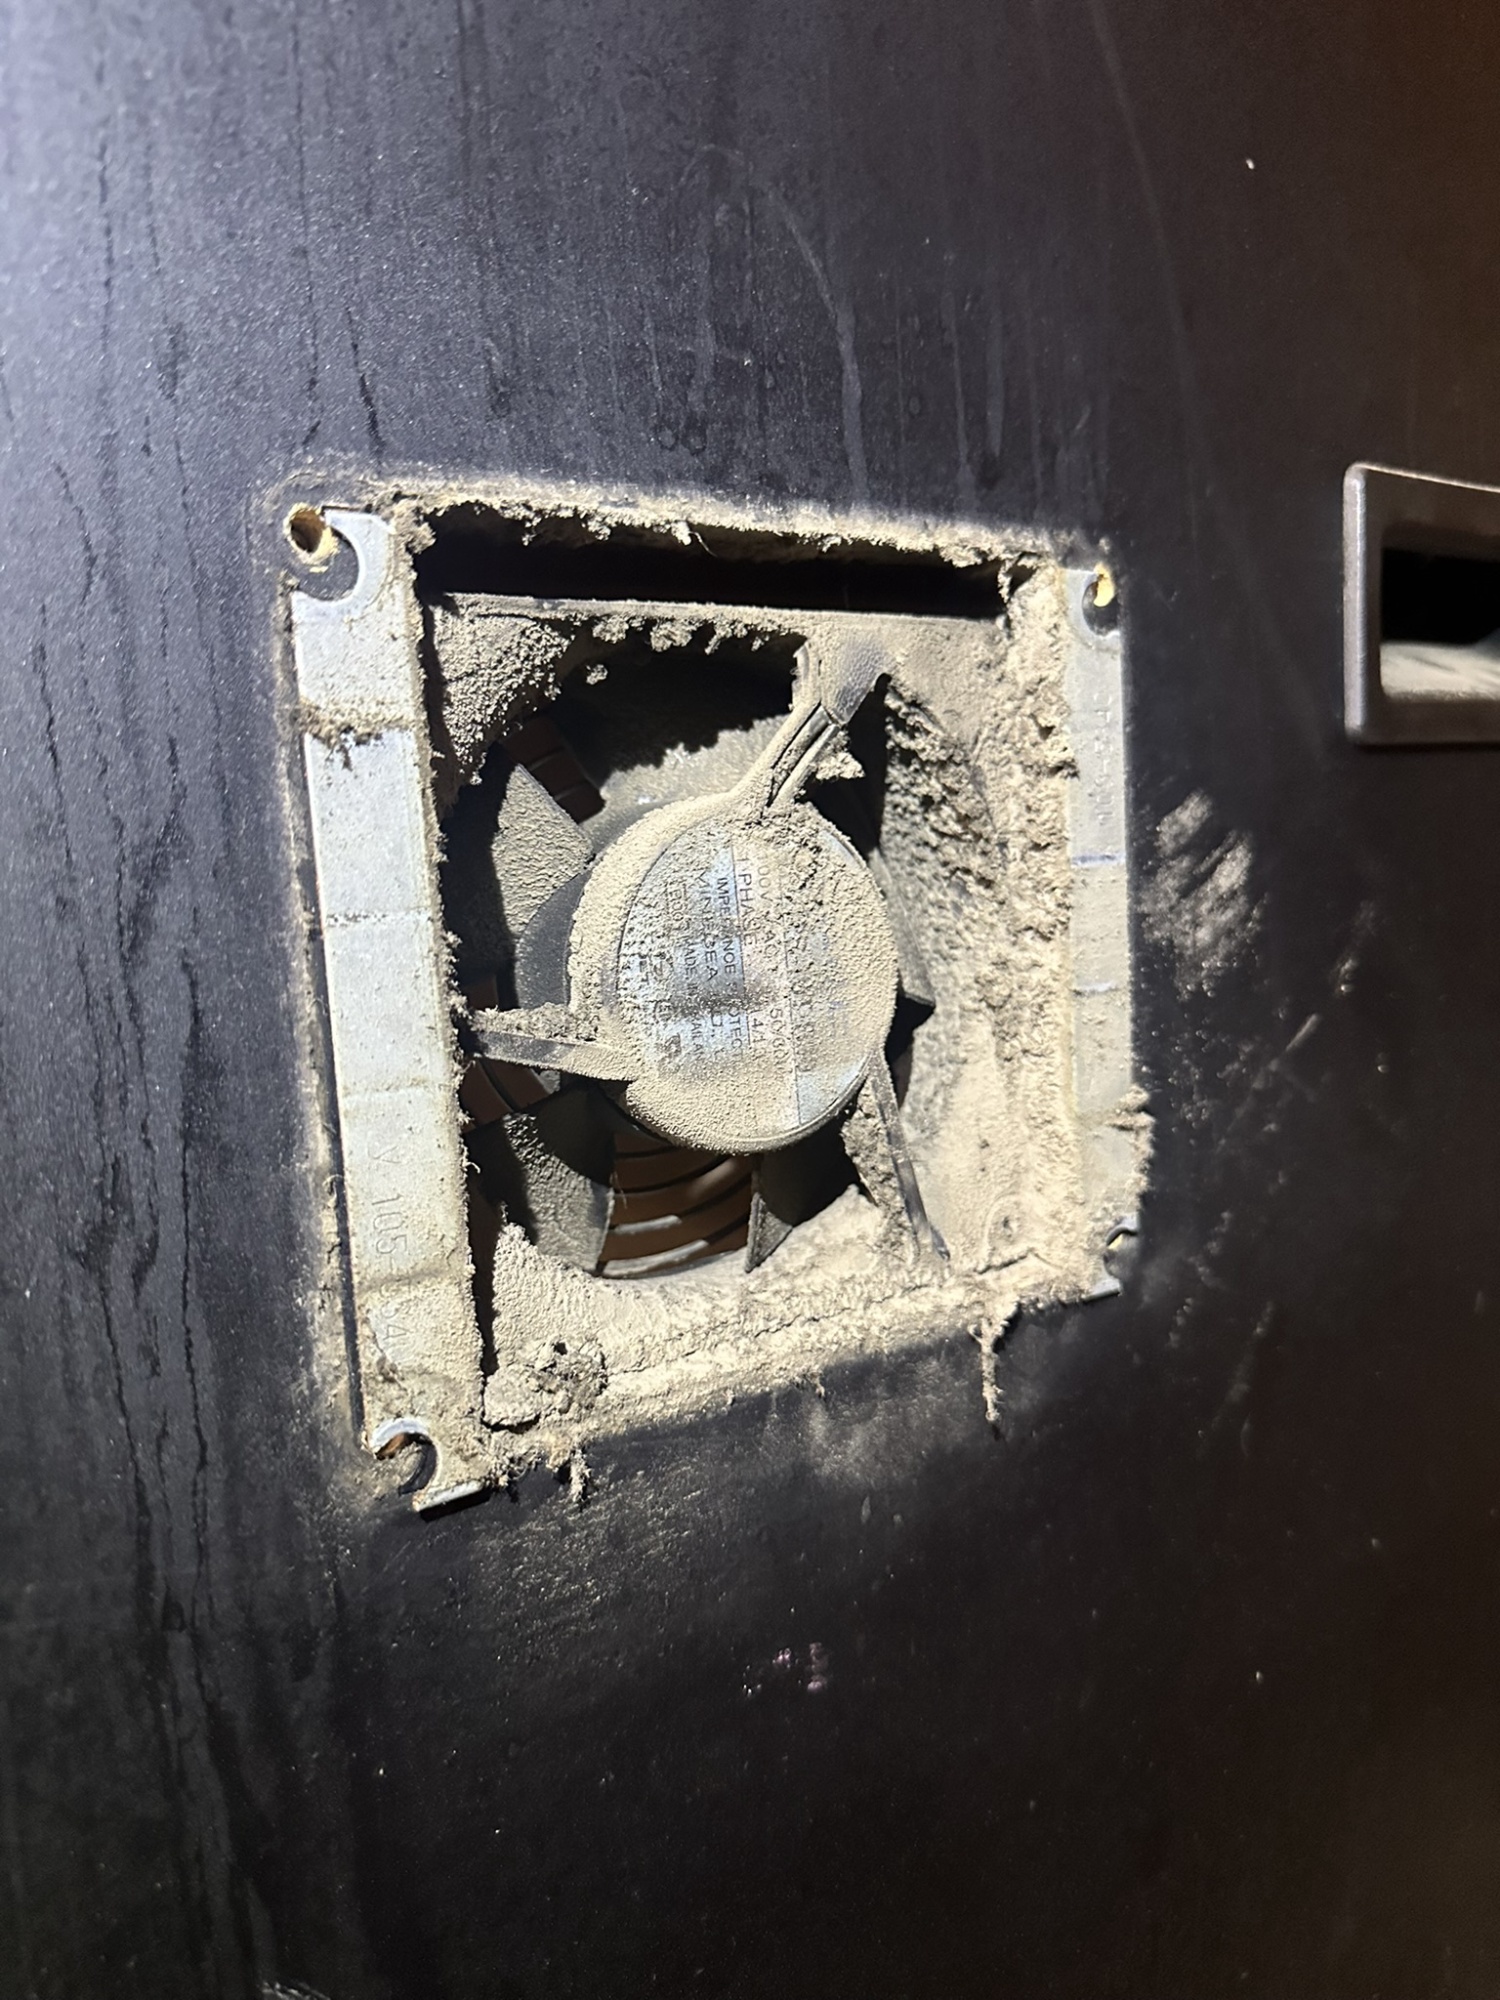
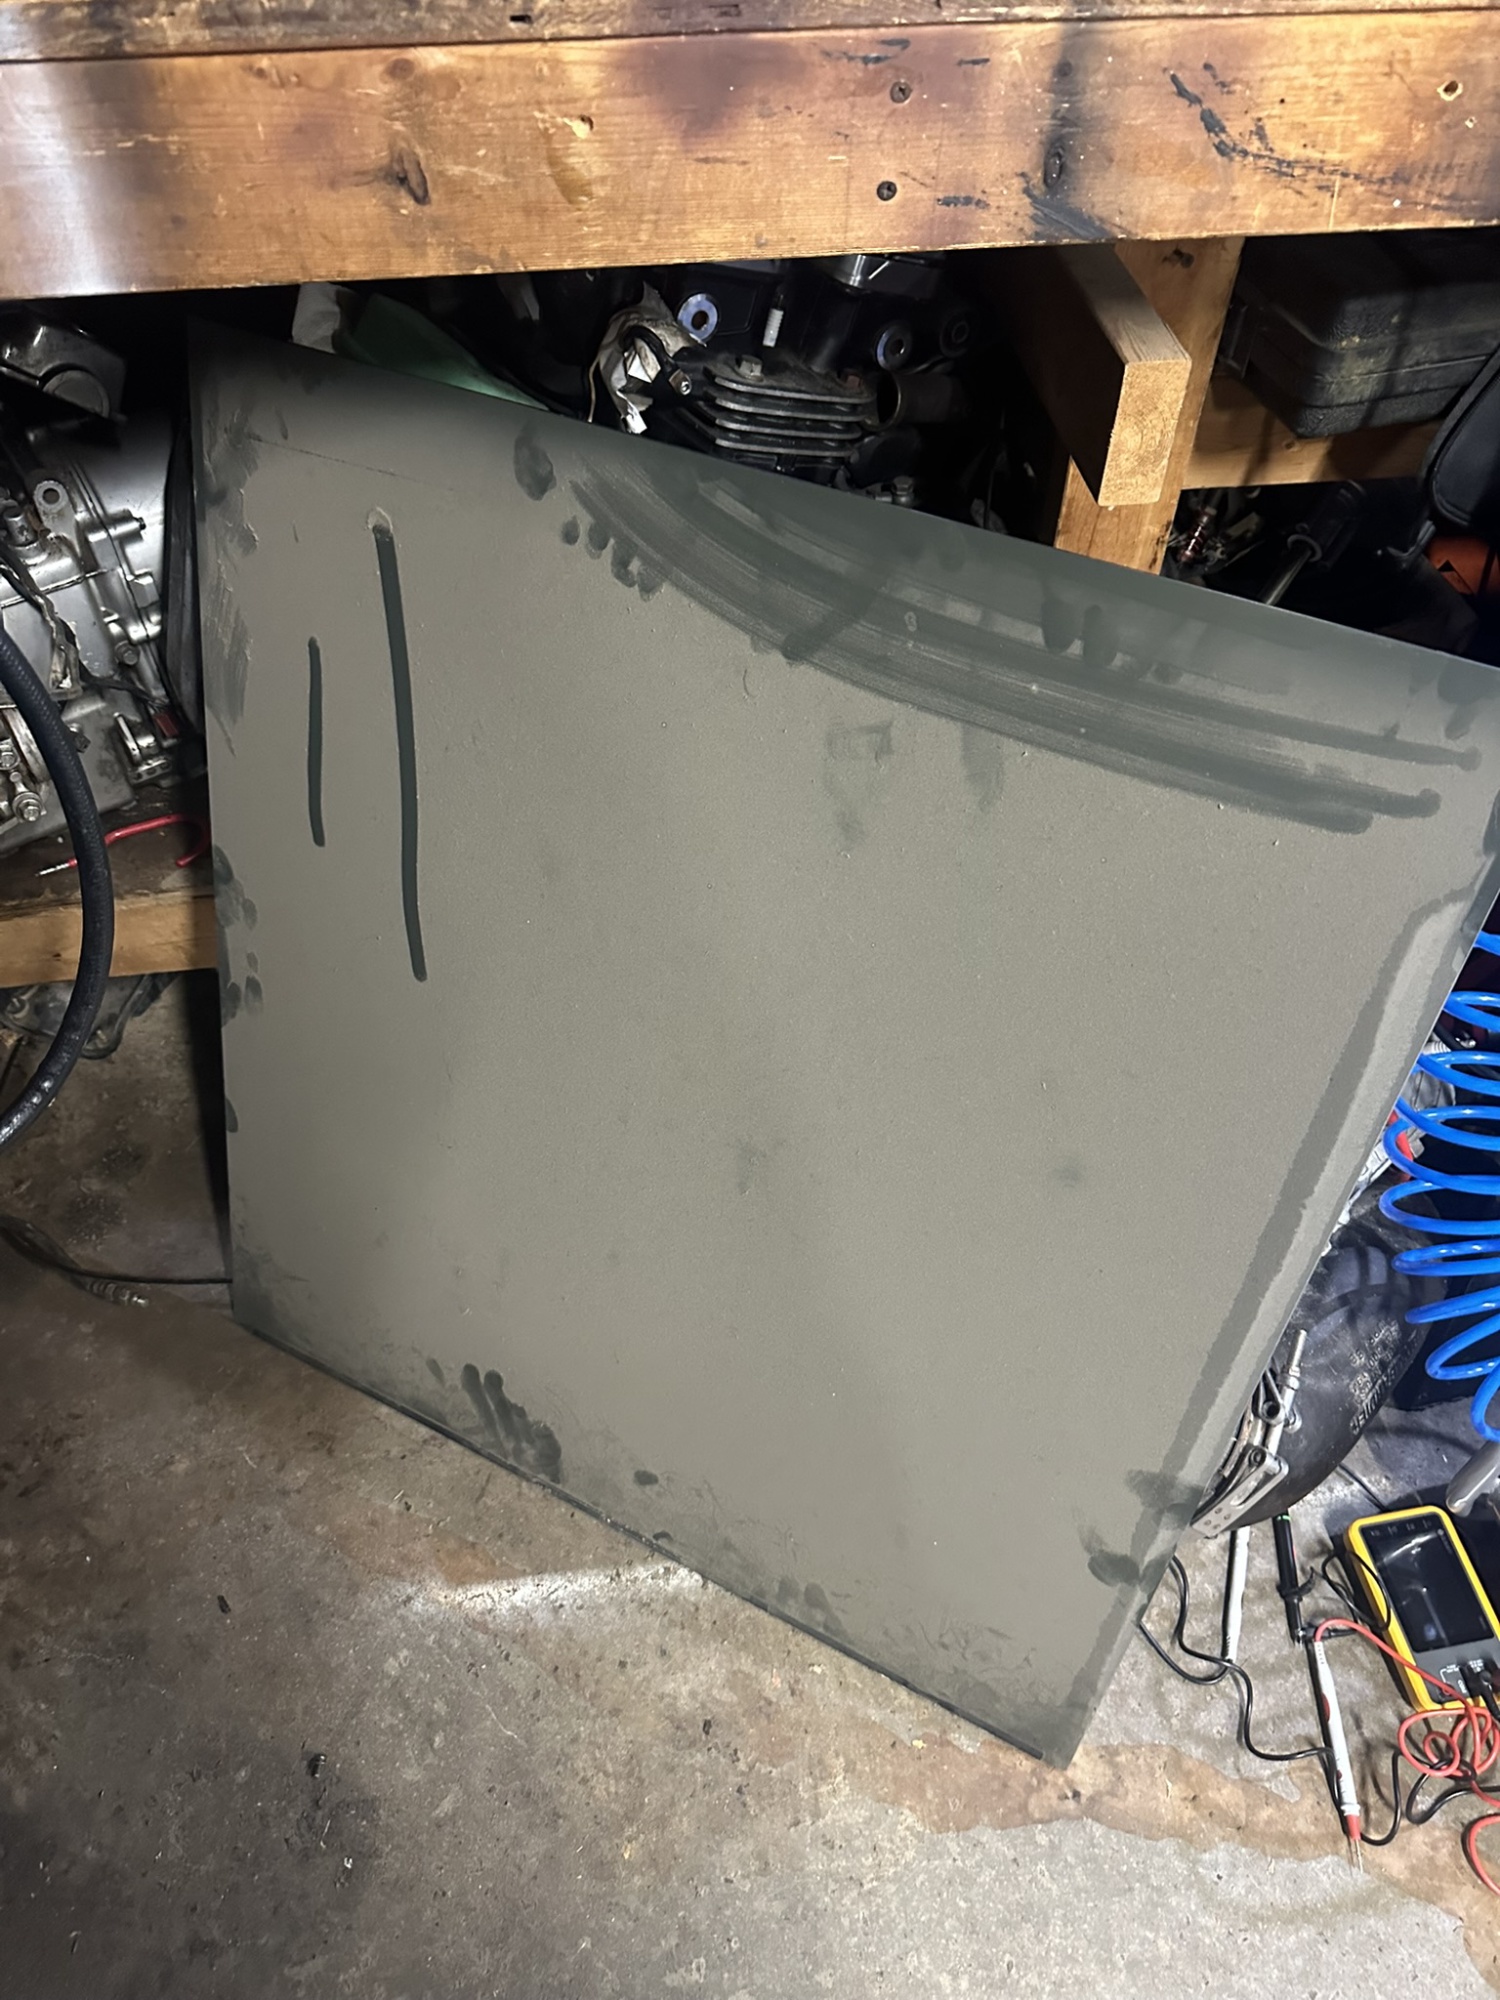
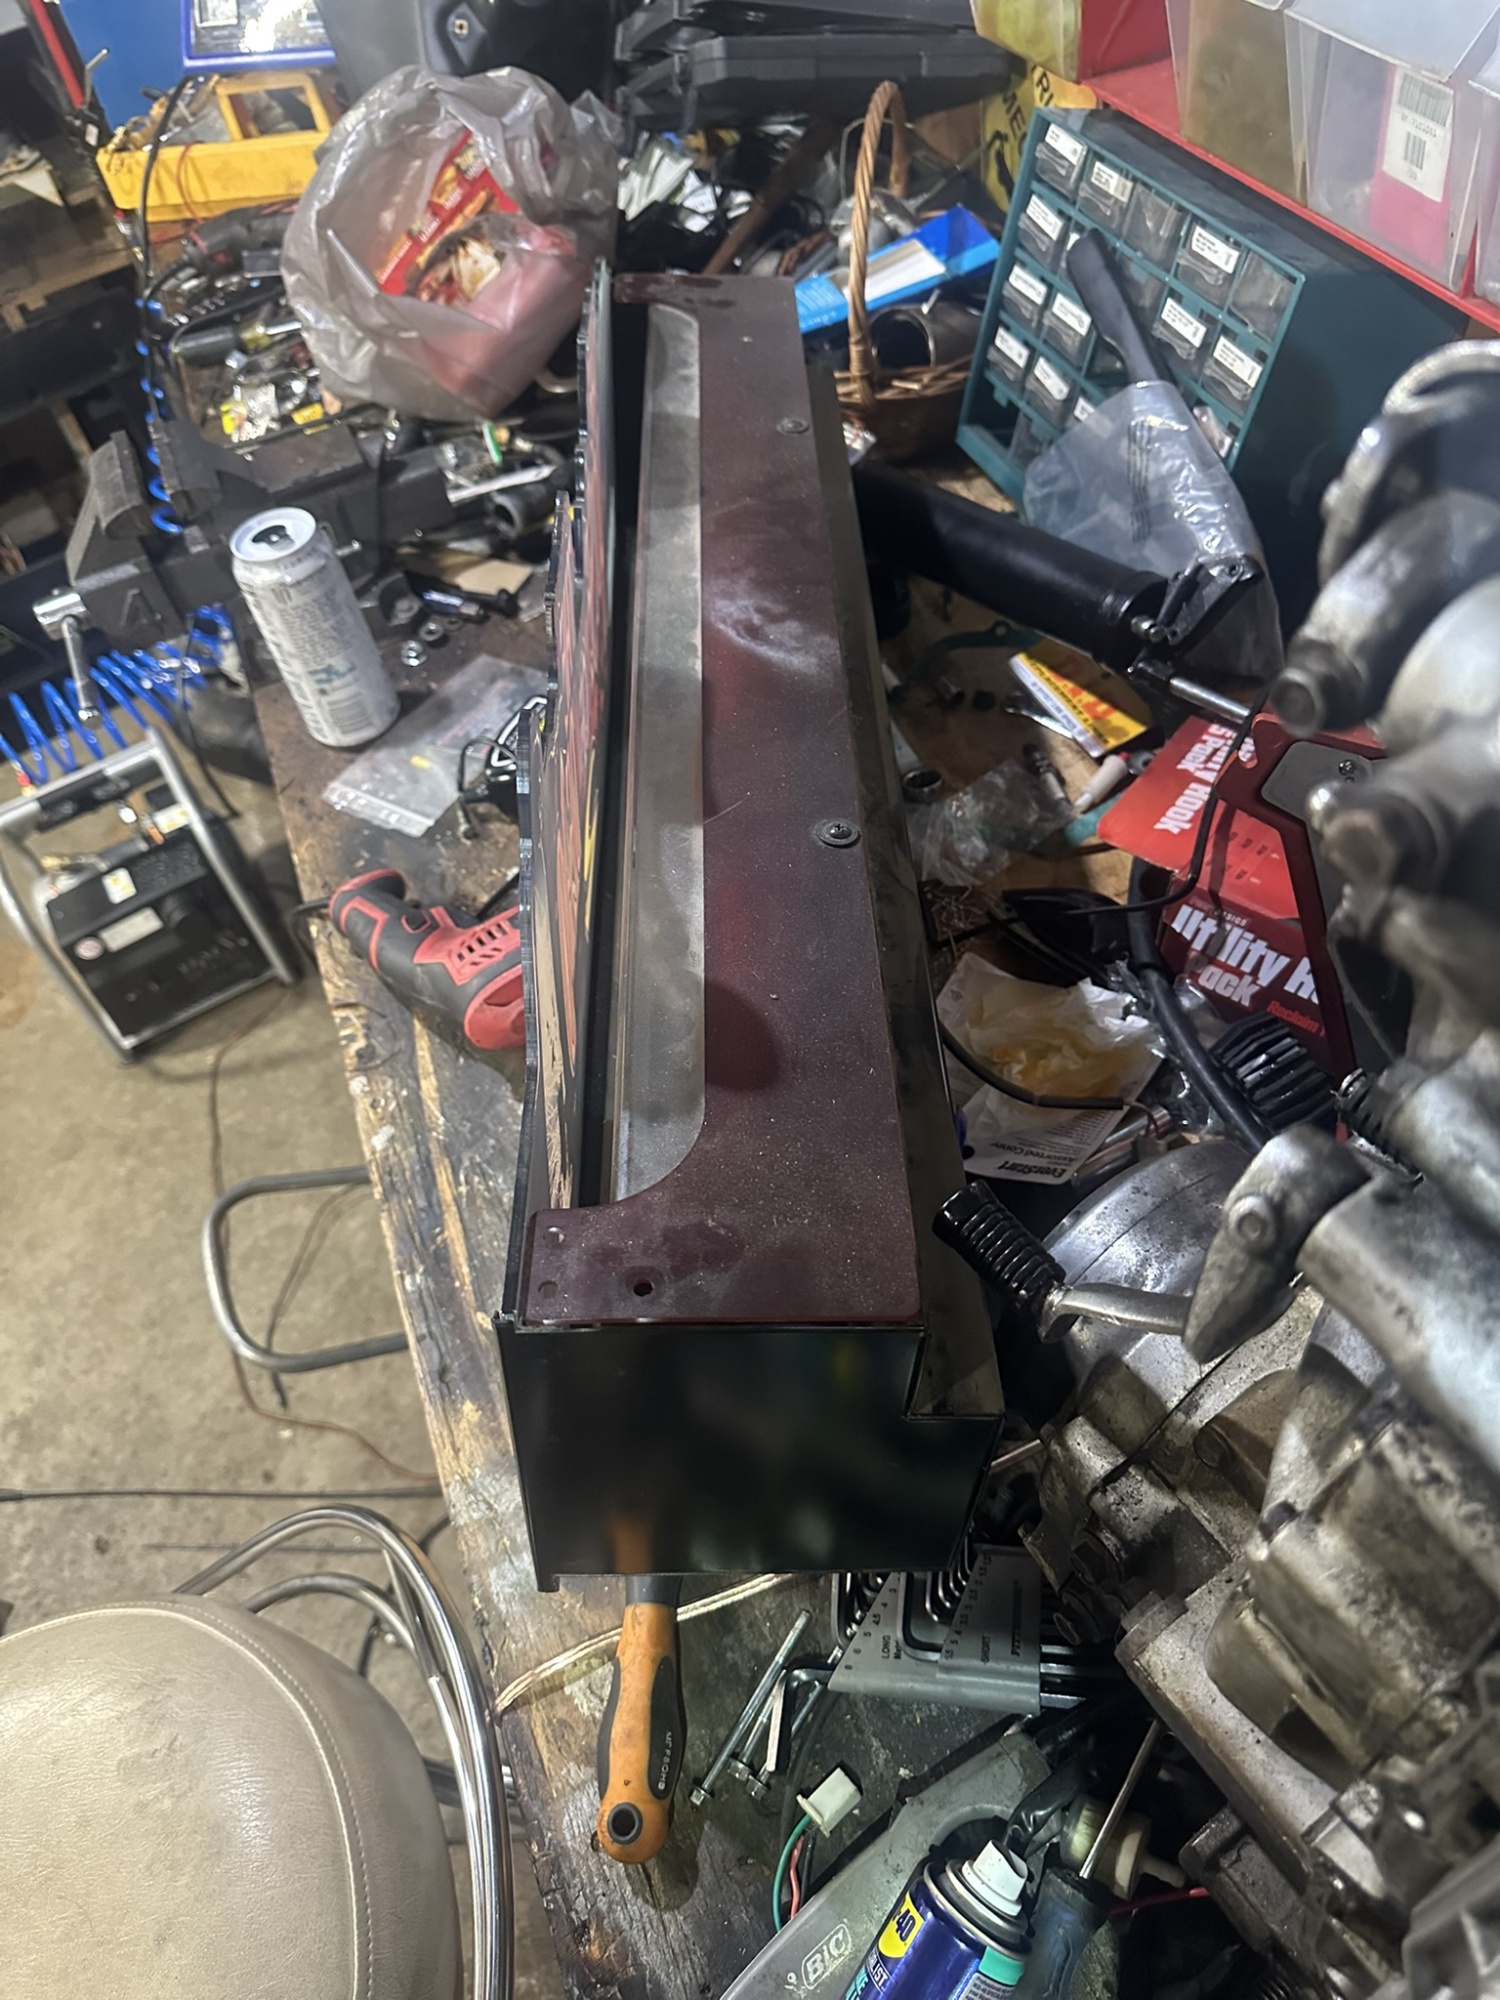
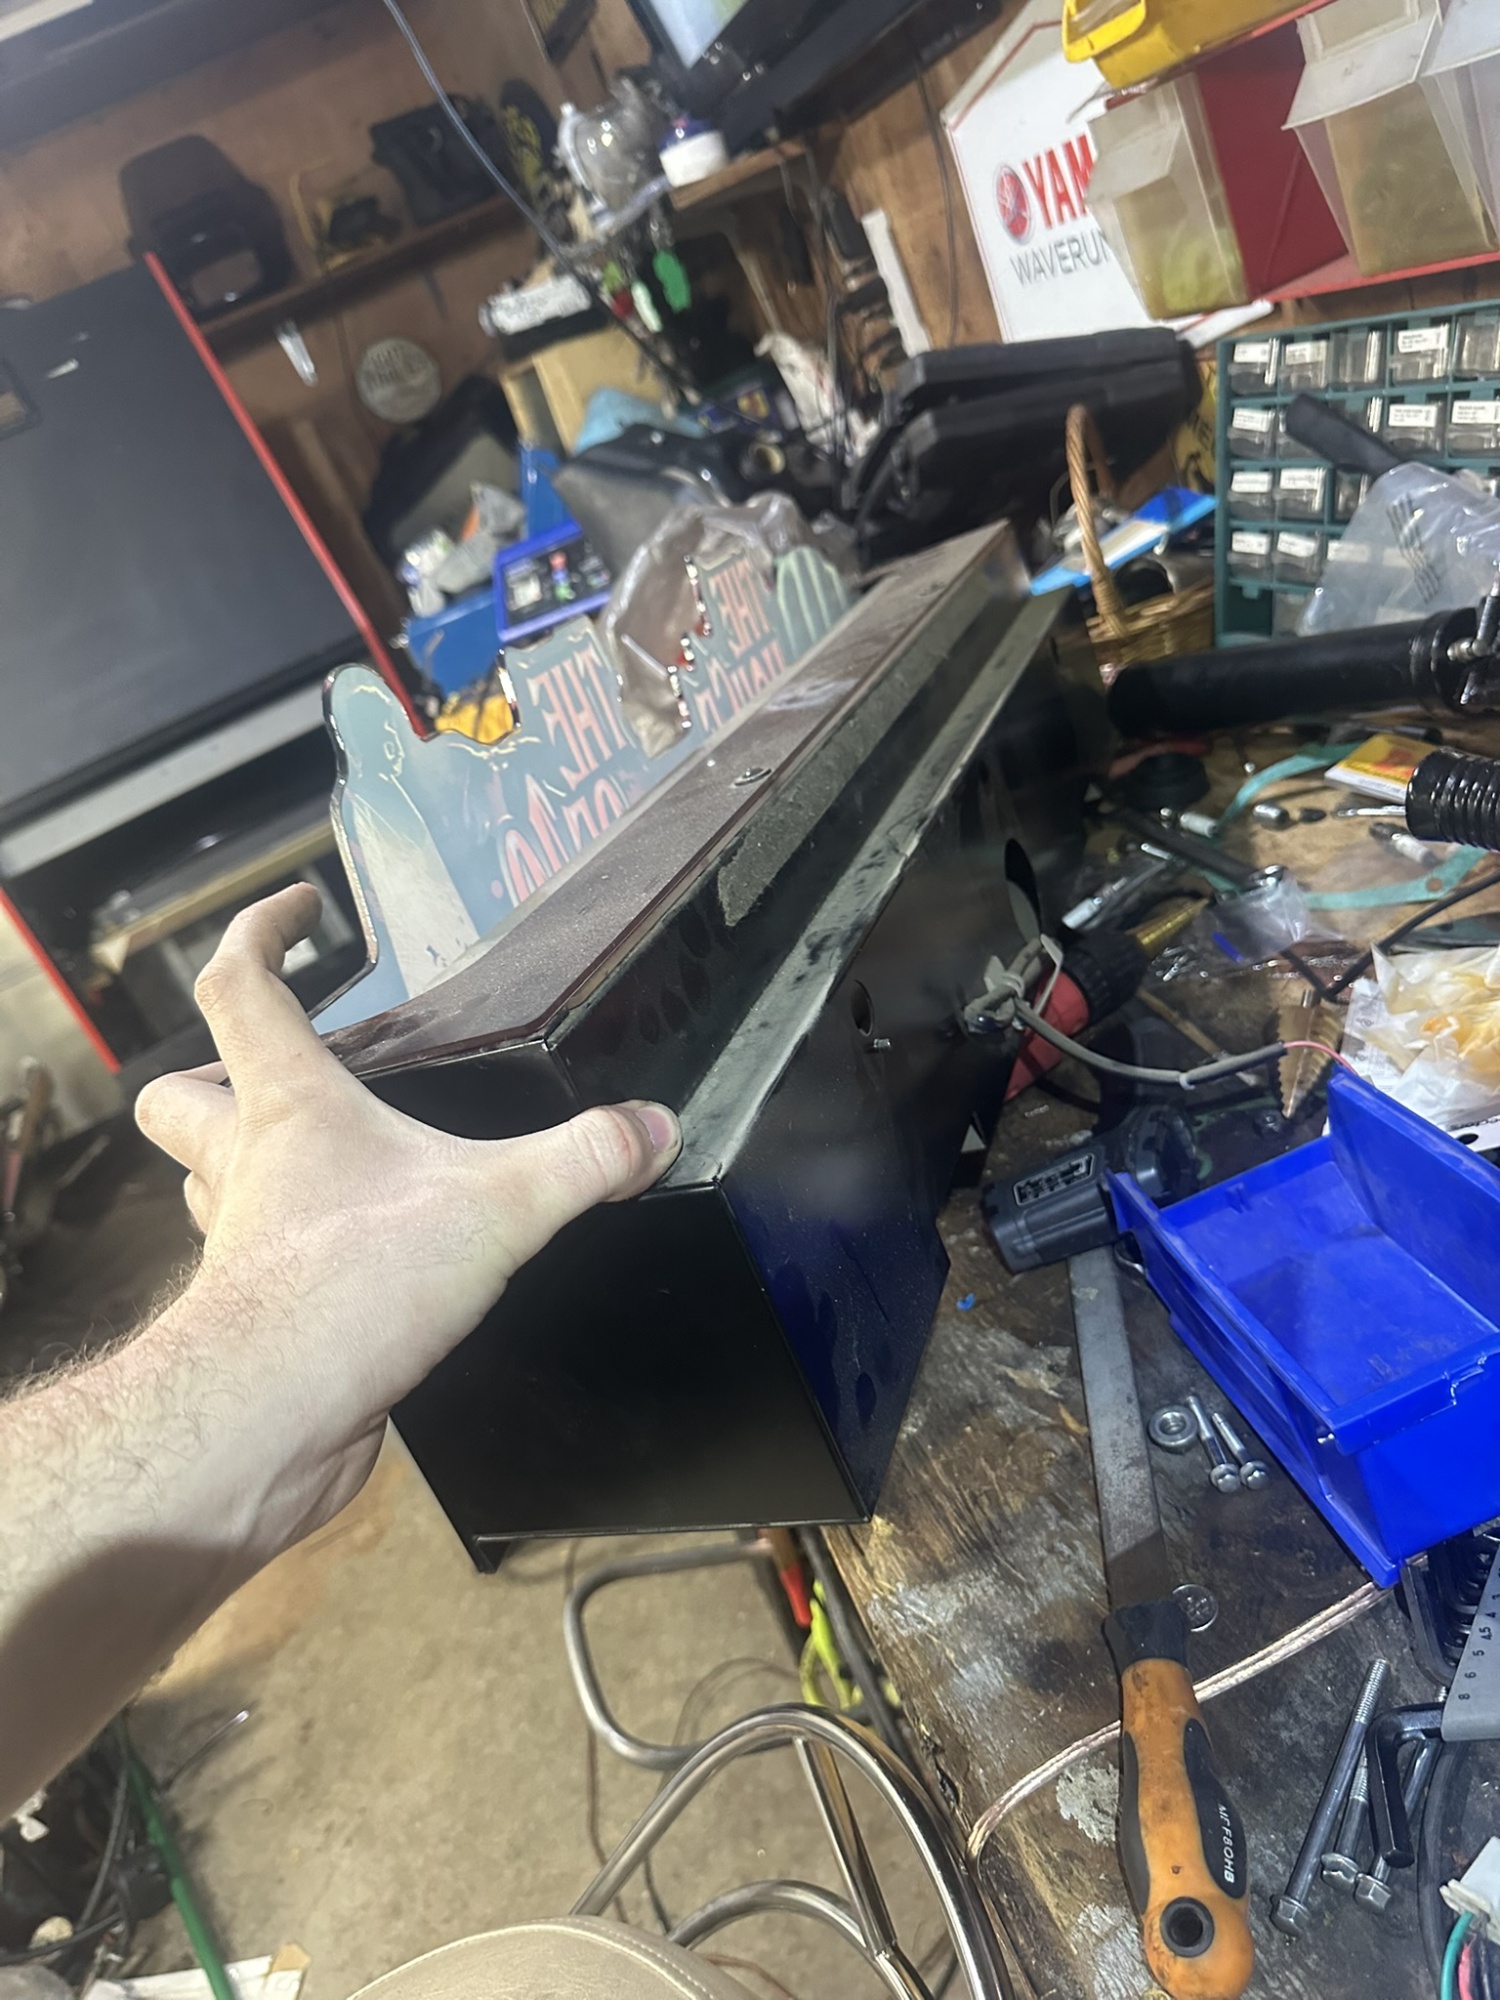
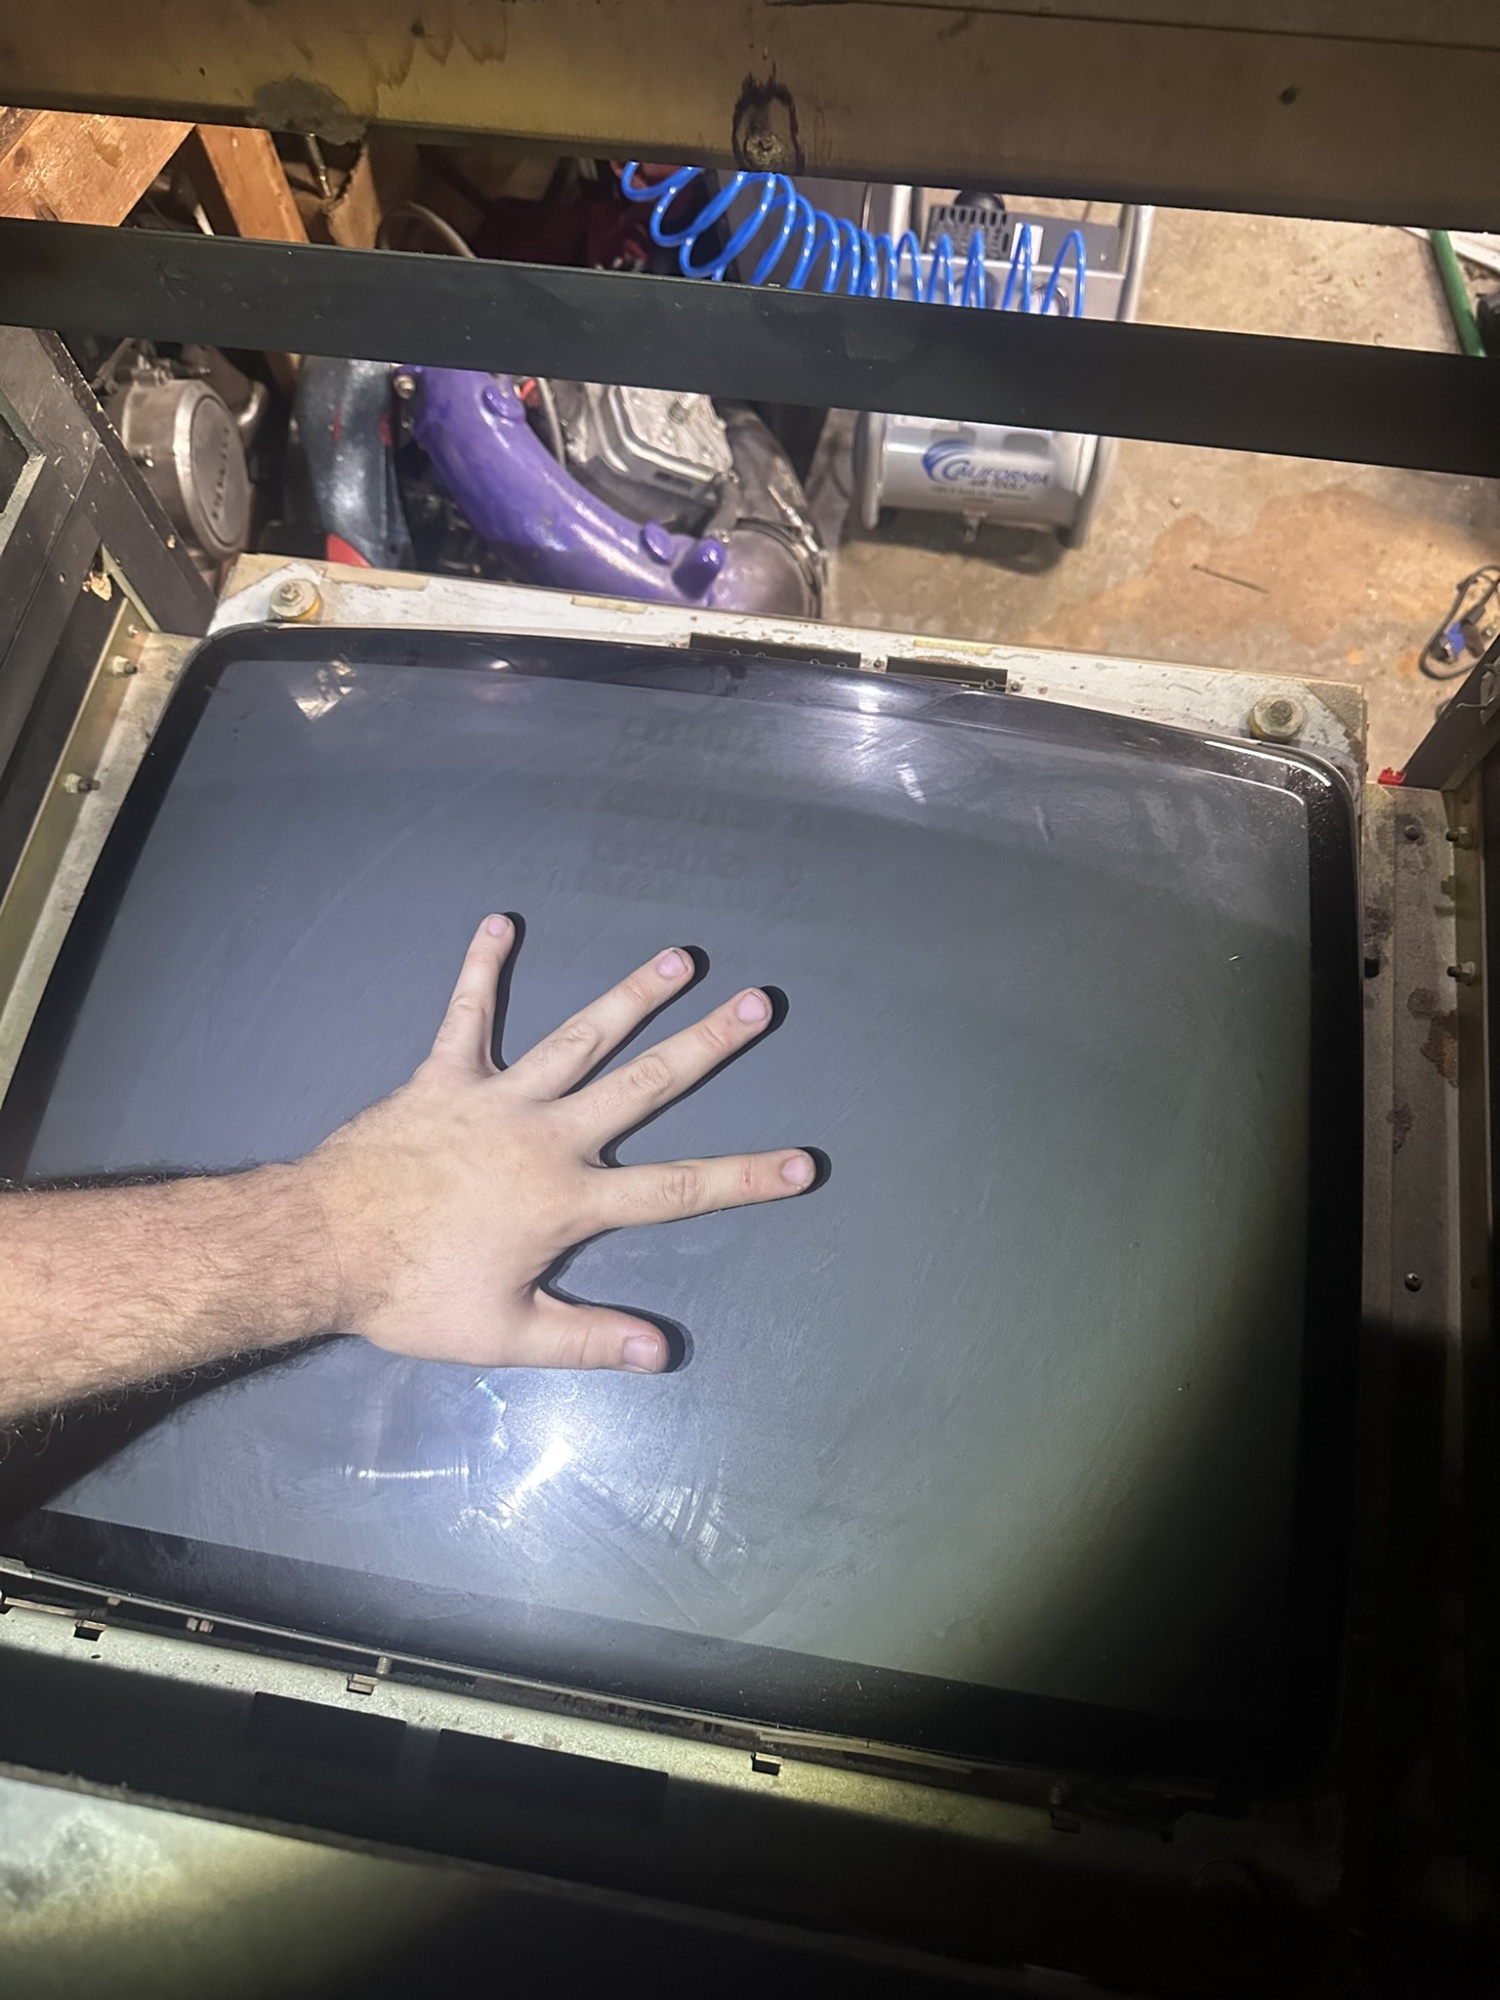
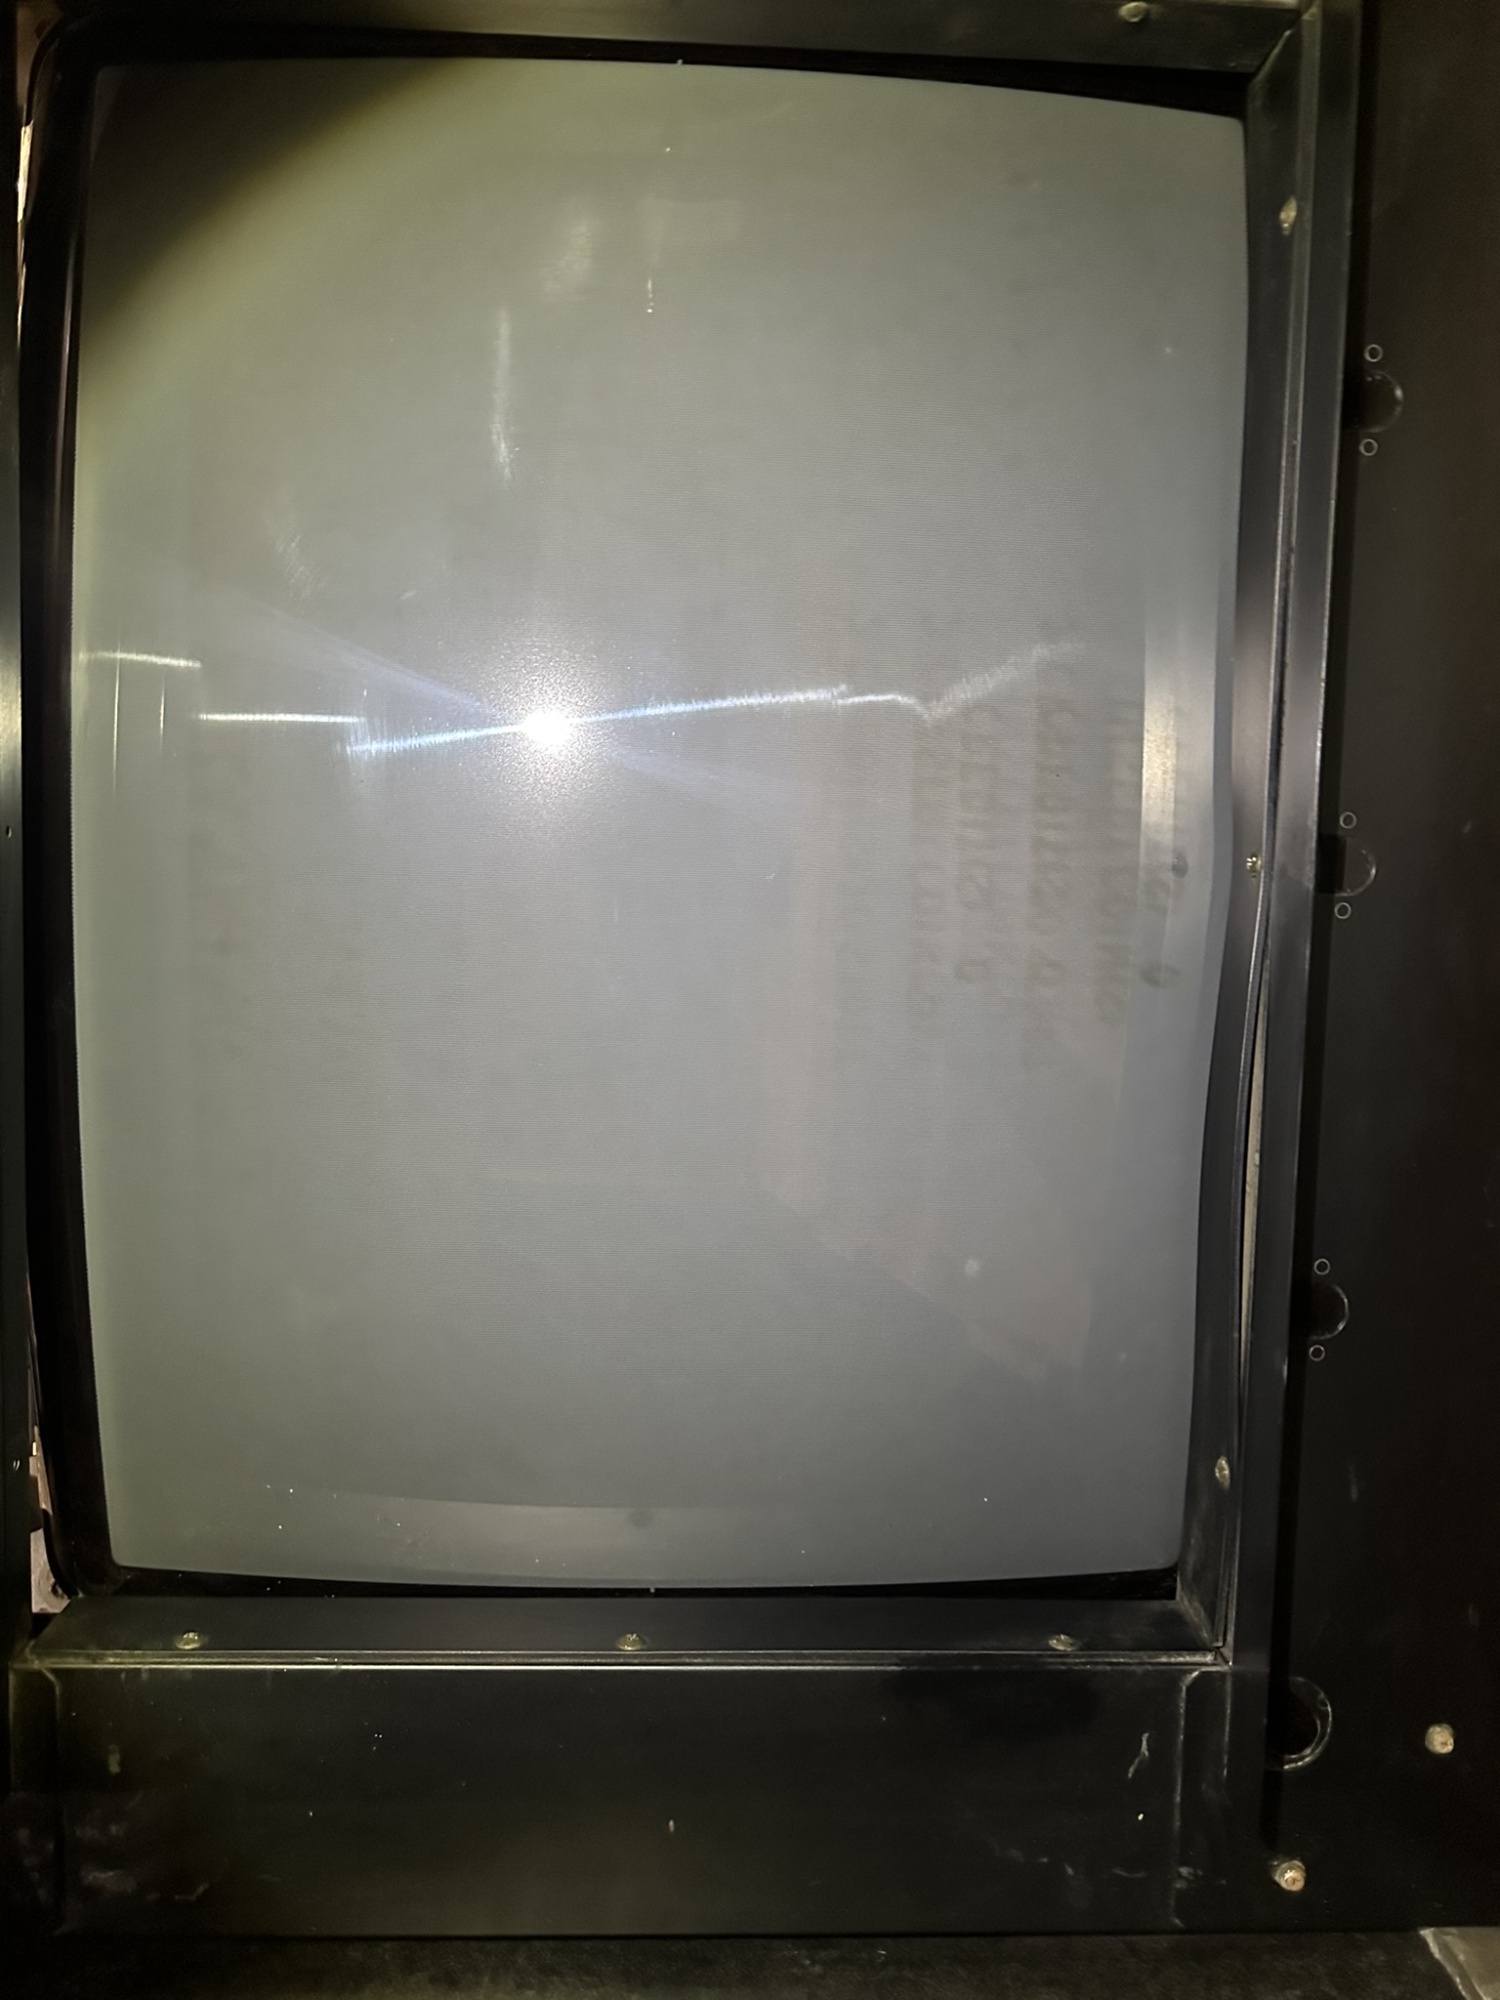
While furthering diagnosis and repair, I decided now was a good time to give this unit the top to bottom cleaning it desperately needed and deserved. There was soooo much dust caked on certain areas inside the unit including the very top shelf where the marquee box sits and the back of the mirror panel.  And the exhaust fan, dear god the exhaust fan was so disgusting. I've never seen so much dust consolidated and packed tight in a game in all my life. Freeing up all the dust, cleaning the mouse turds out and giving everything a nice once over was a nice low brain power task to improve the machine more without doing more into troubleshooting. That wouldn't last long unfortunately, but it was a nice change of pace. One cool thing which you can see in the last image is the burn in from the Insert Coin/Free Play text that was always on the screen. You dont notice it when the tube is running so its cool to see it when its off.

0 comments
Stage 4: RELOAD Nov 1, 2026

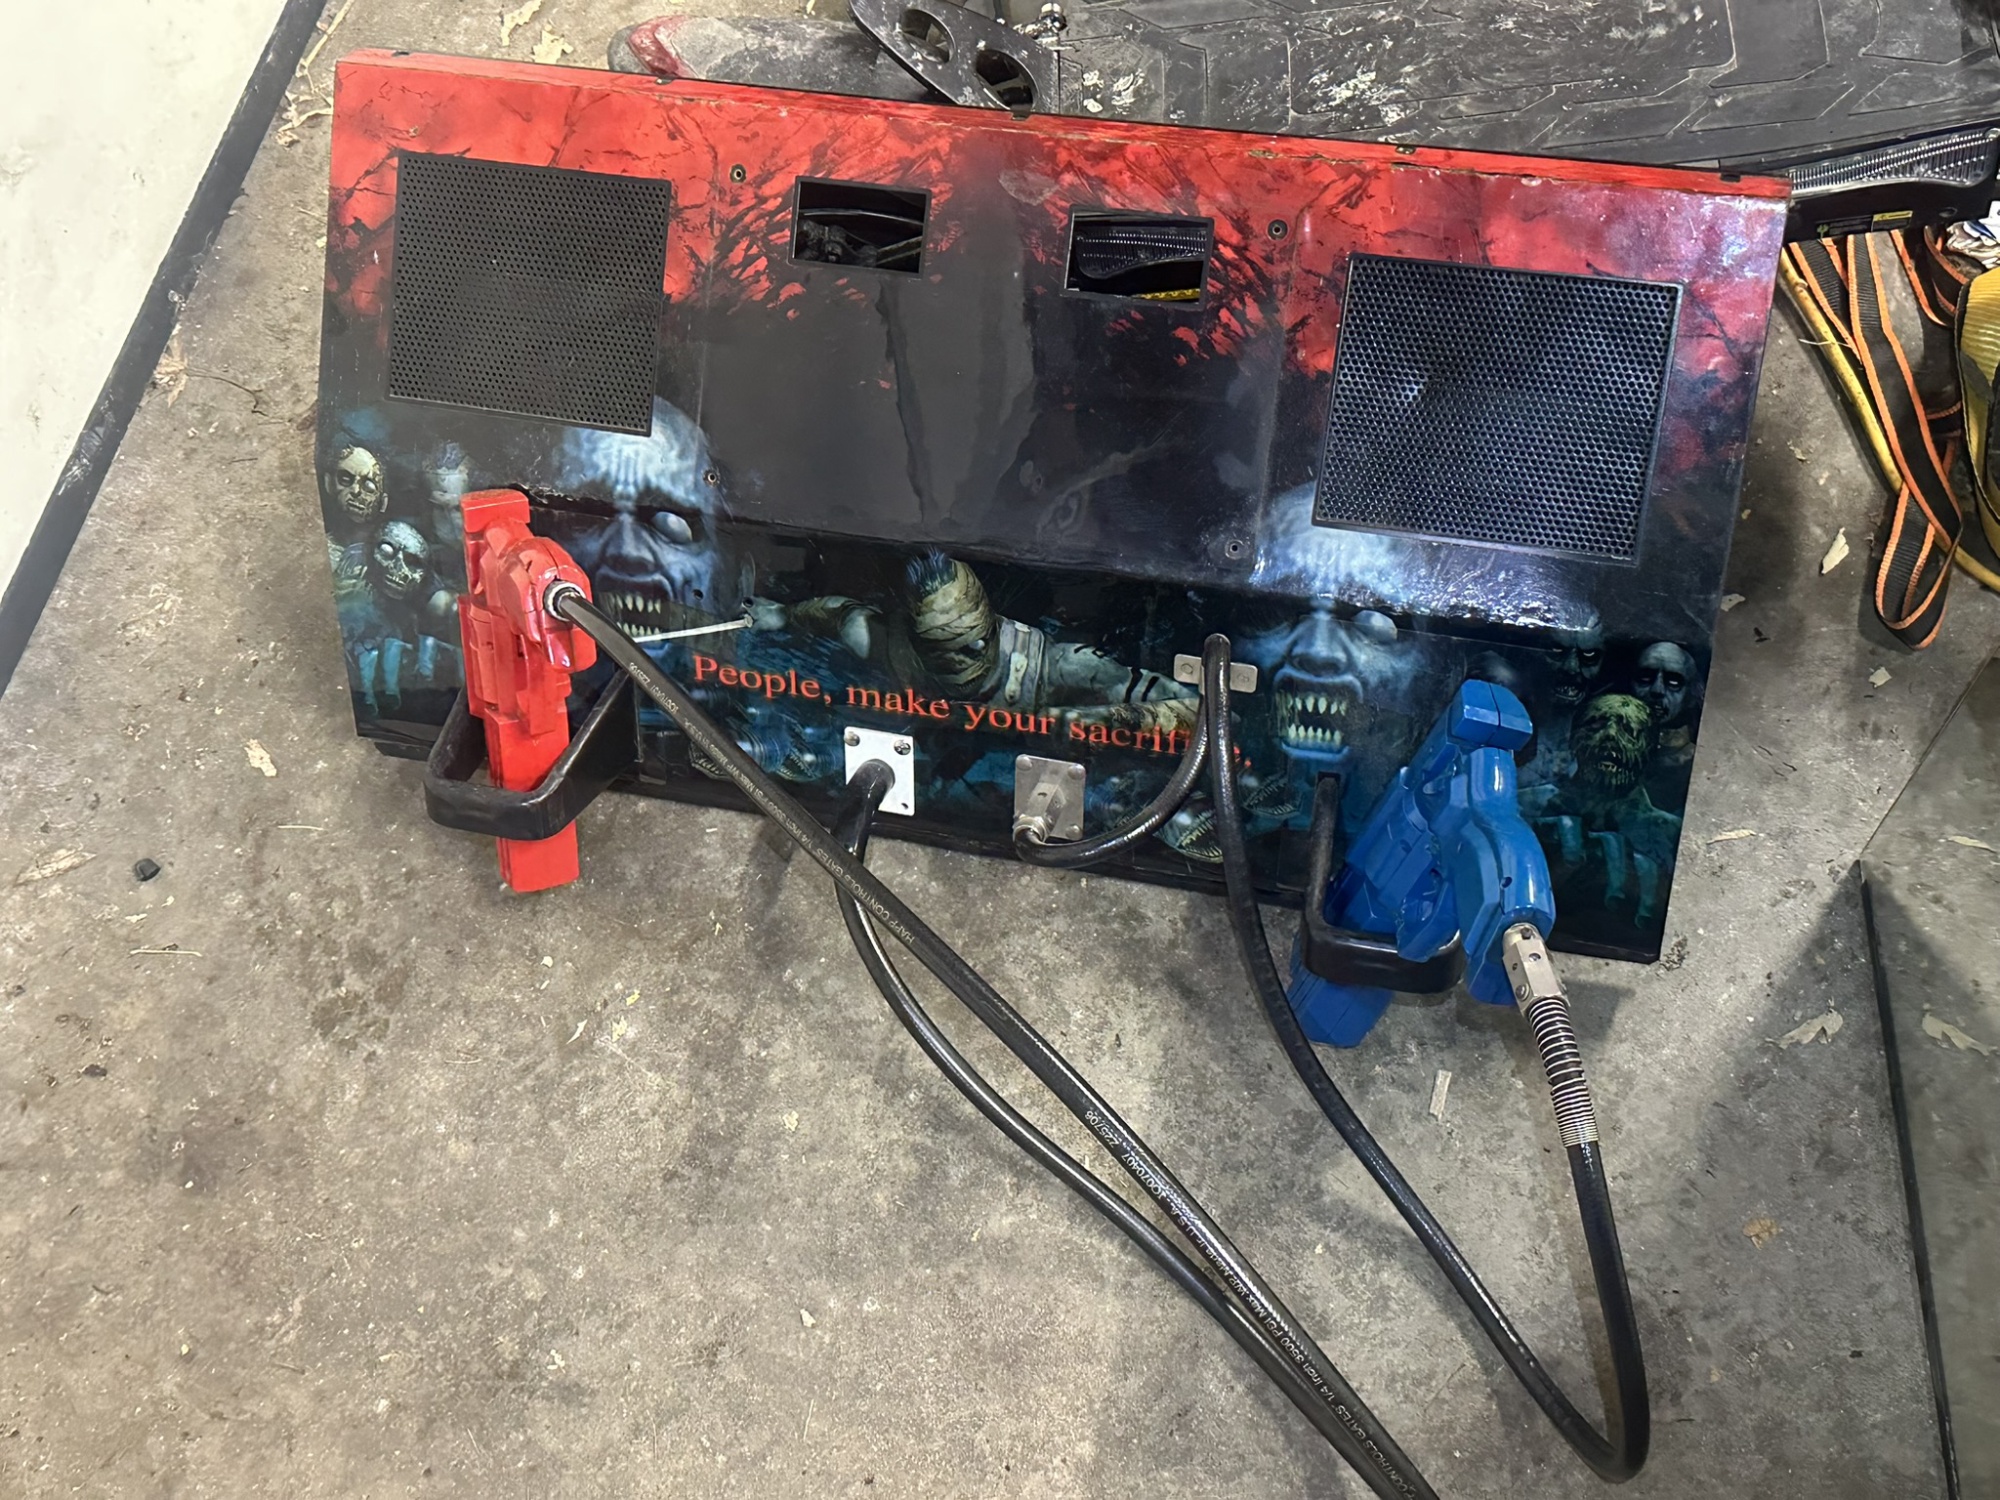
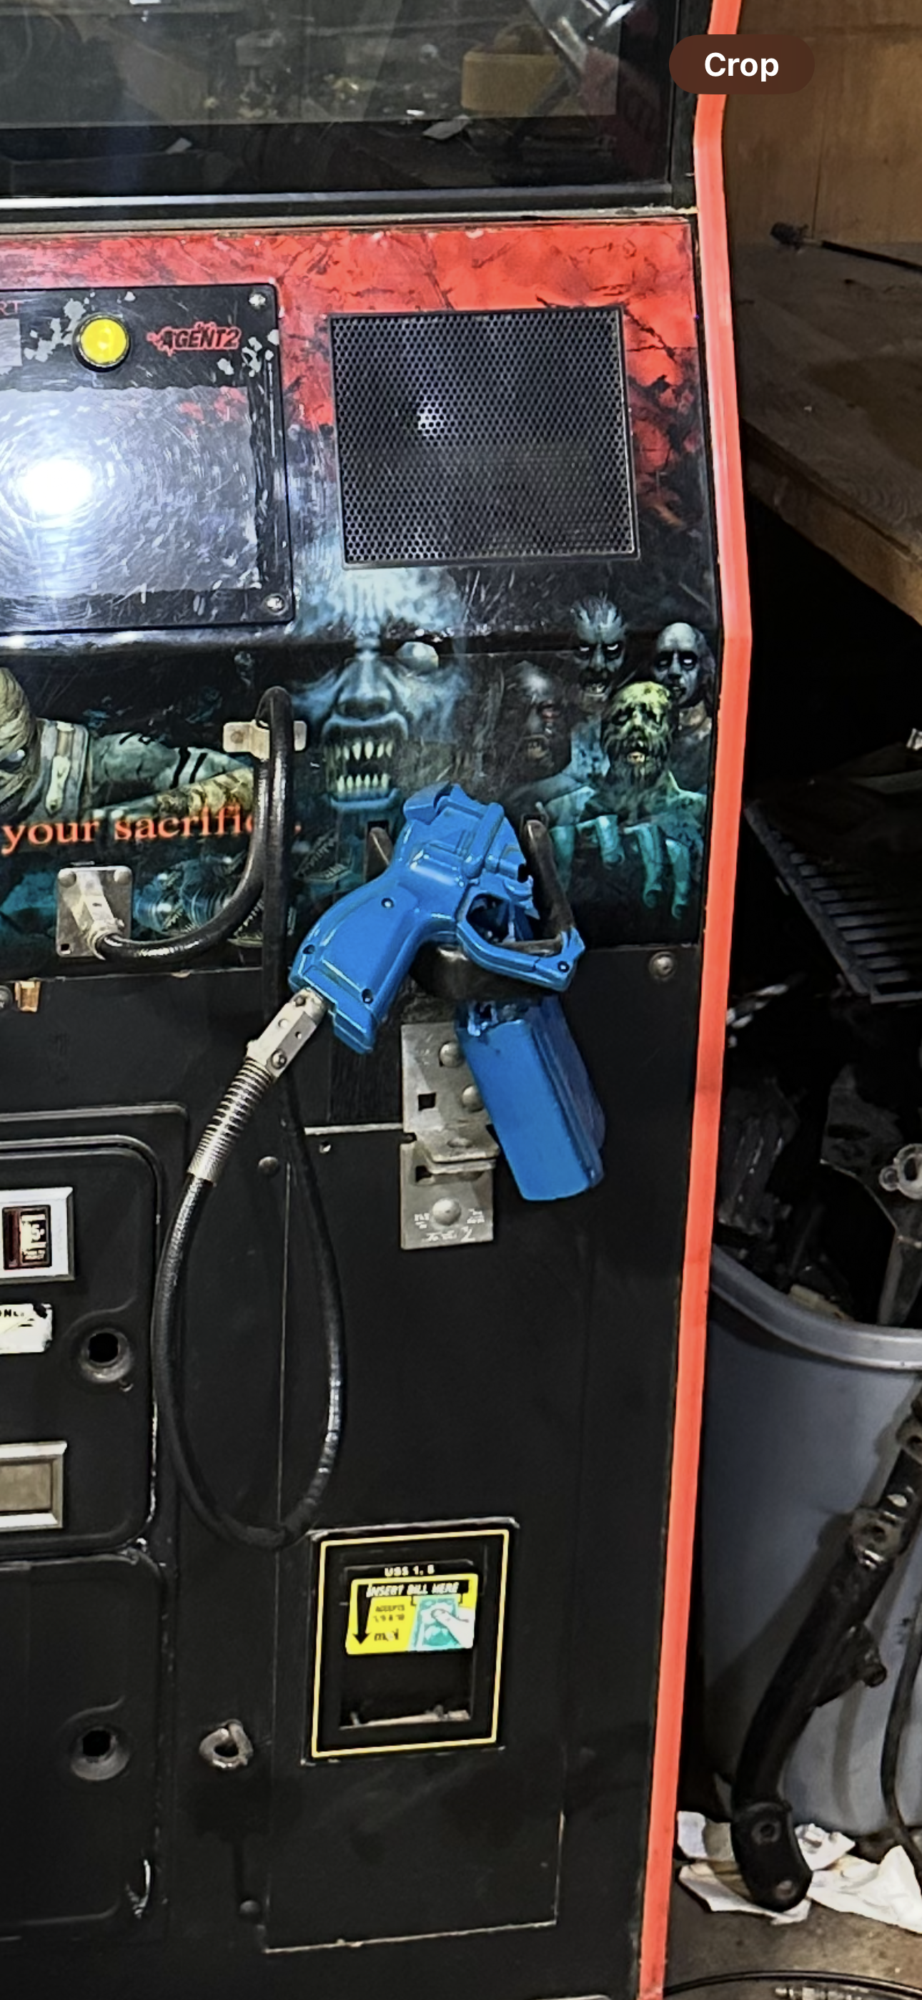
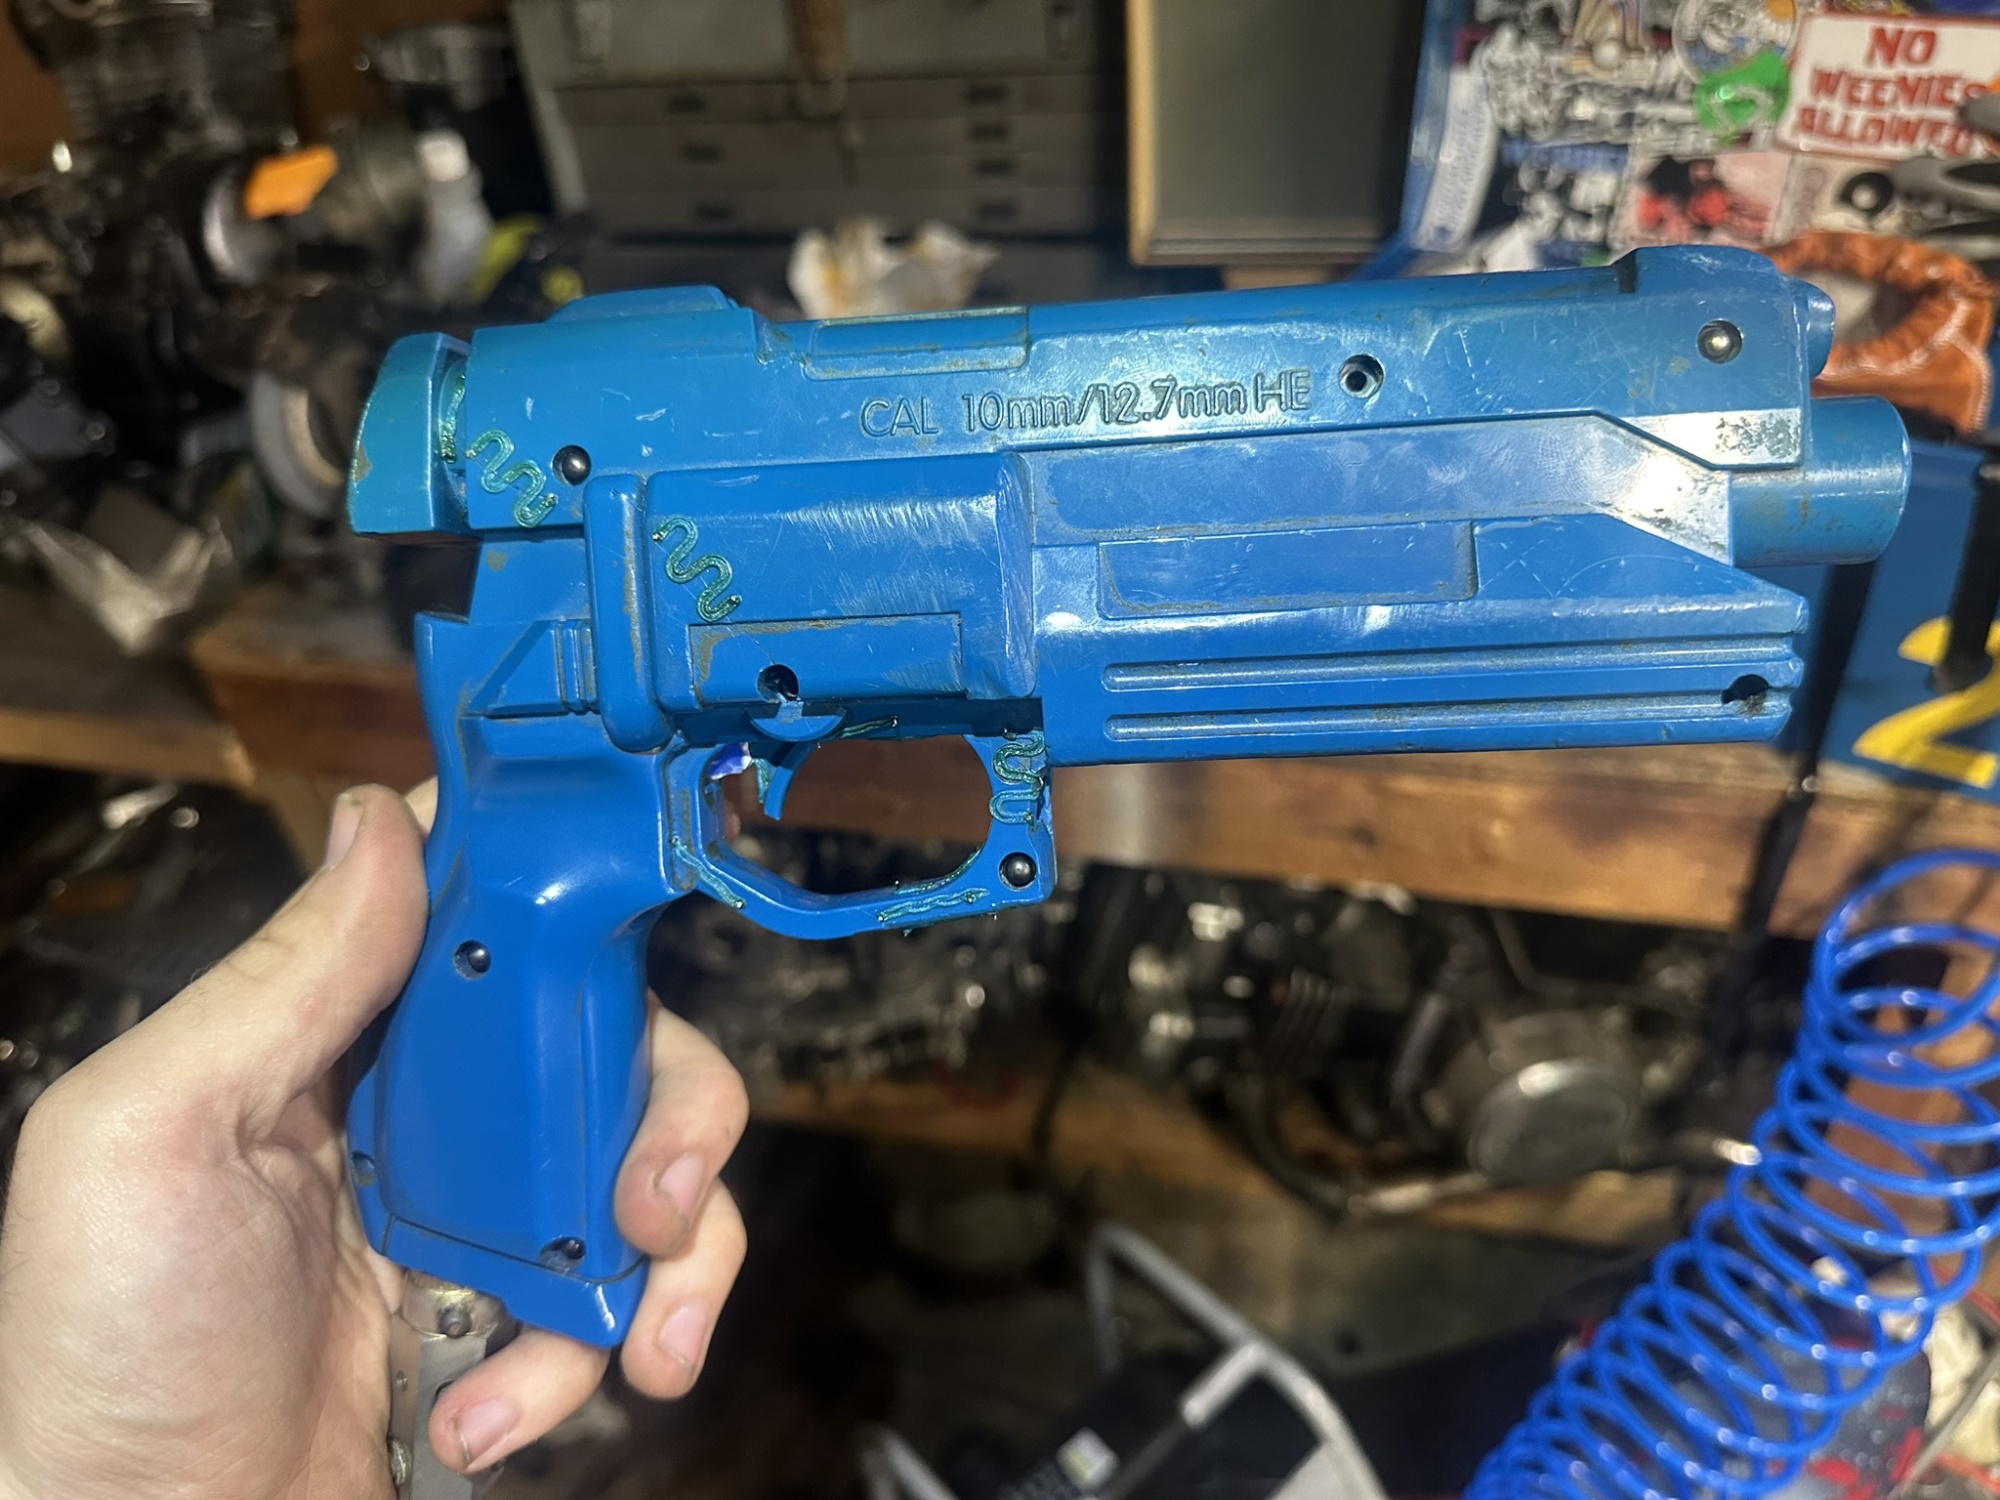
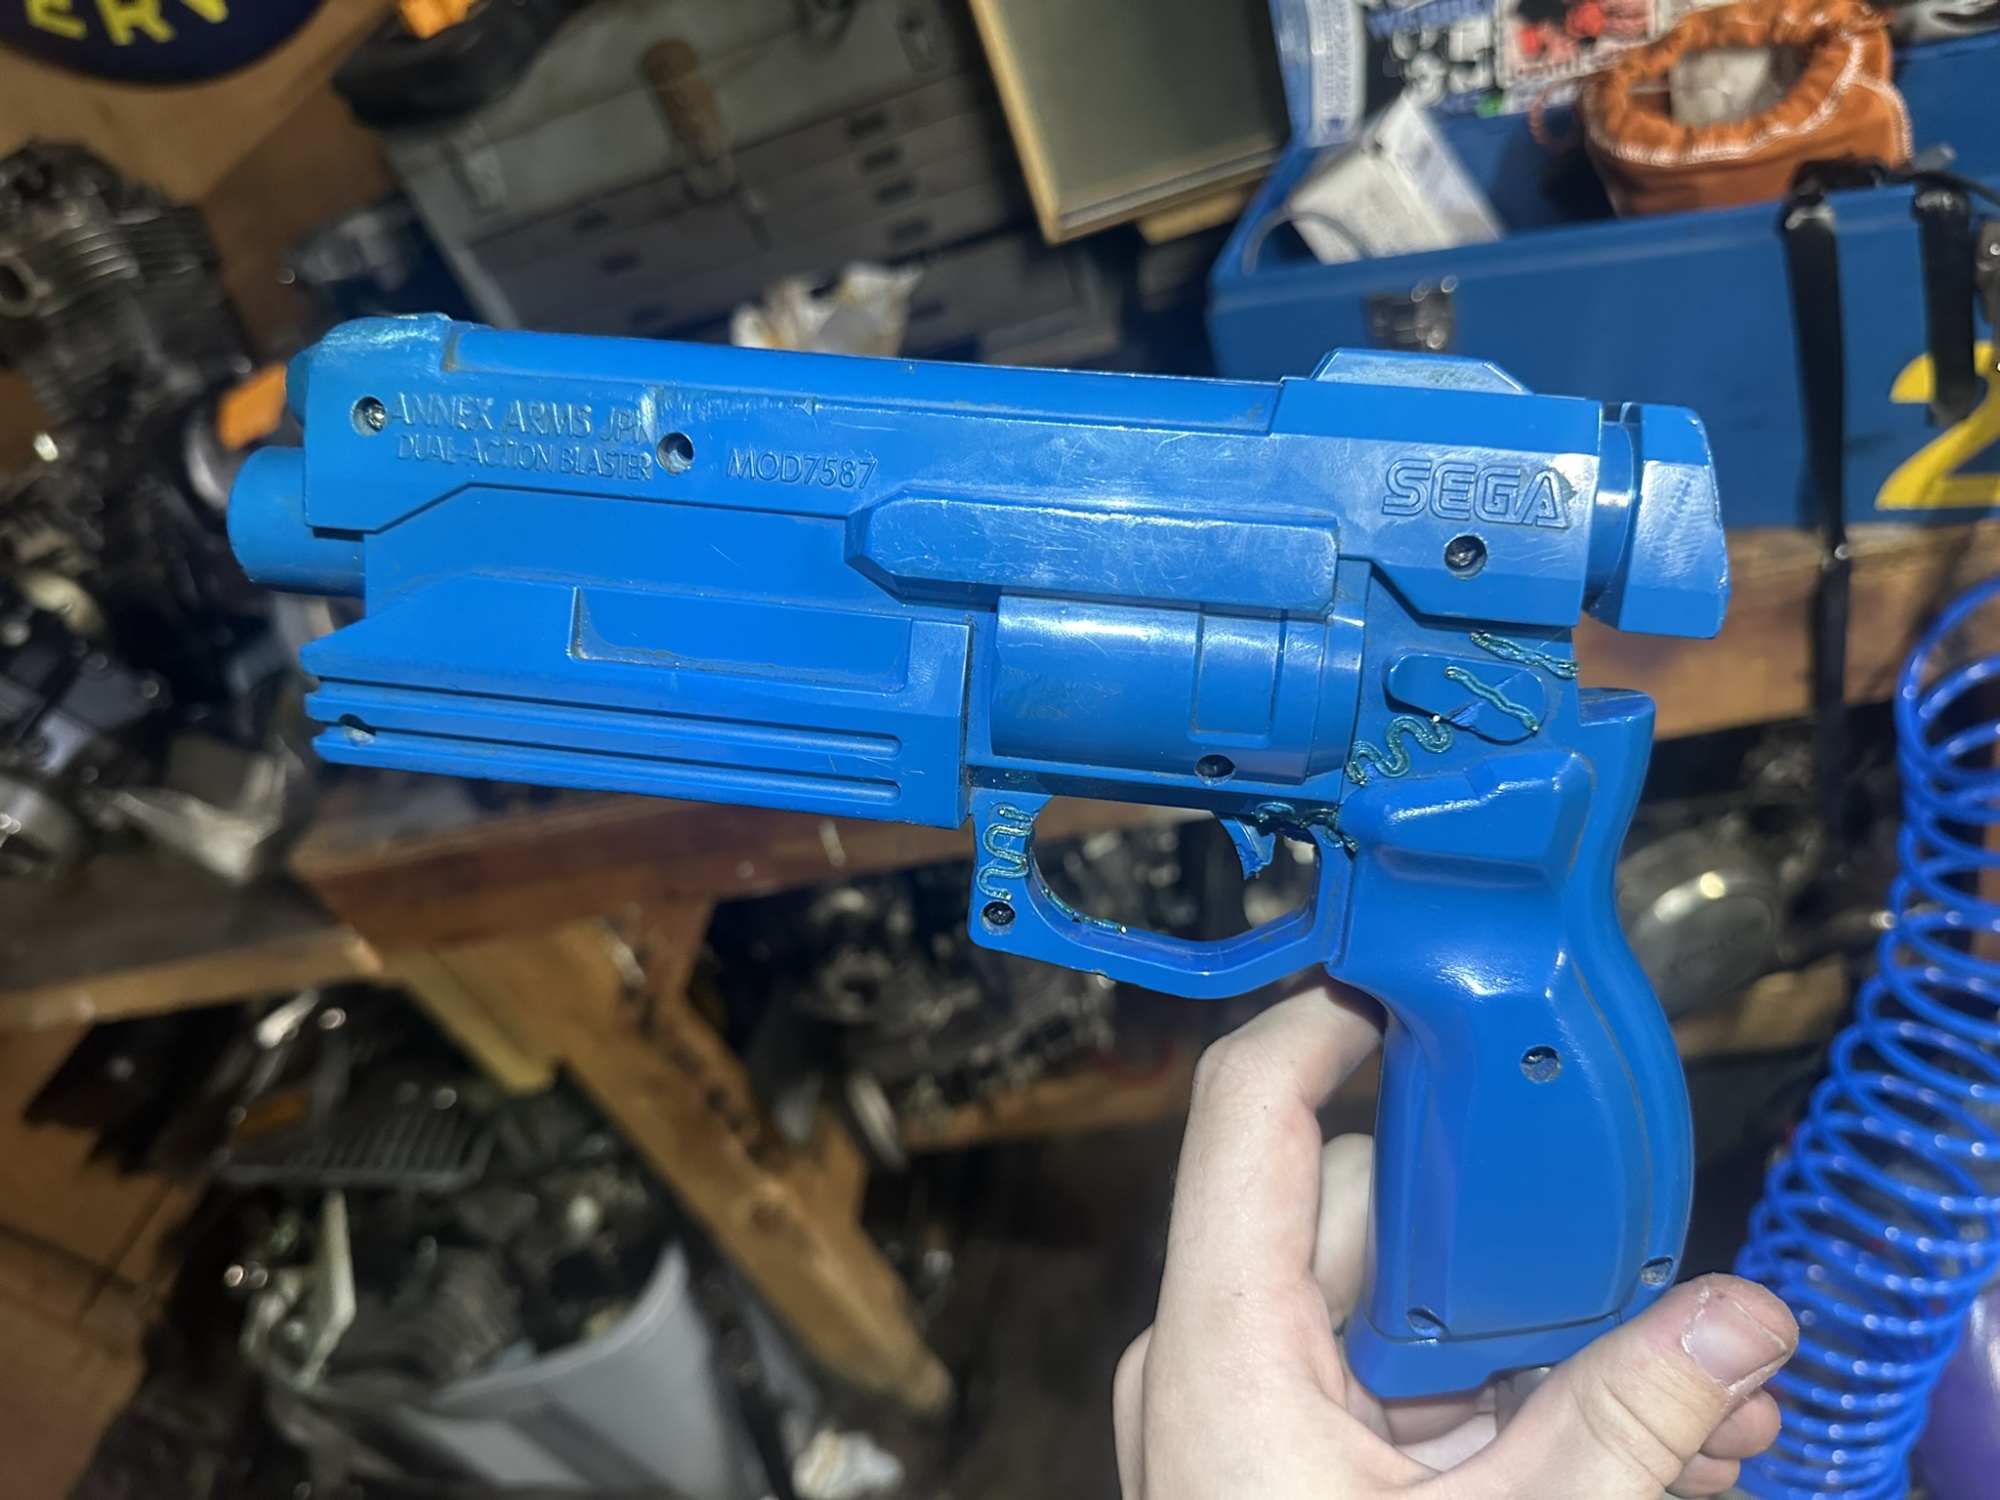
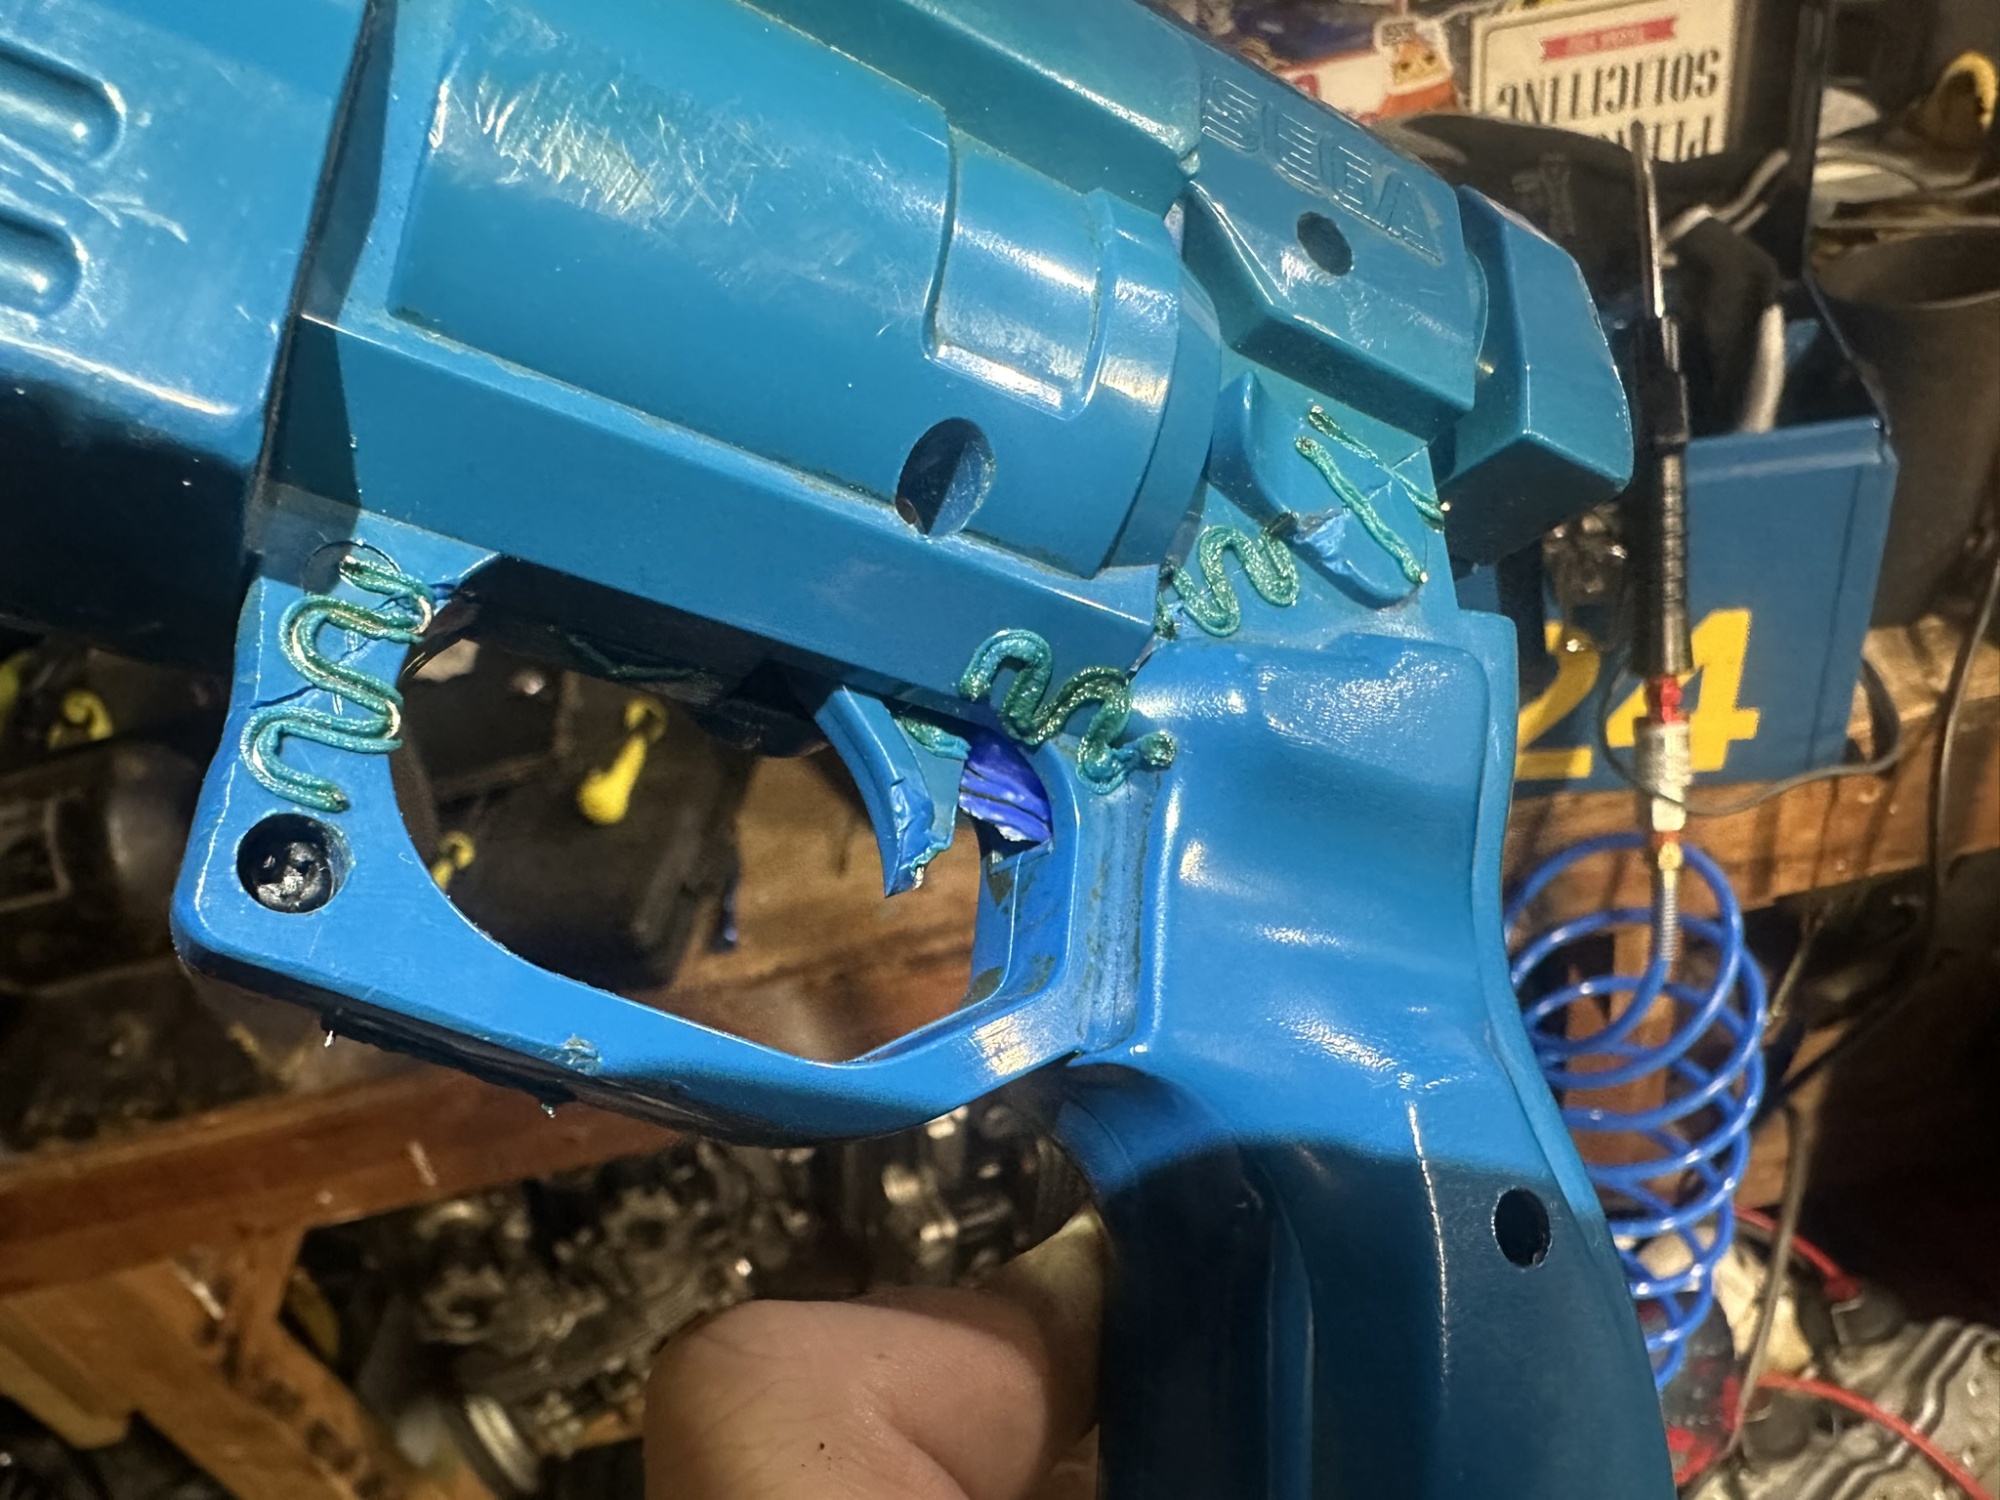
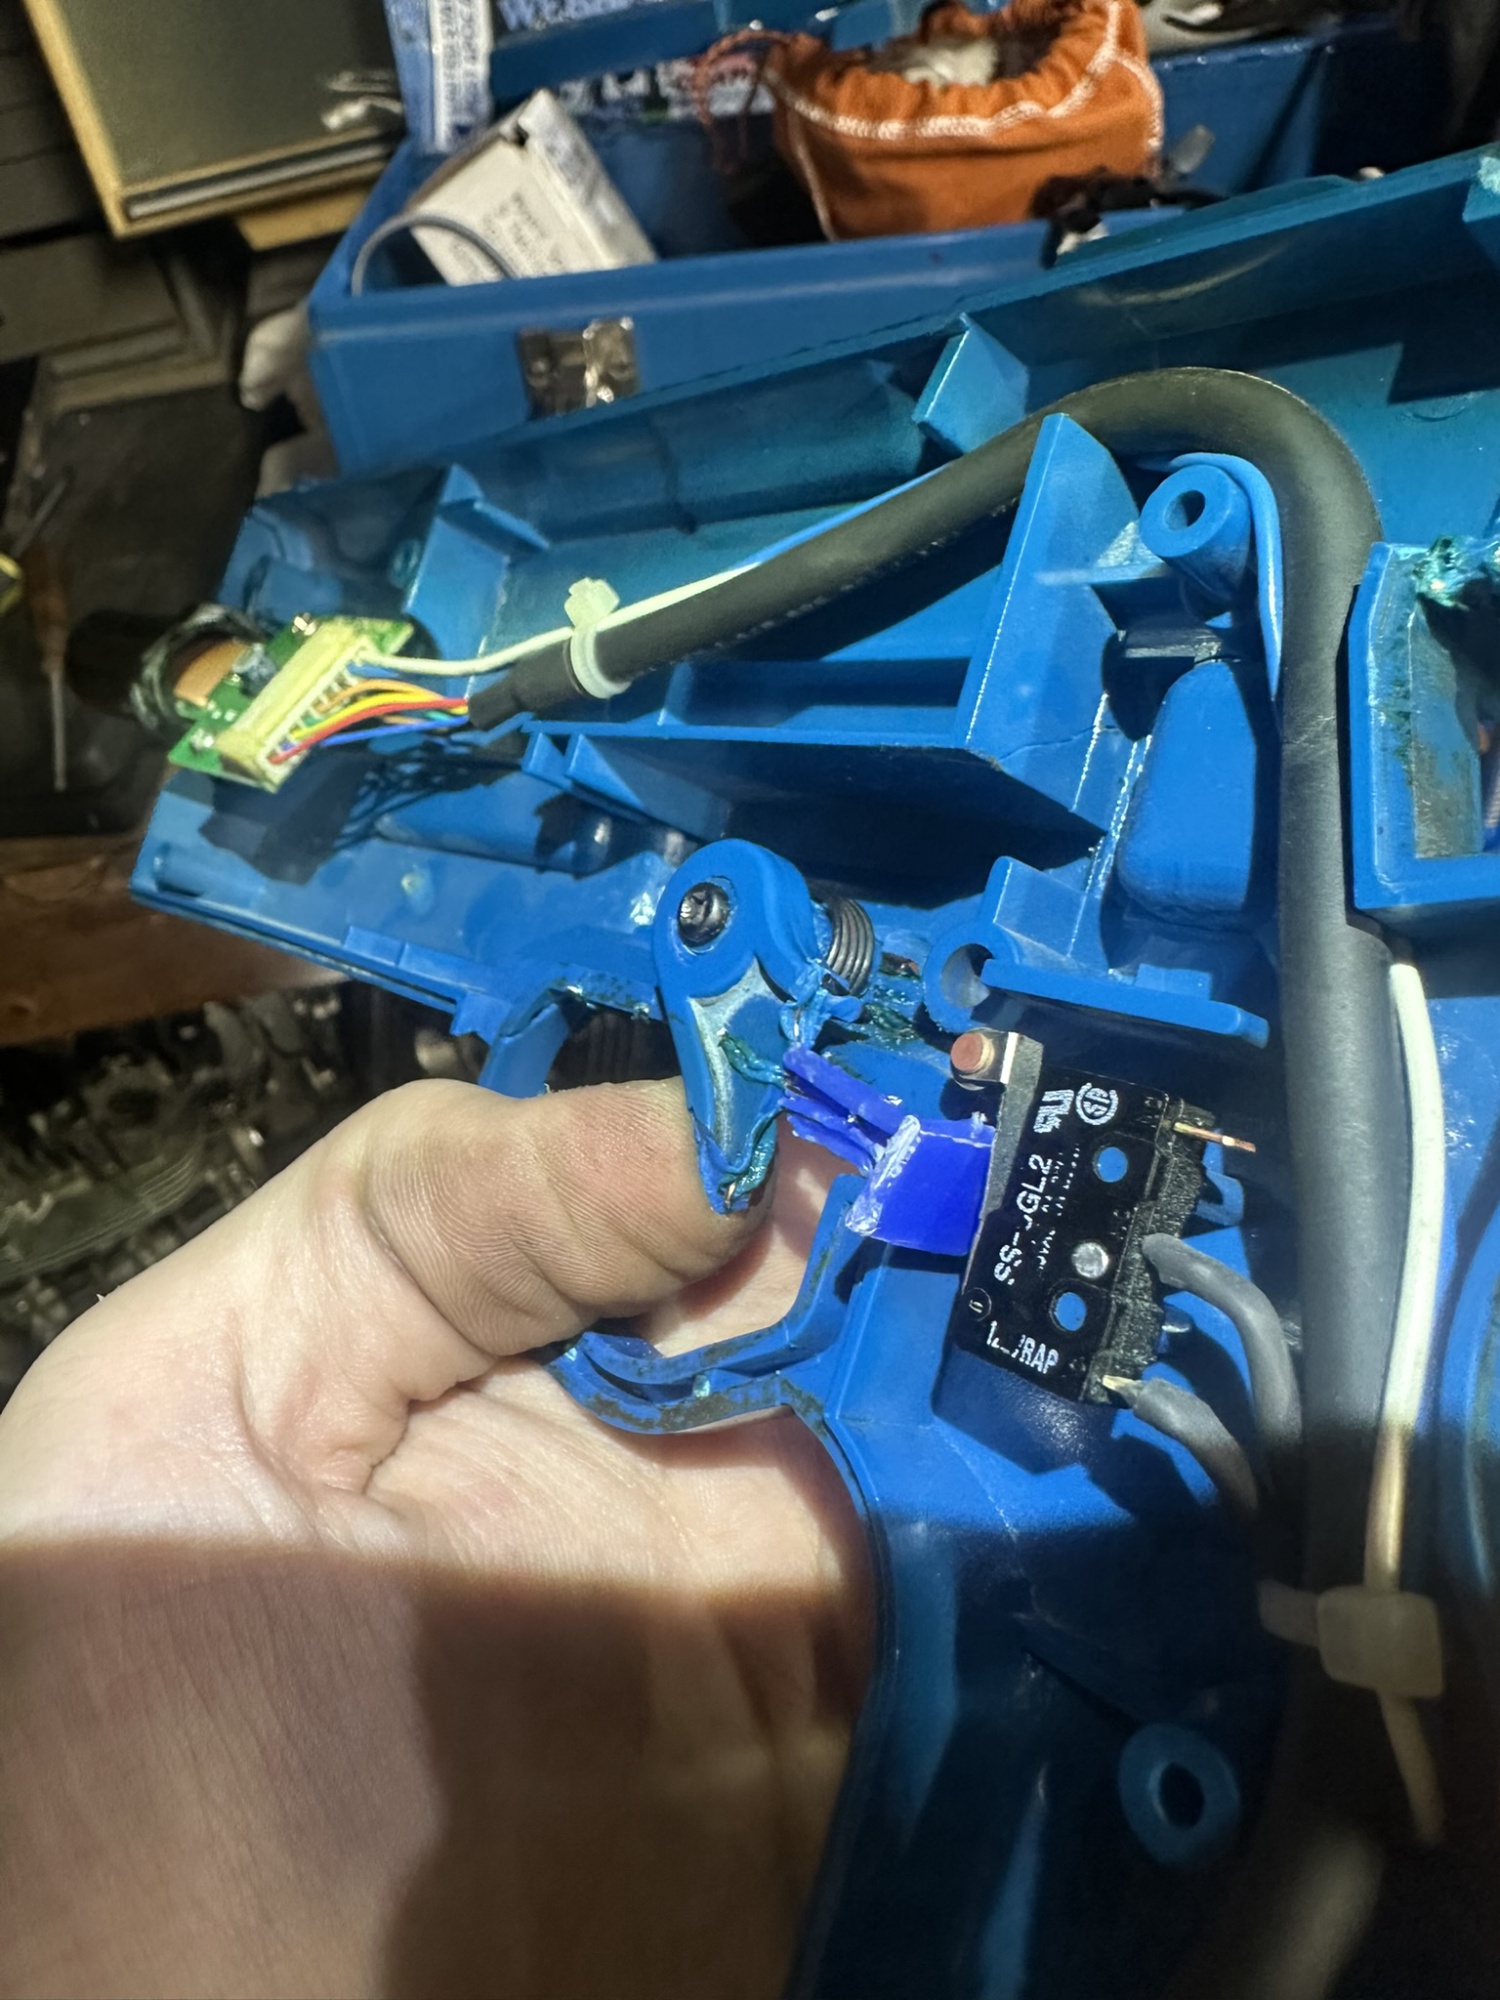
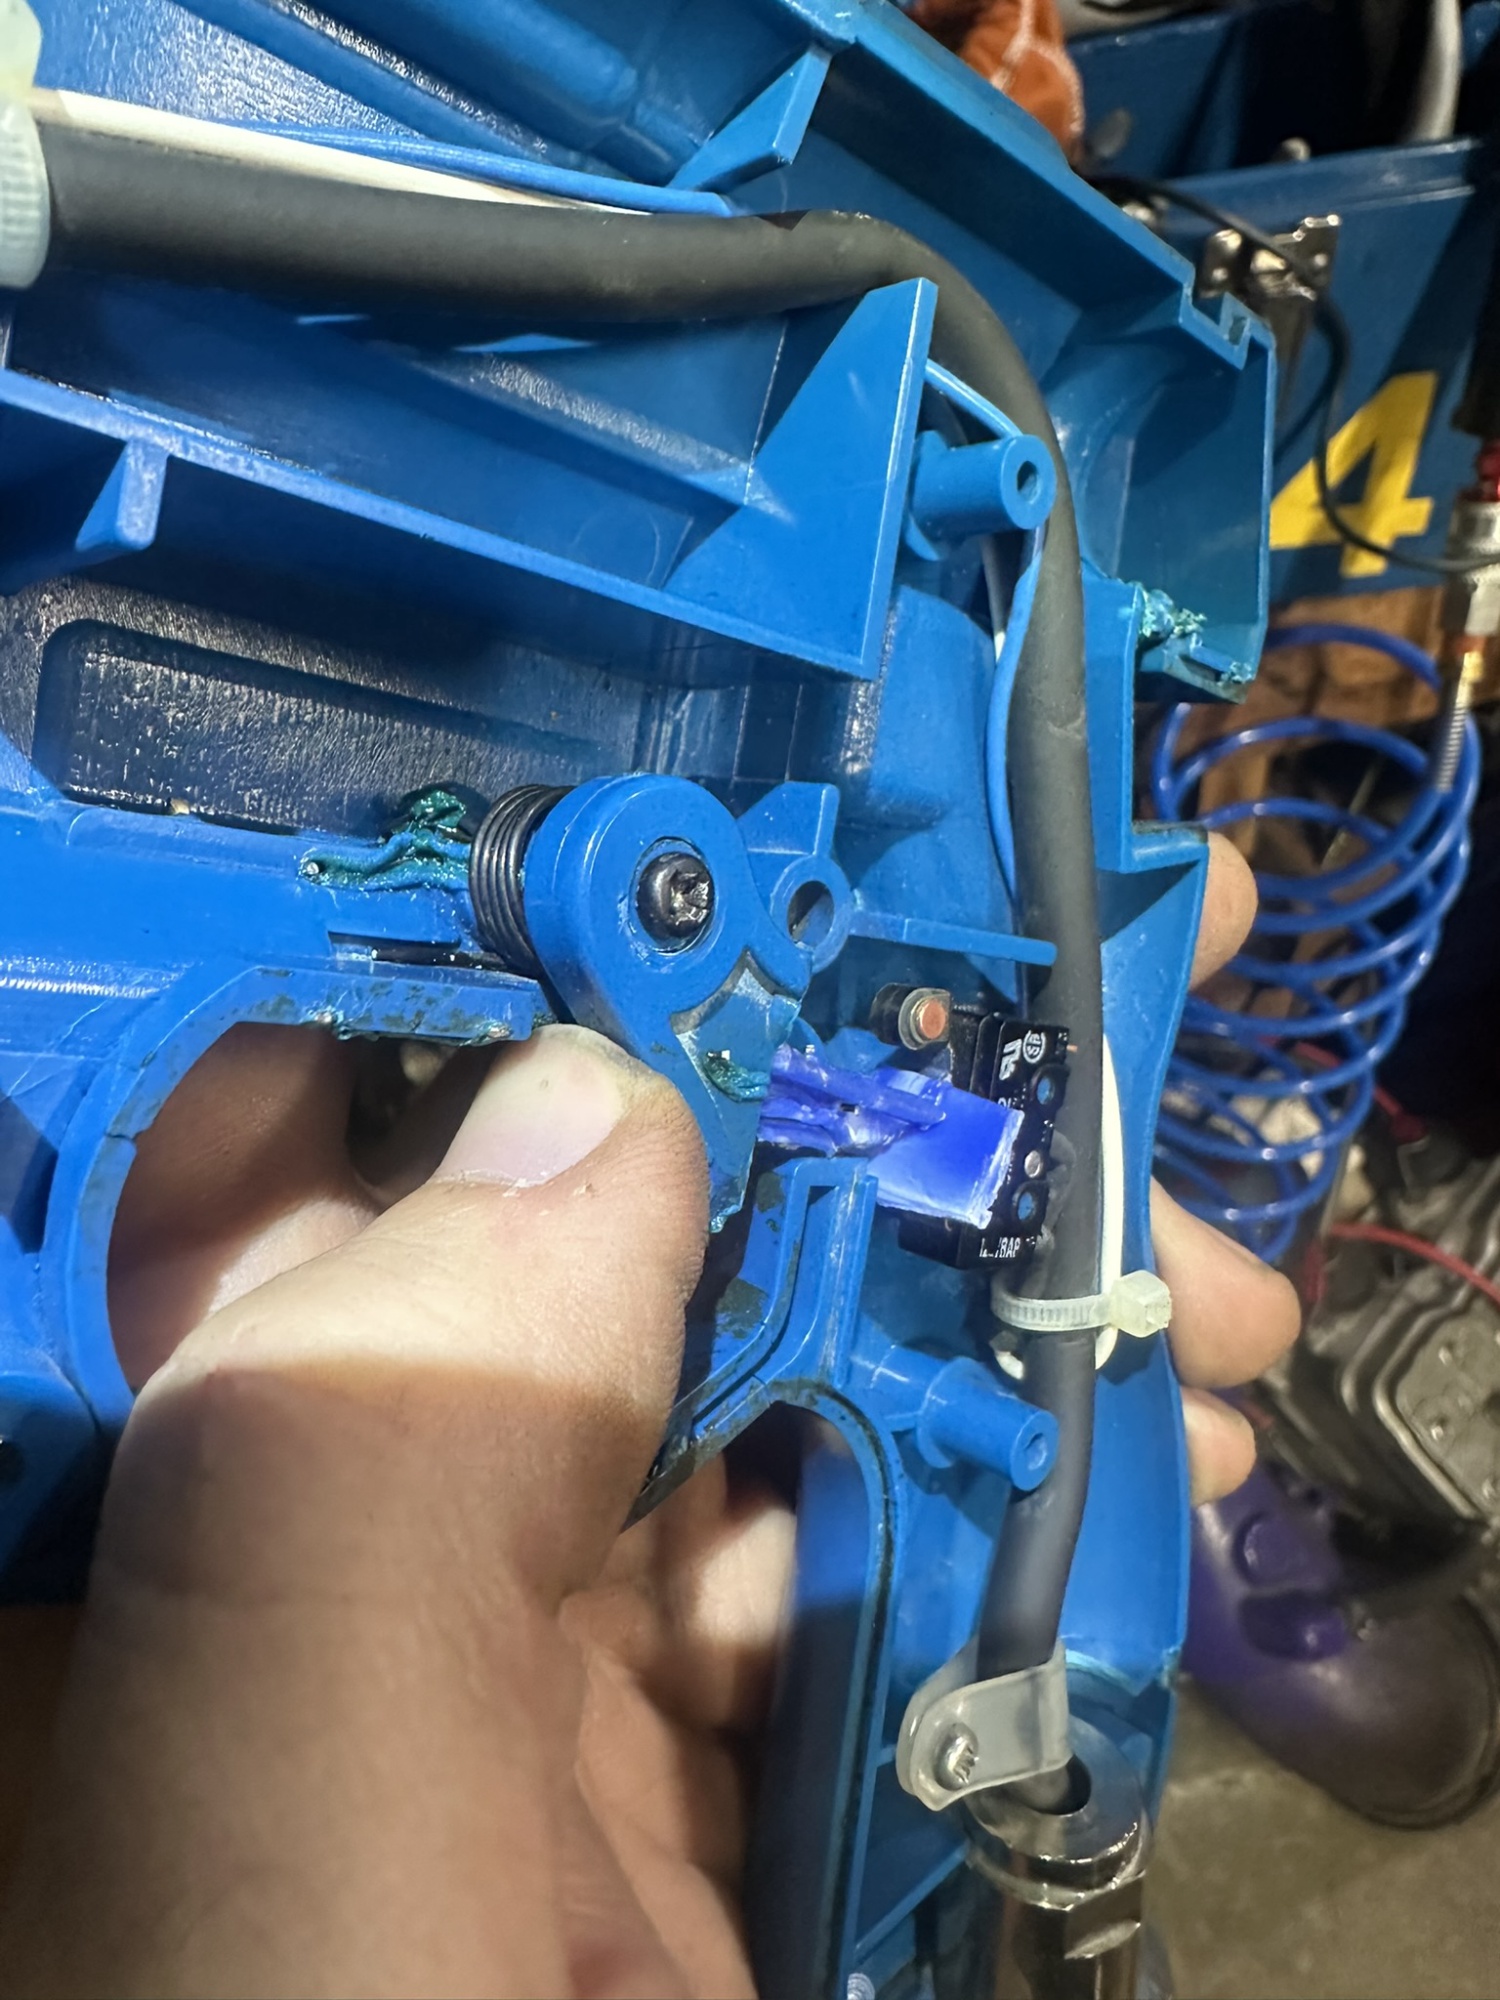
After we got the cabinet to show some life I decided to give the Player 2 gun some love. At some point while it sat stored in my buddies garage one of his friends slammed into the machine and shattered the blue gun. This is the price we pay for free storage folks. I planned on replacing the gun plastics anyway (more on that later) so I figured I might as well just plastic weld the original back together for testing in the meantime. The result was surprisingly clean, at least given the circumstances. Some creative liberties had to be taken to get the trigger functional as most of the plastic had broken off and been lost, but for testing purposes it works great!
0 comments
Stage 3: Seeing Purple Nov 1, 2026

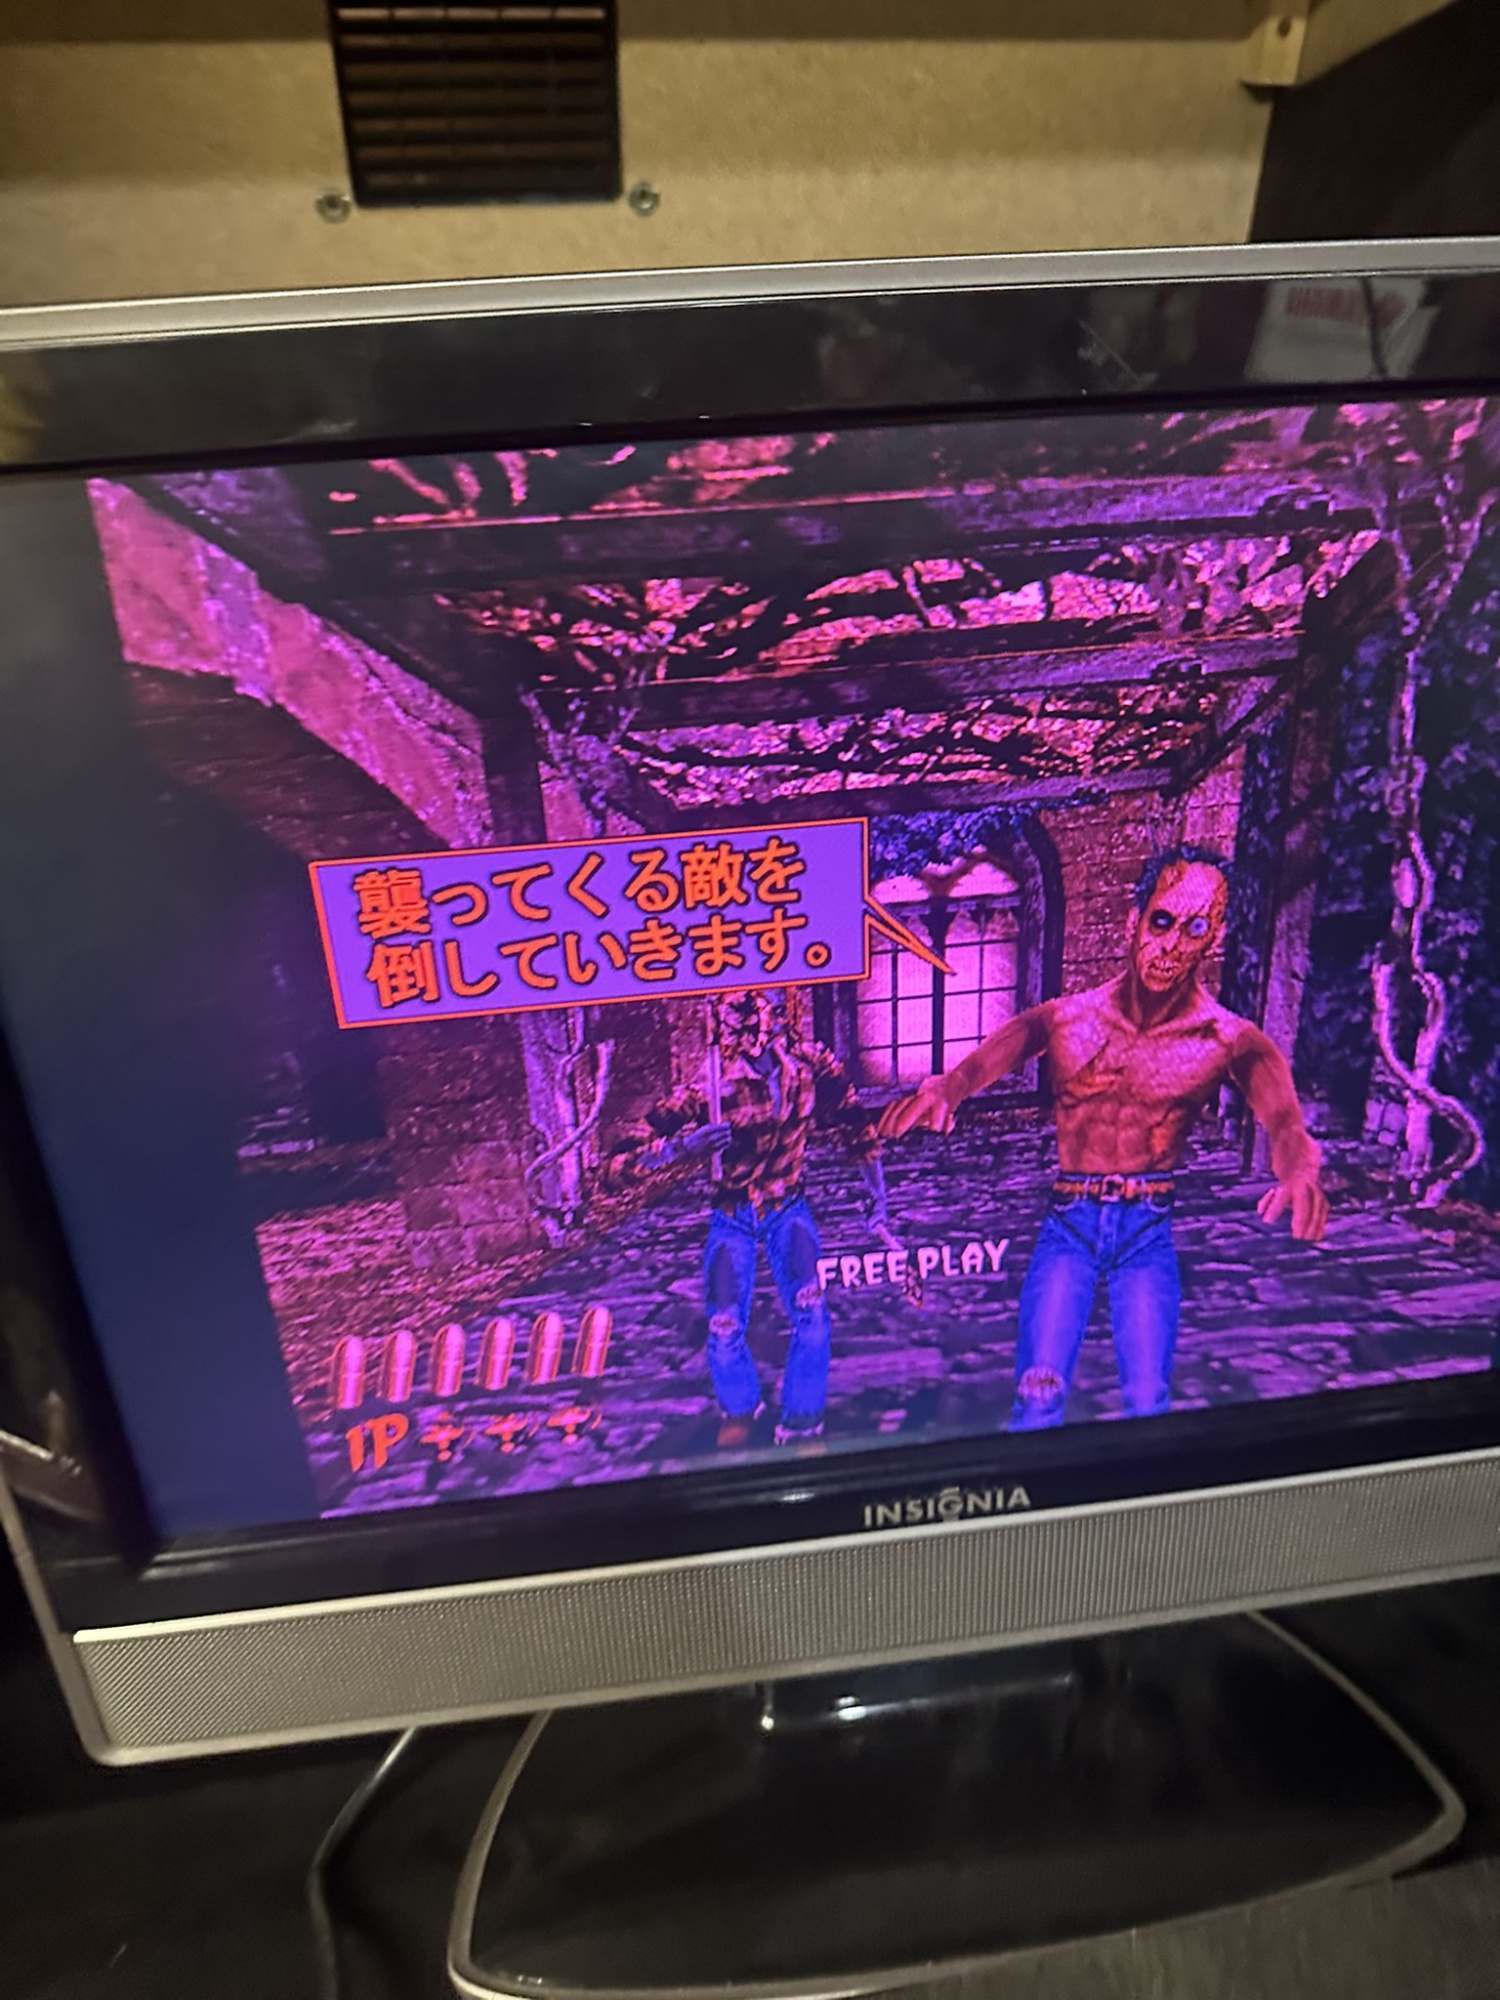
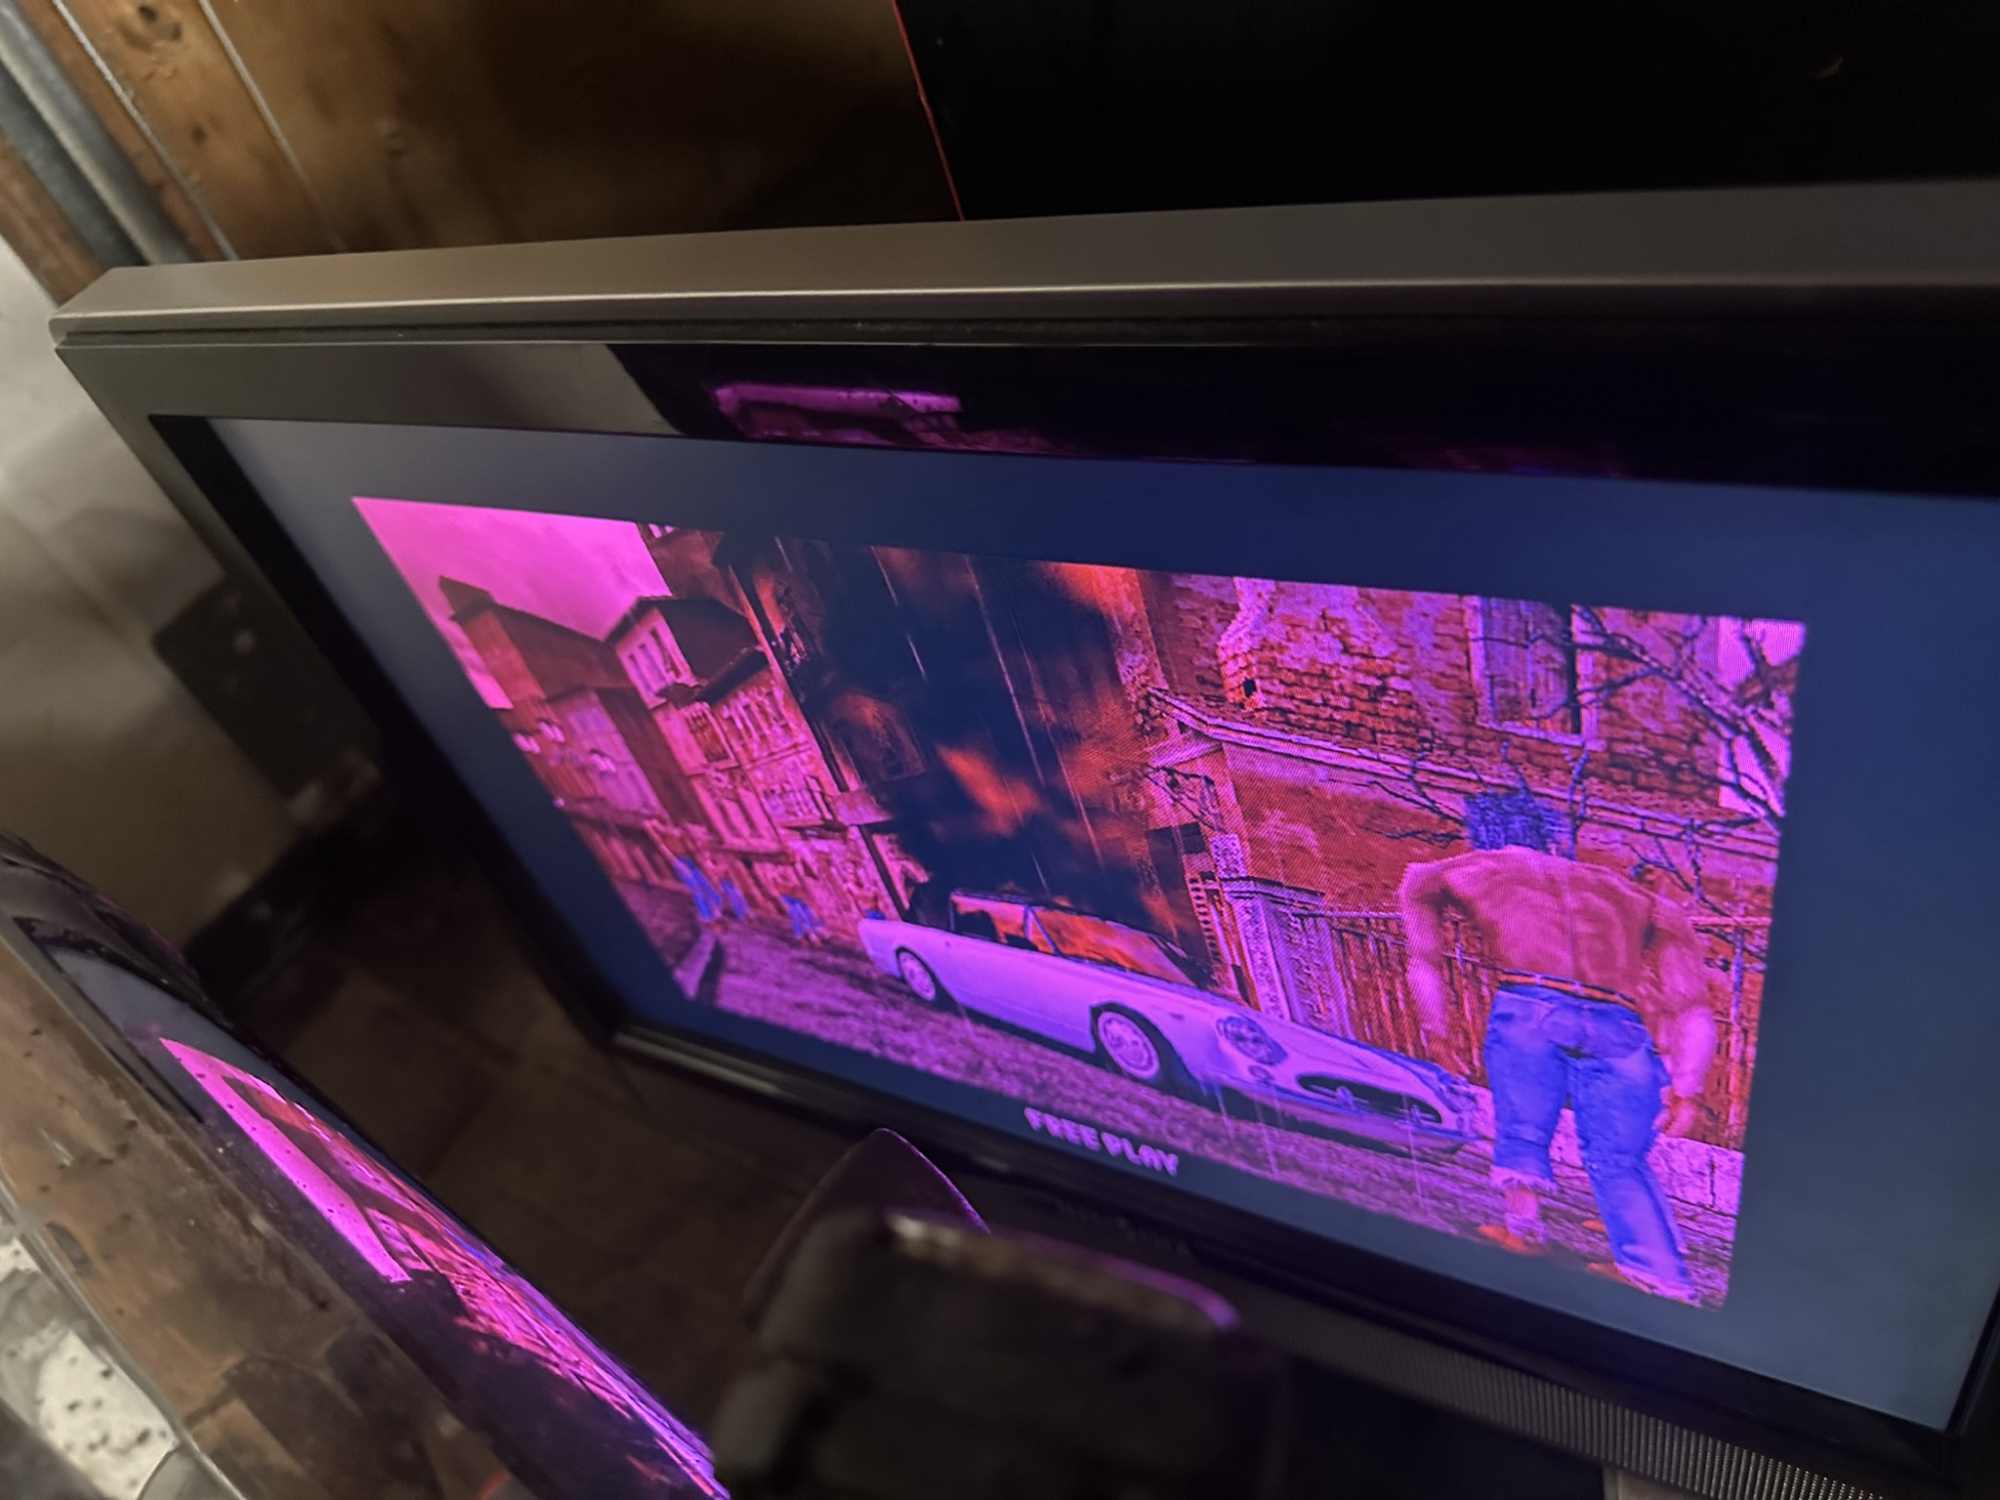
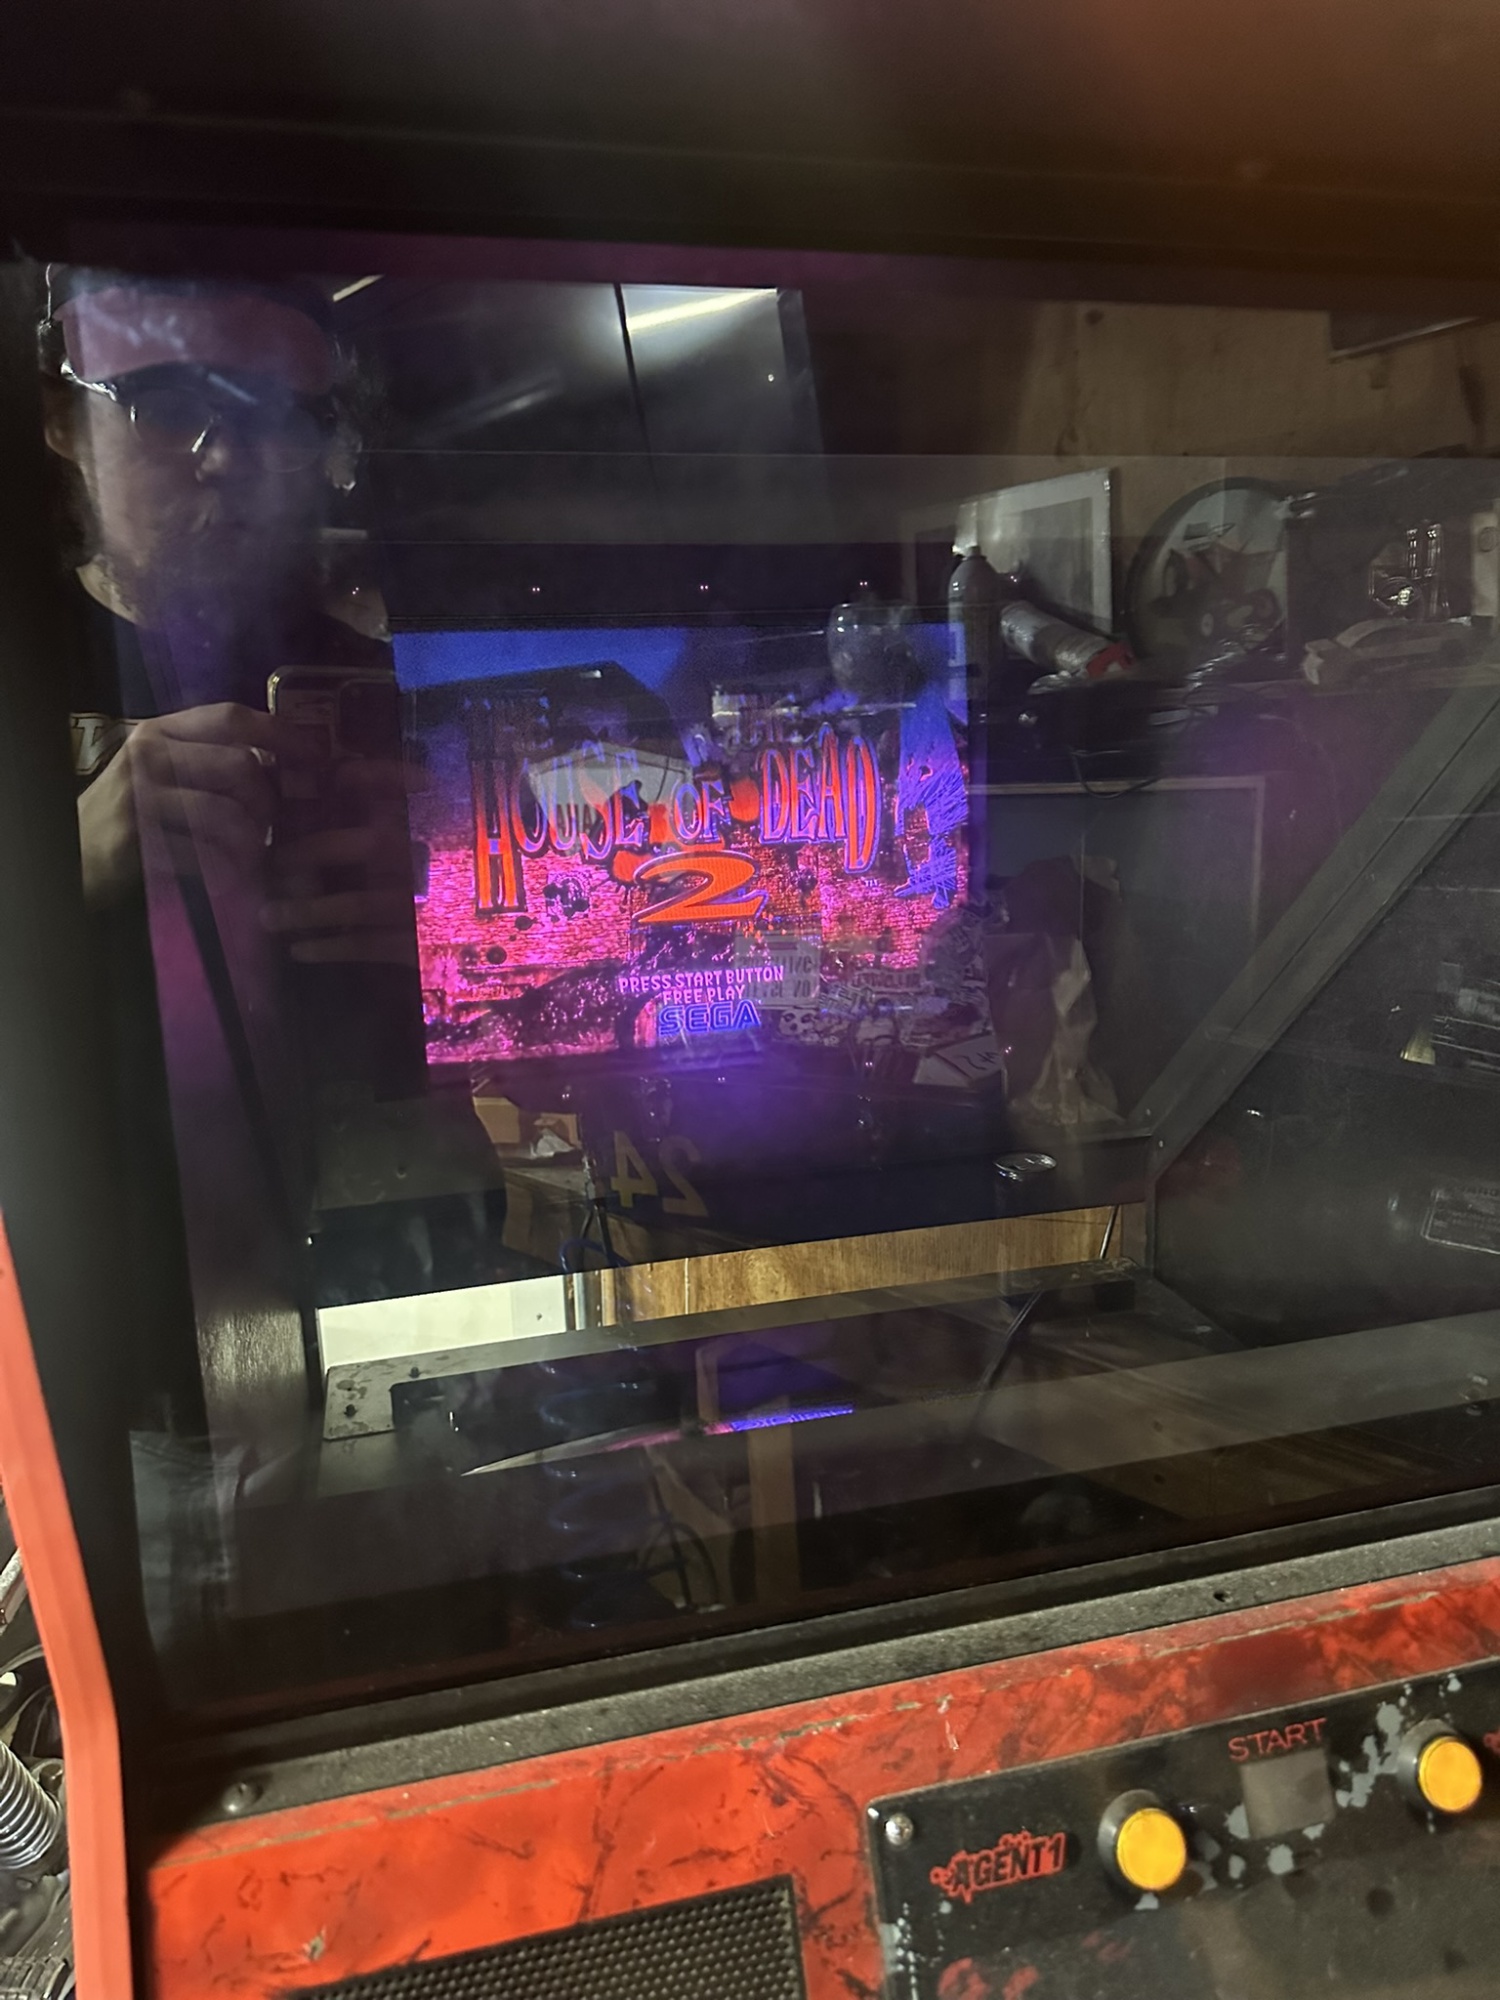
Reinstalling the board back into the machine led initially to disapointment. Powered on, no output still. No video on screen, no reaction from any front facing or service buttons, just the sounds of fans spinning and the shine from the marquee lights. I started investigating deeper, praying that the monitor wasnt bad. Under darkness I could see that the neck of the CRT was glowing, so that quelled my fears for the tube itself. Out of curiosity I went and got a VGA flat panel monitor to plug into as a  sanity check and rebooted the machine. To my surprise we had boot! I could see the initialization screen and eventually the game itself! With one caveat, it was very... purple. I wasn't 100% confident in the repair attempt on one of the RGB filter caps as there wasnt much left of the VIA to solder to and my suspiscions were right as I seemingly had no green channel. A minor issue for now, the important part is we have game! I was so excited. I swapped the display back to the original montitor and we still had video, which was interesting, I figured it was an issue with the display at first but I guess not.

0 comments
Stage 2: Bridging the Gaps Nov 1, 2026

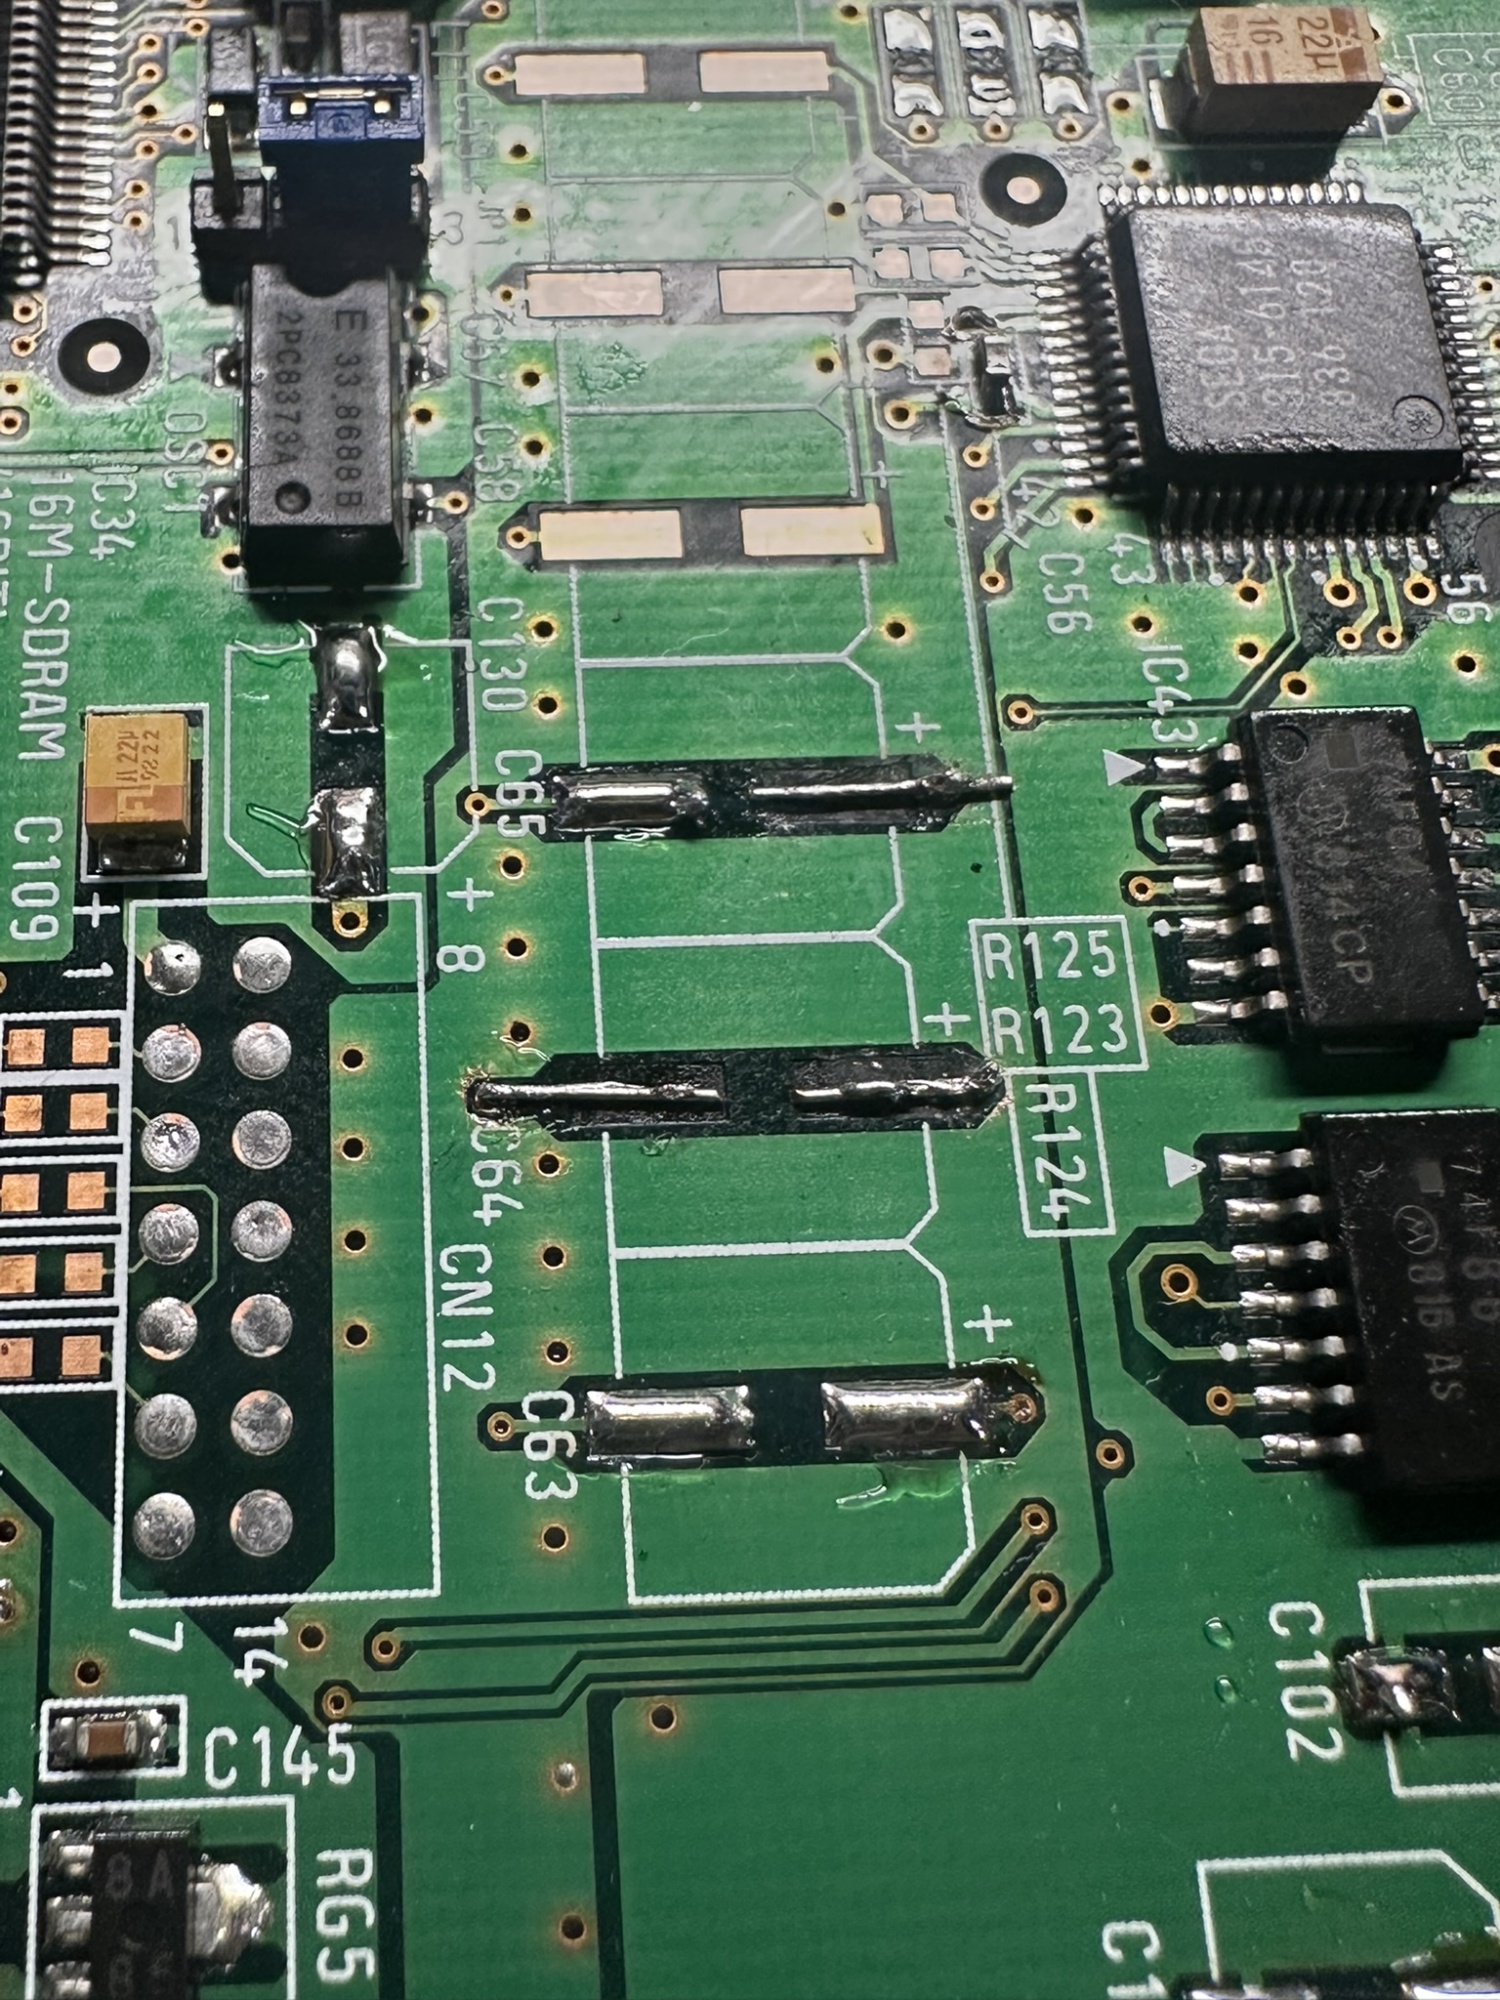
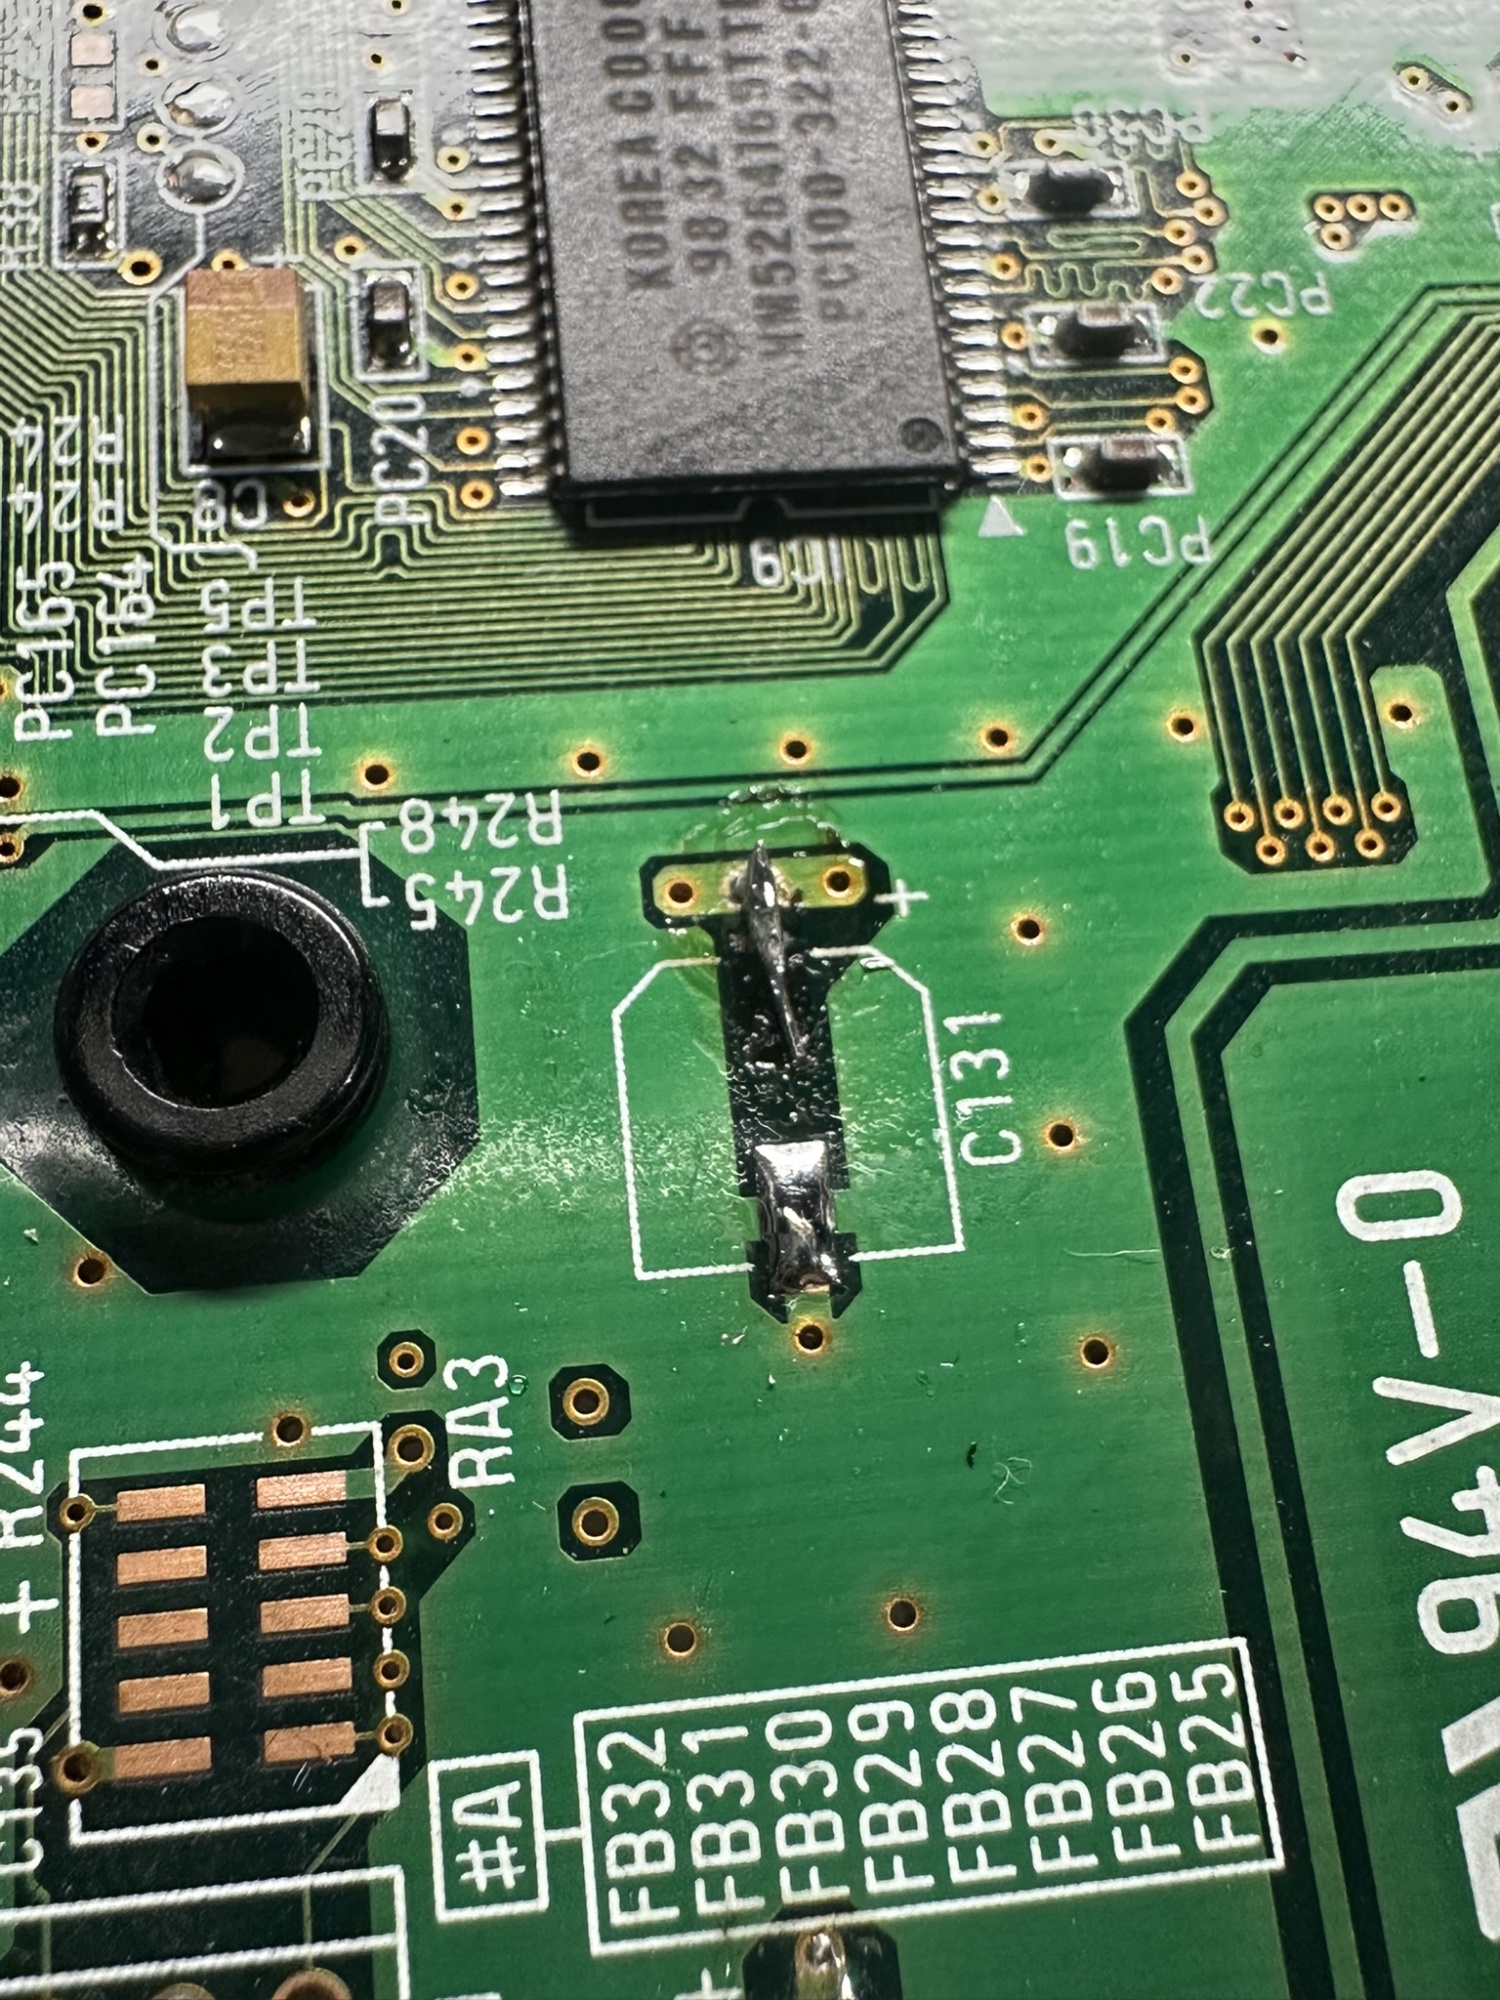
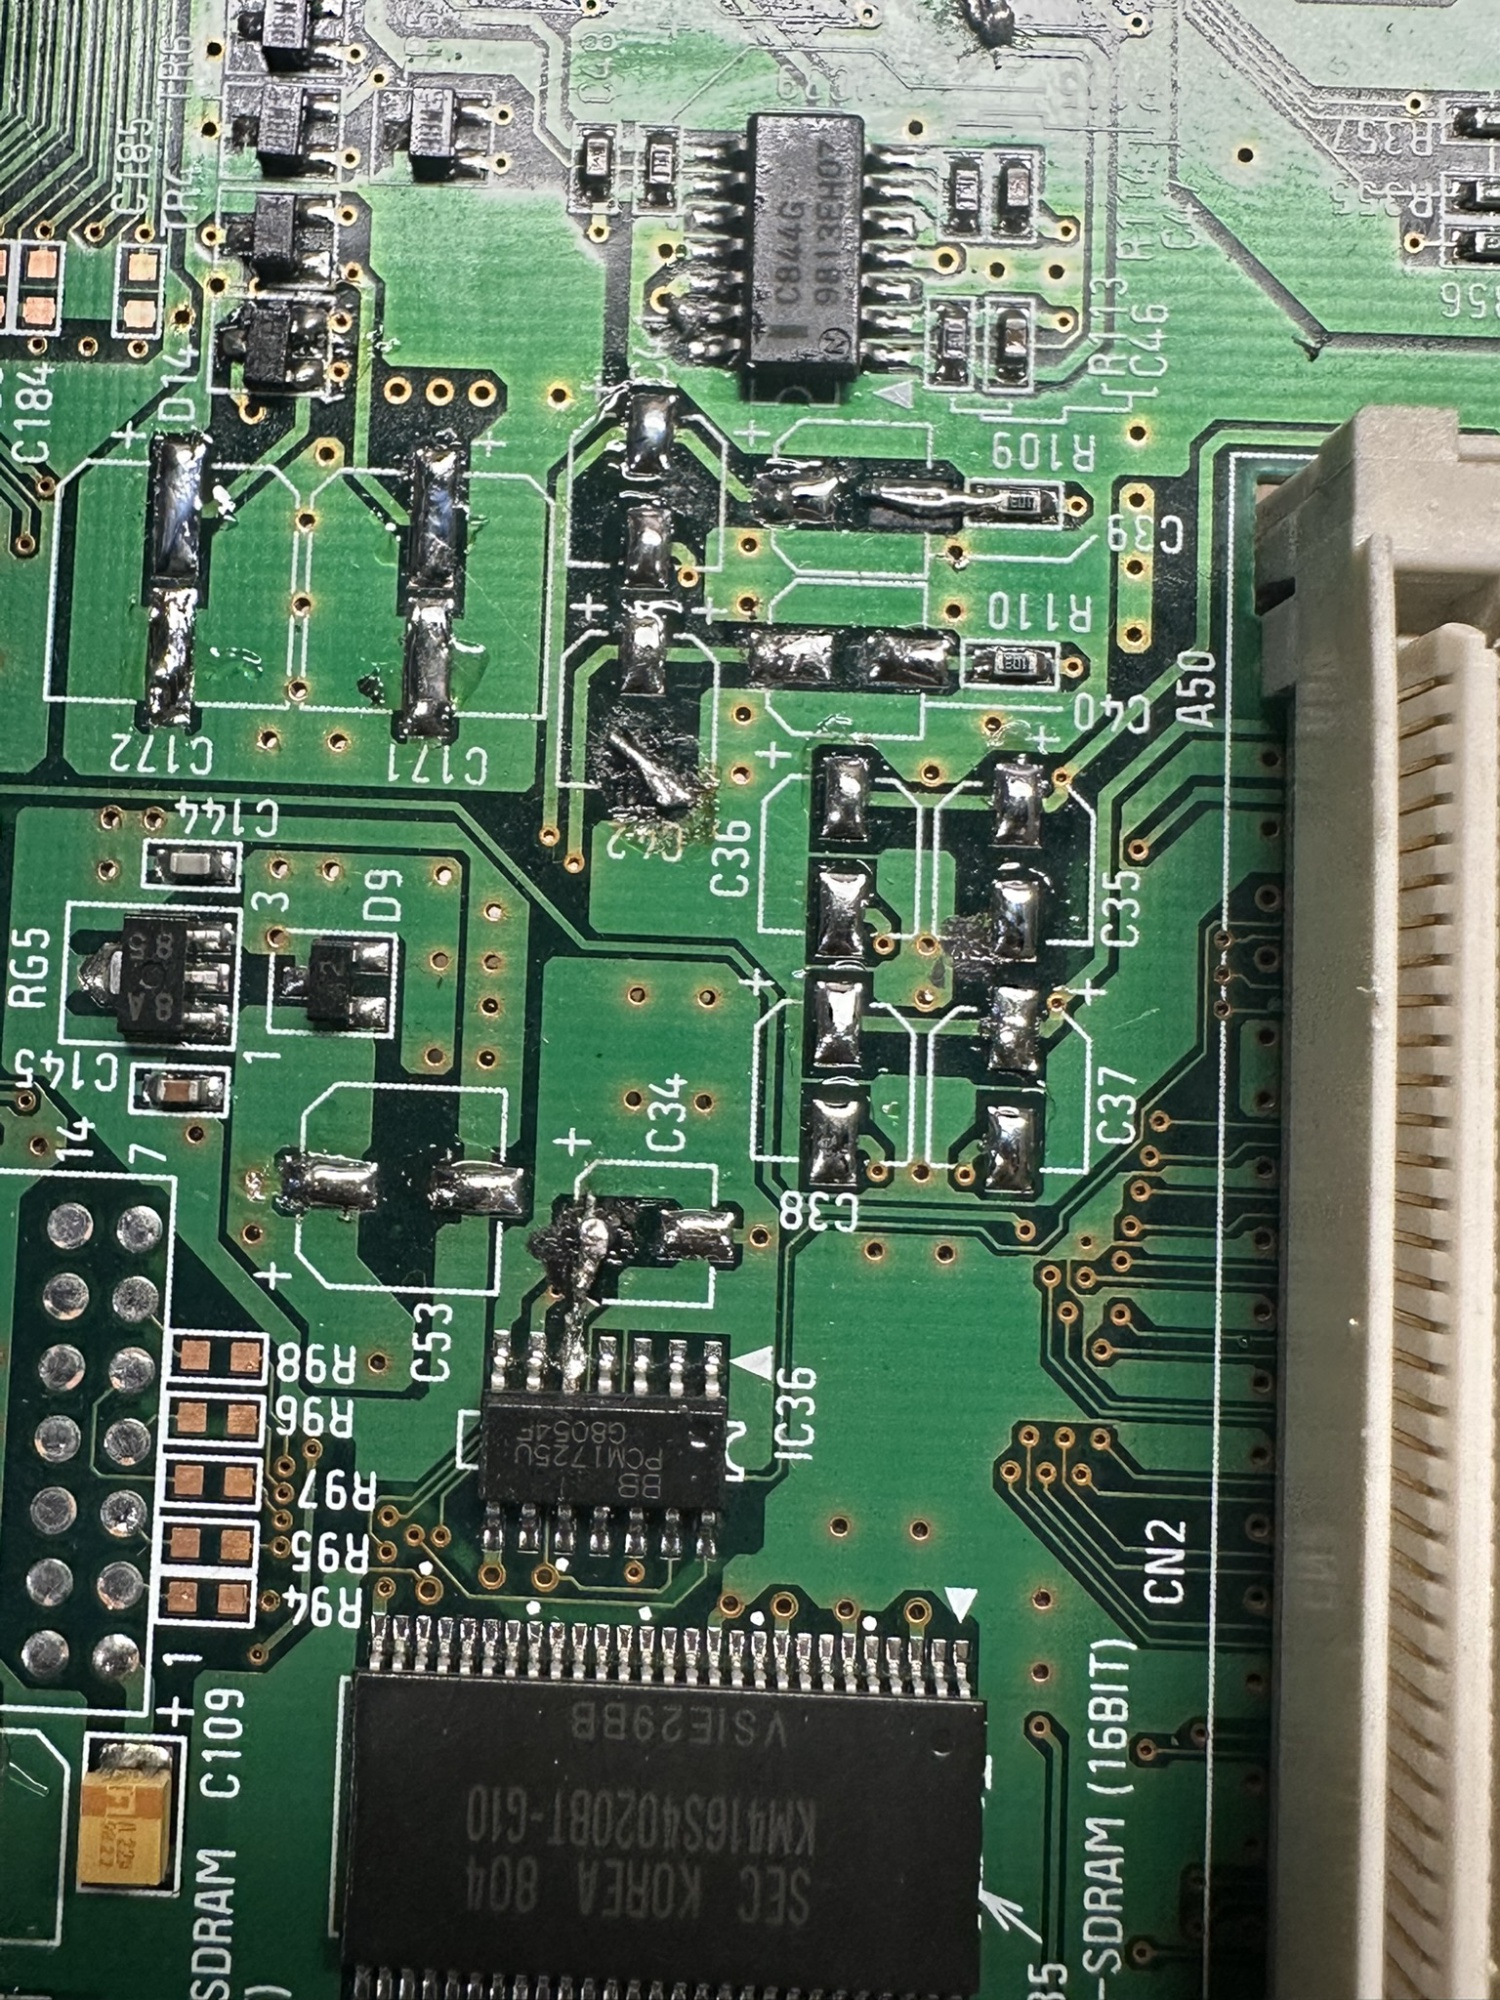
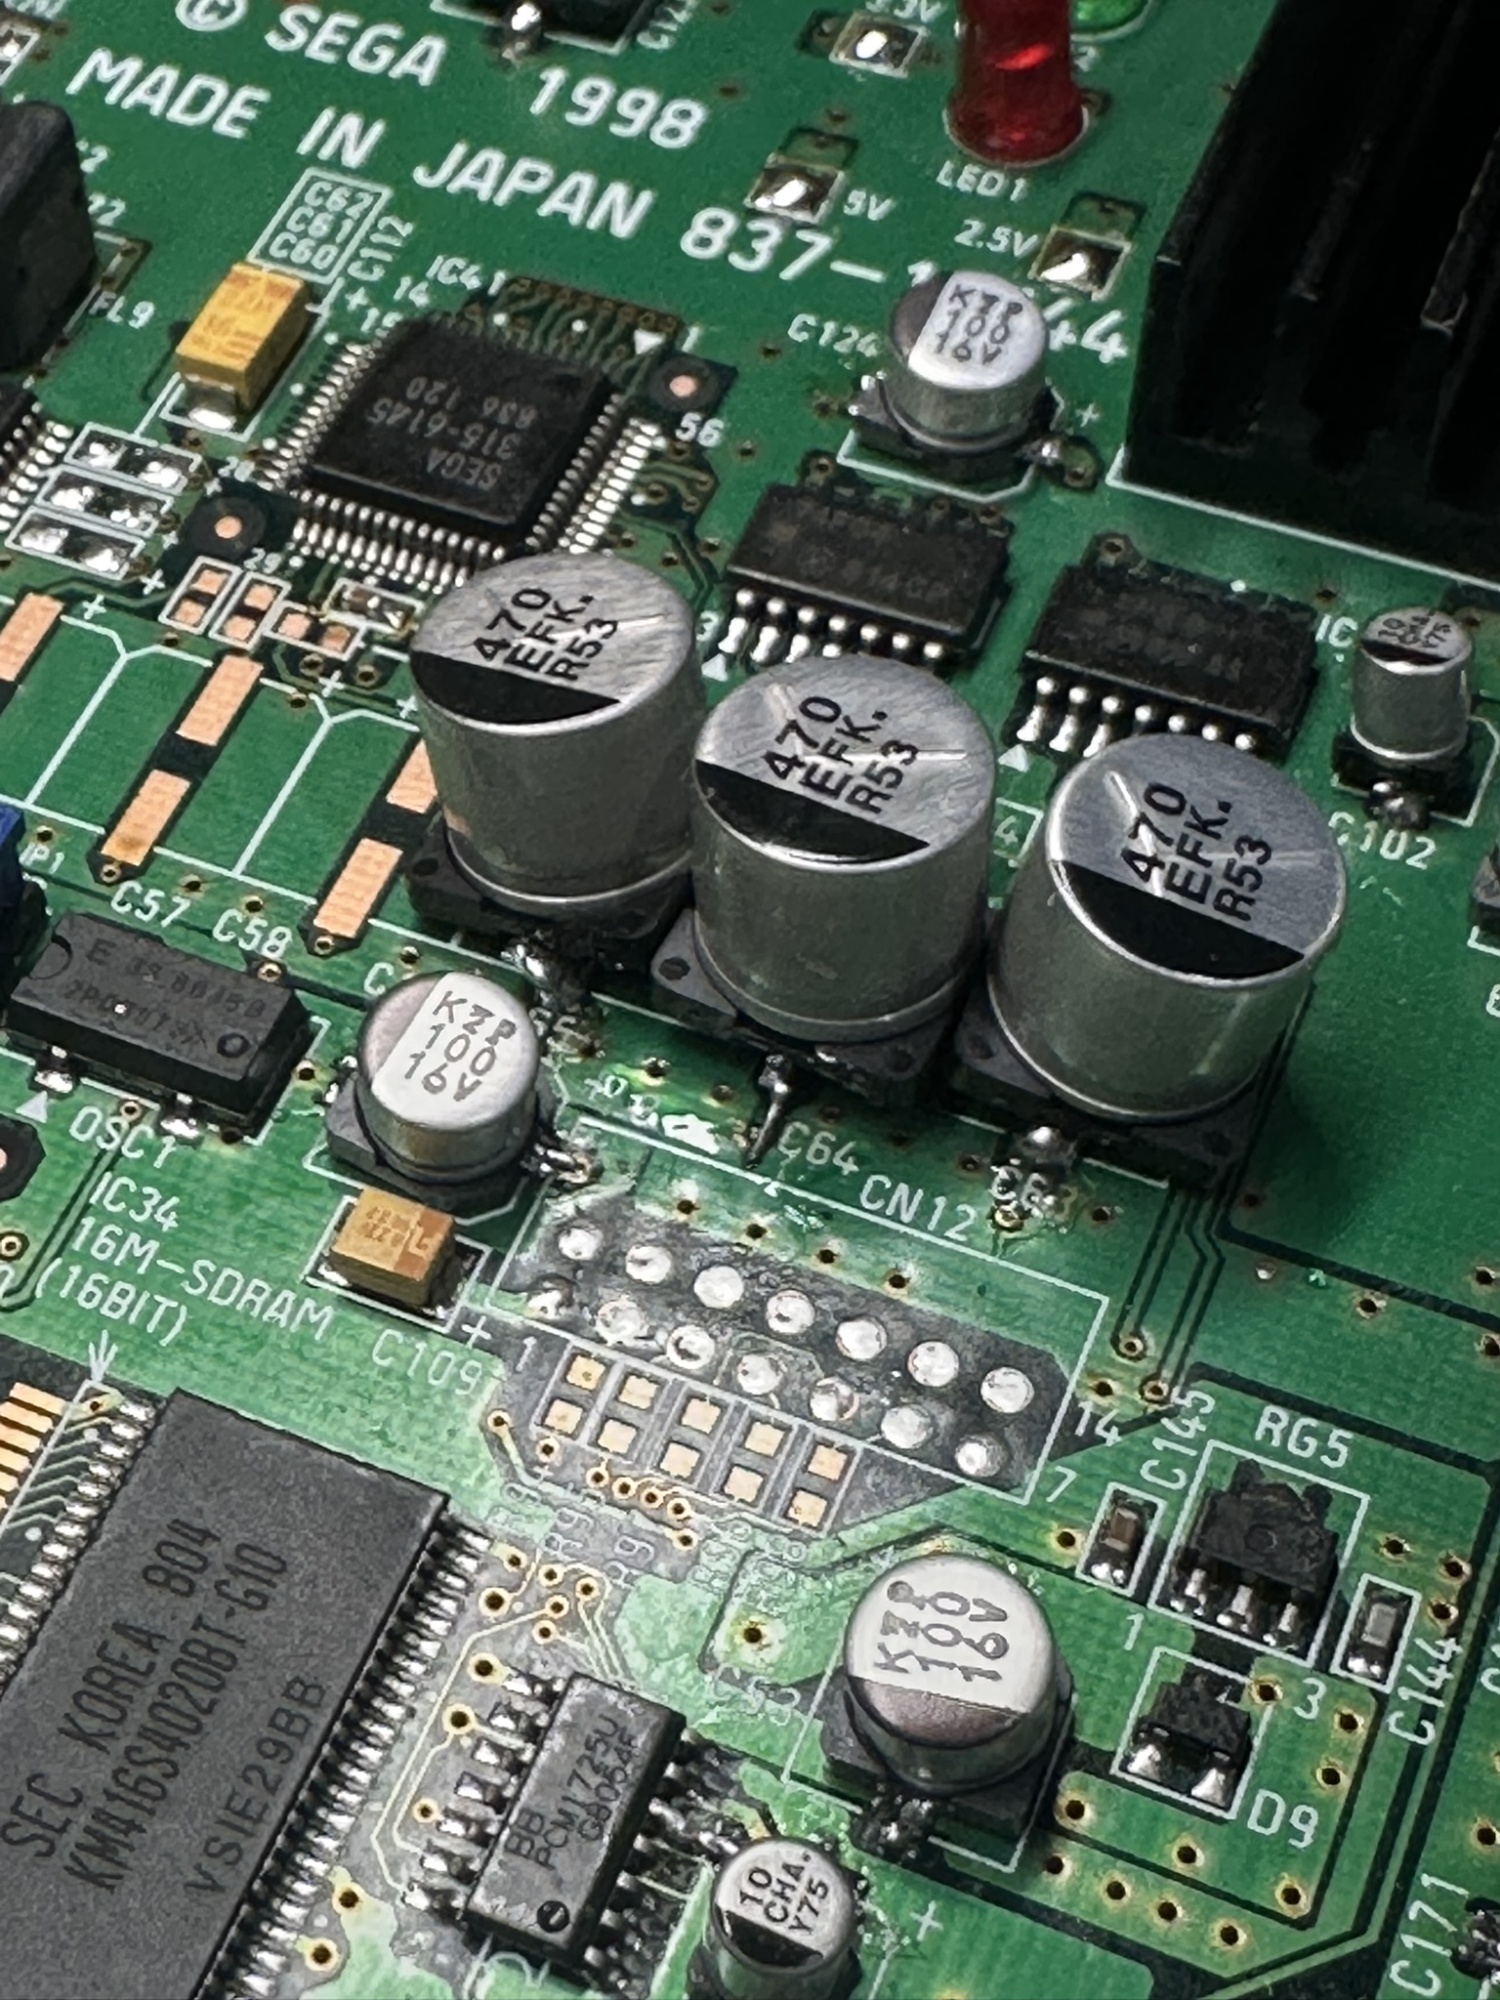
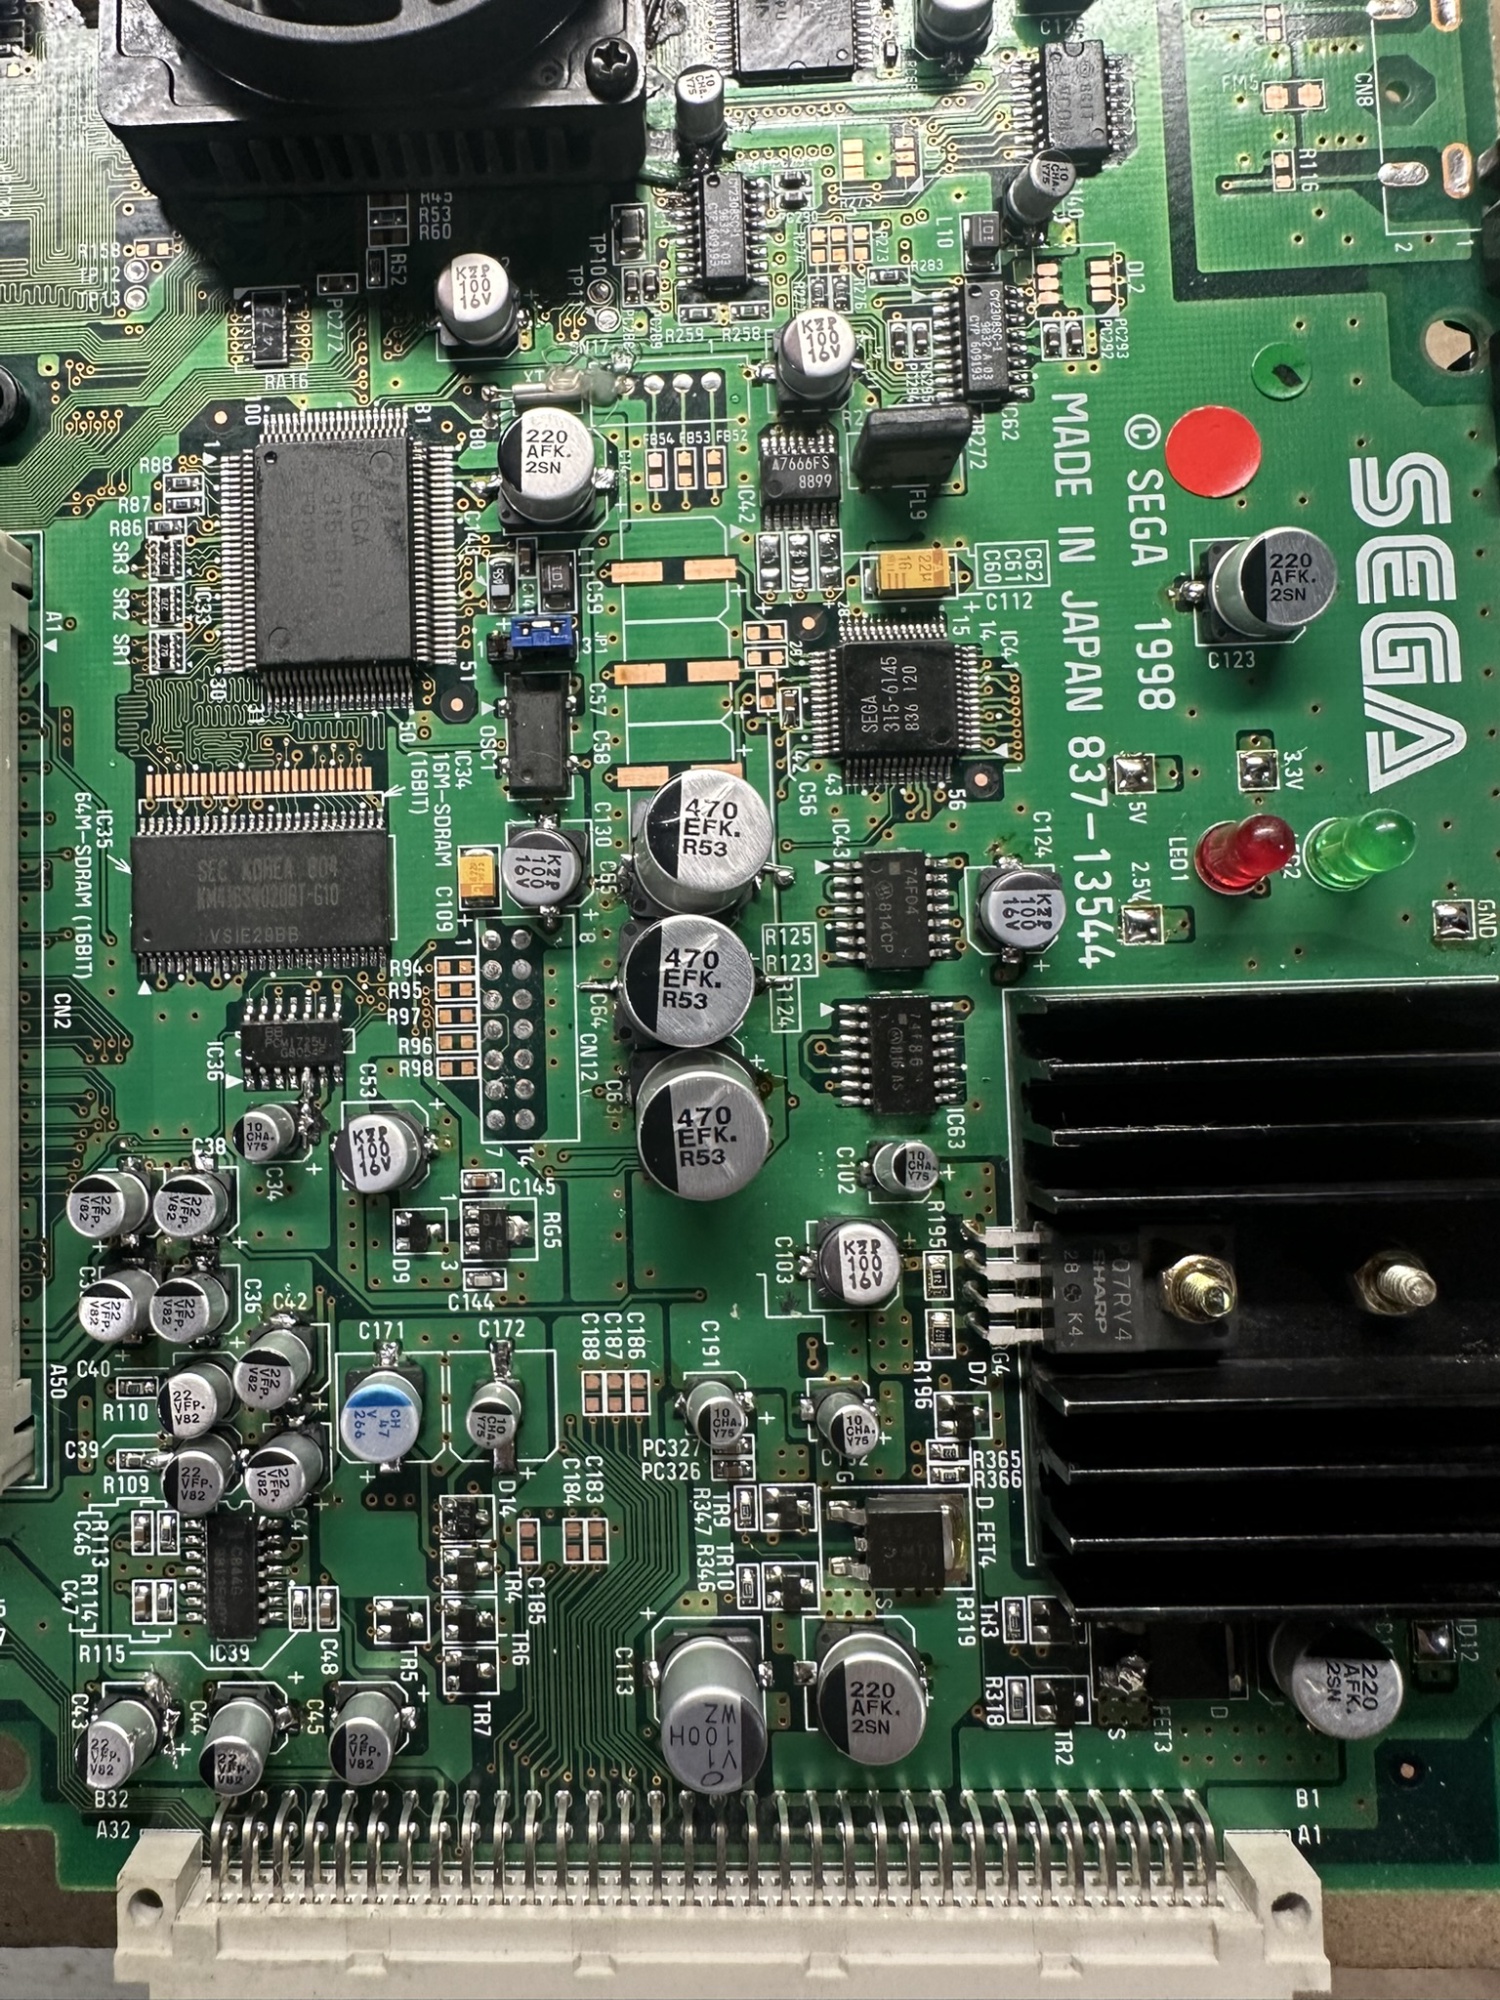
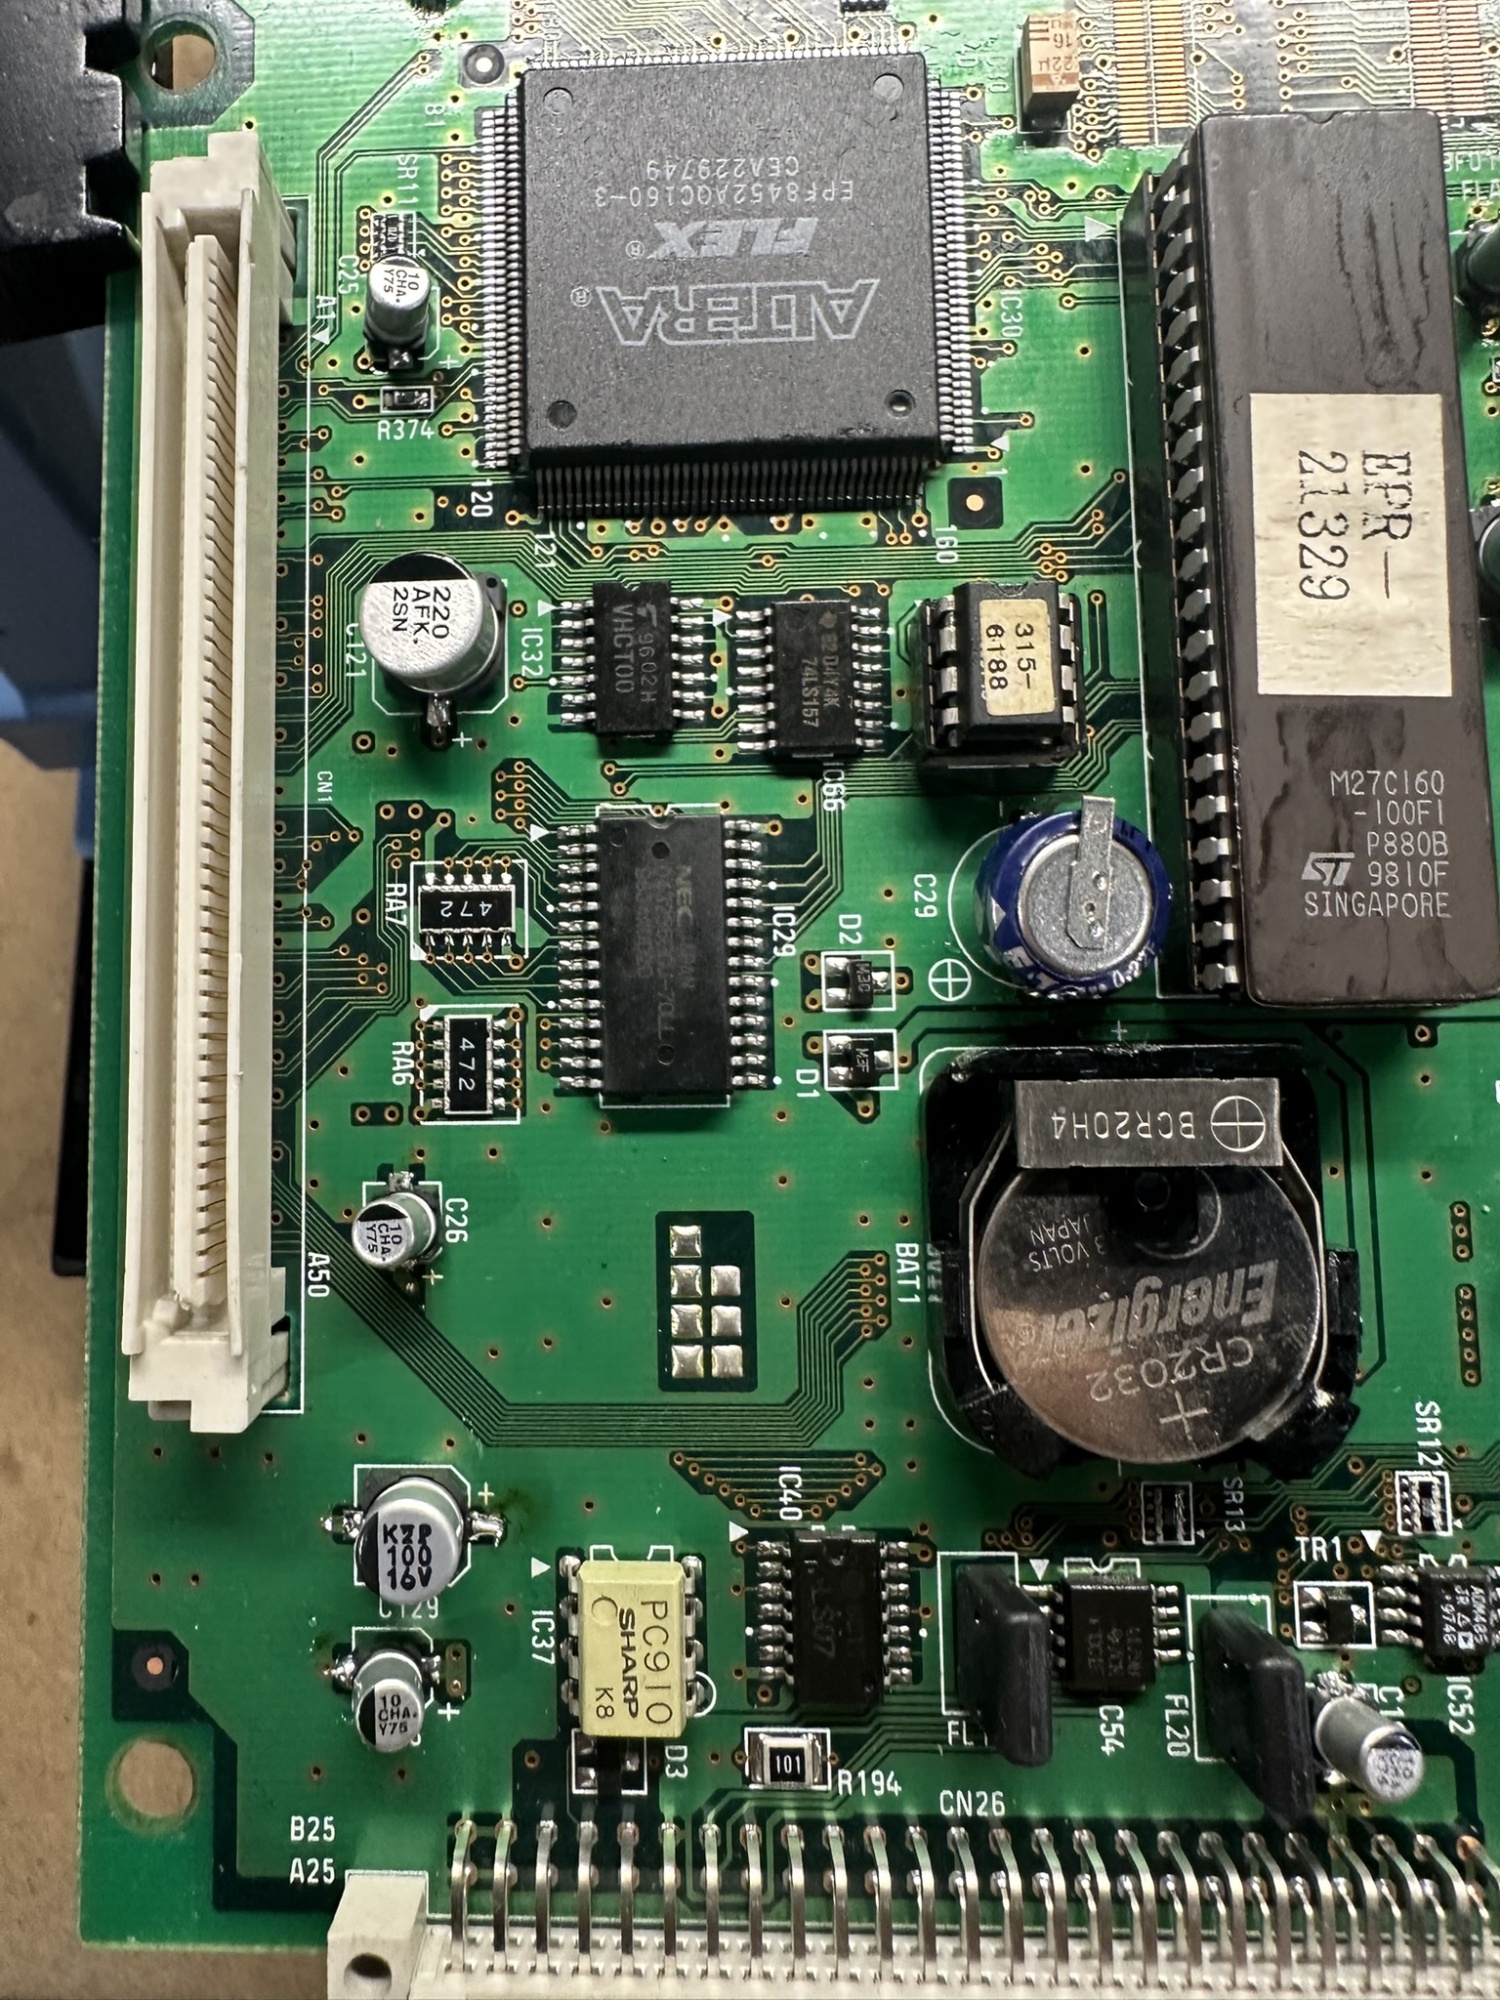
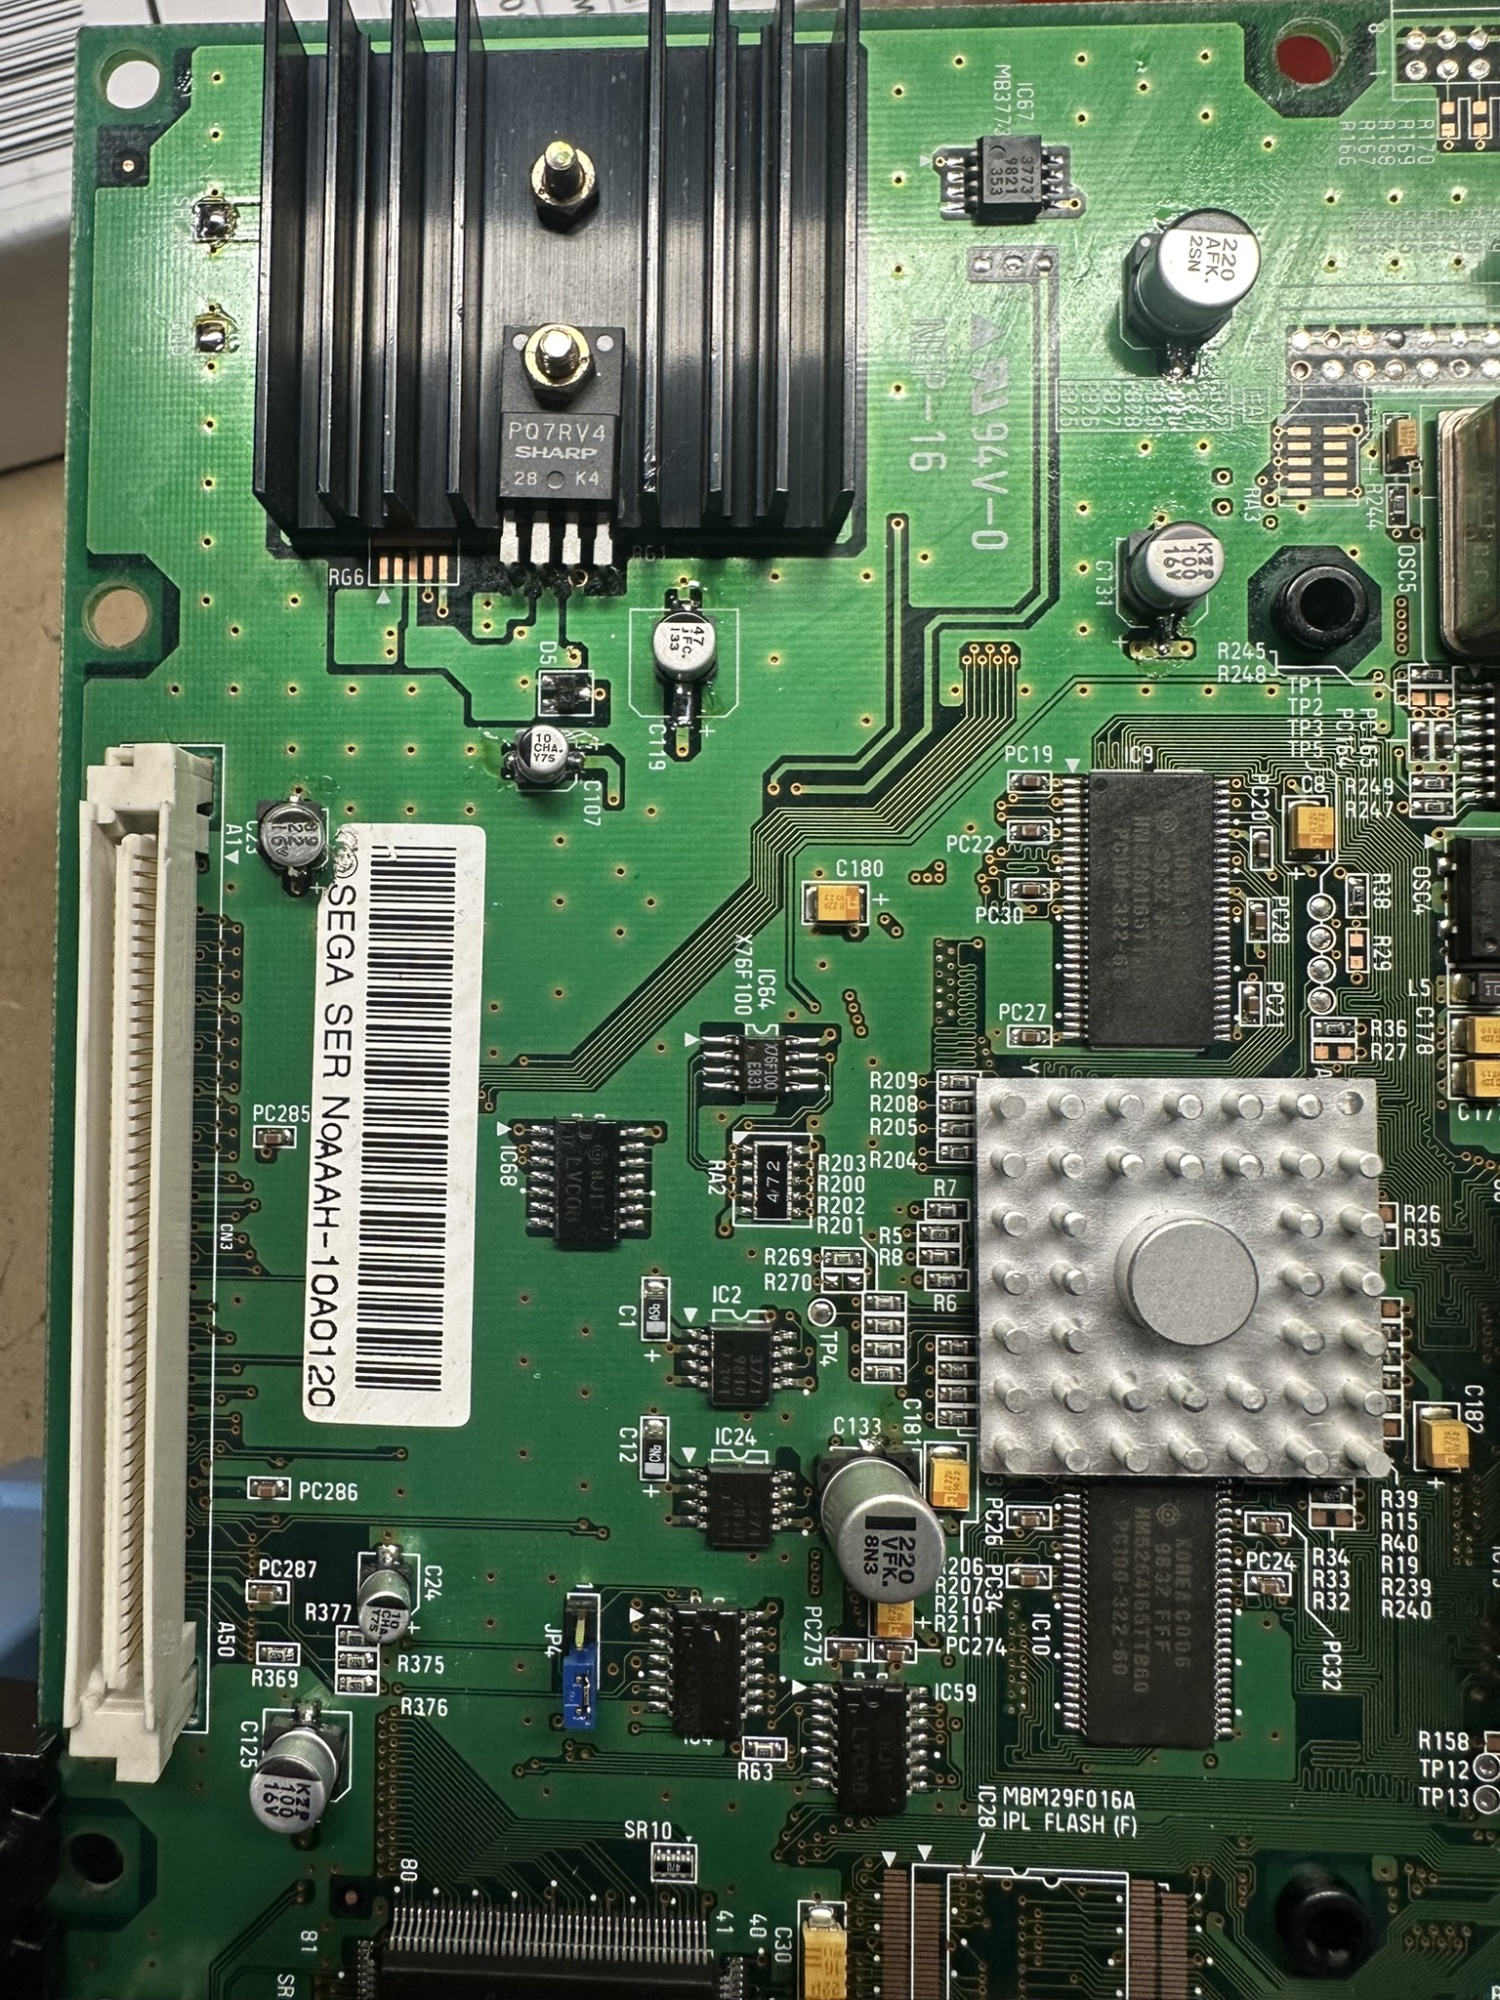
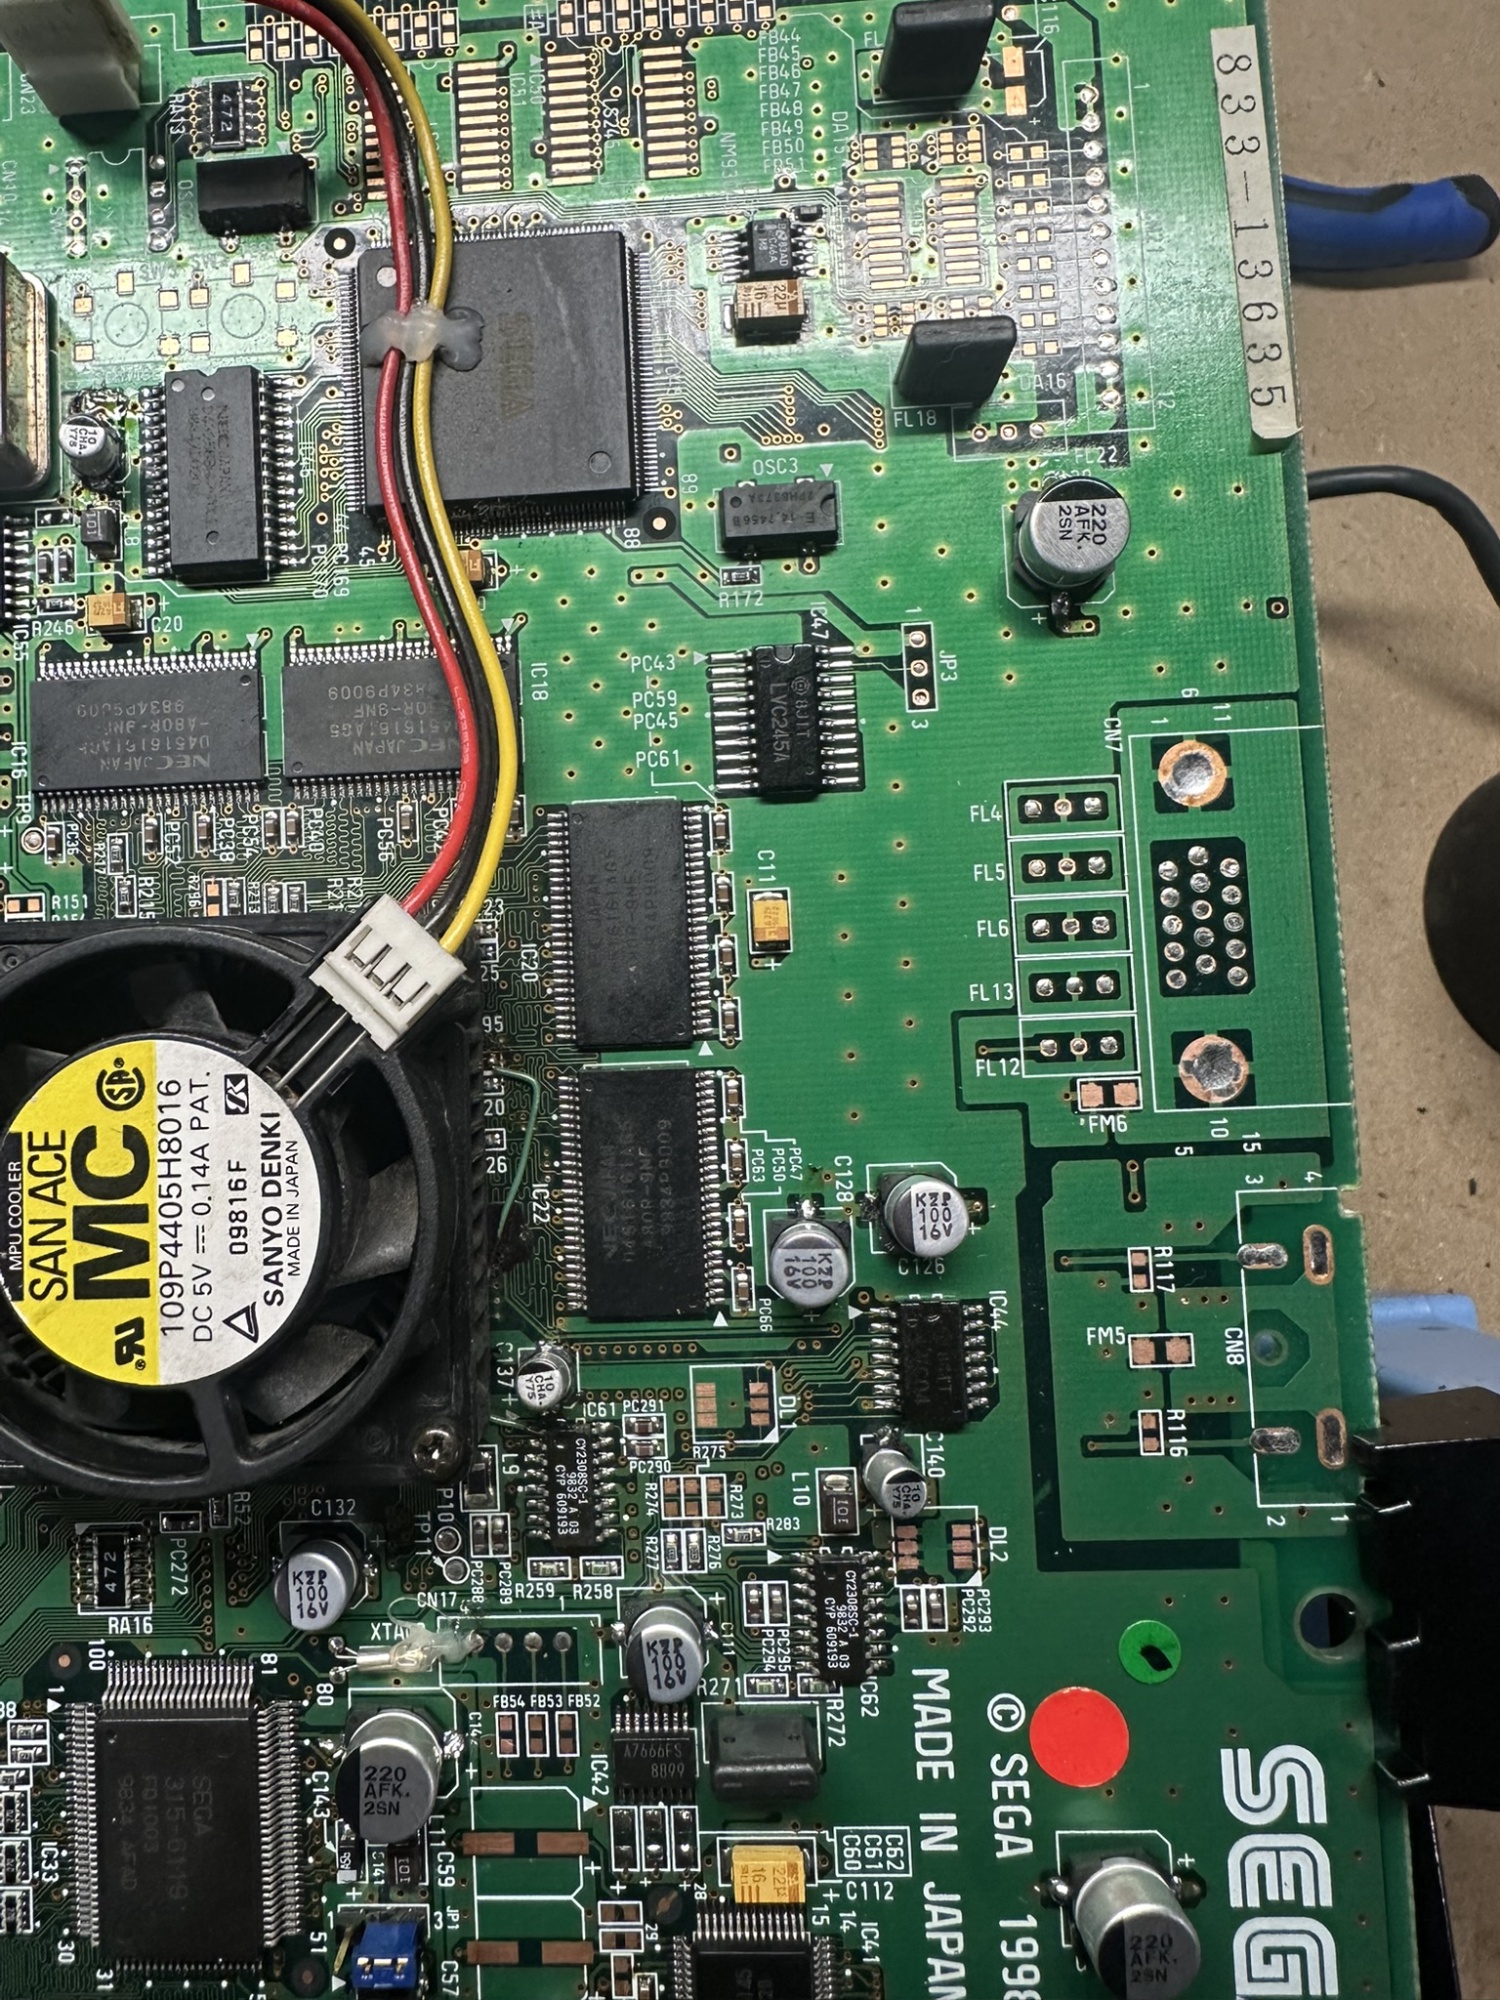
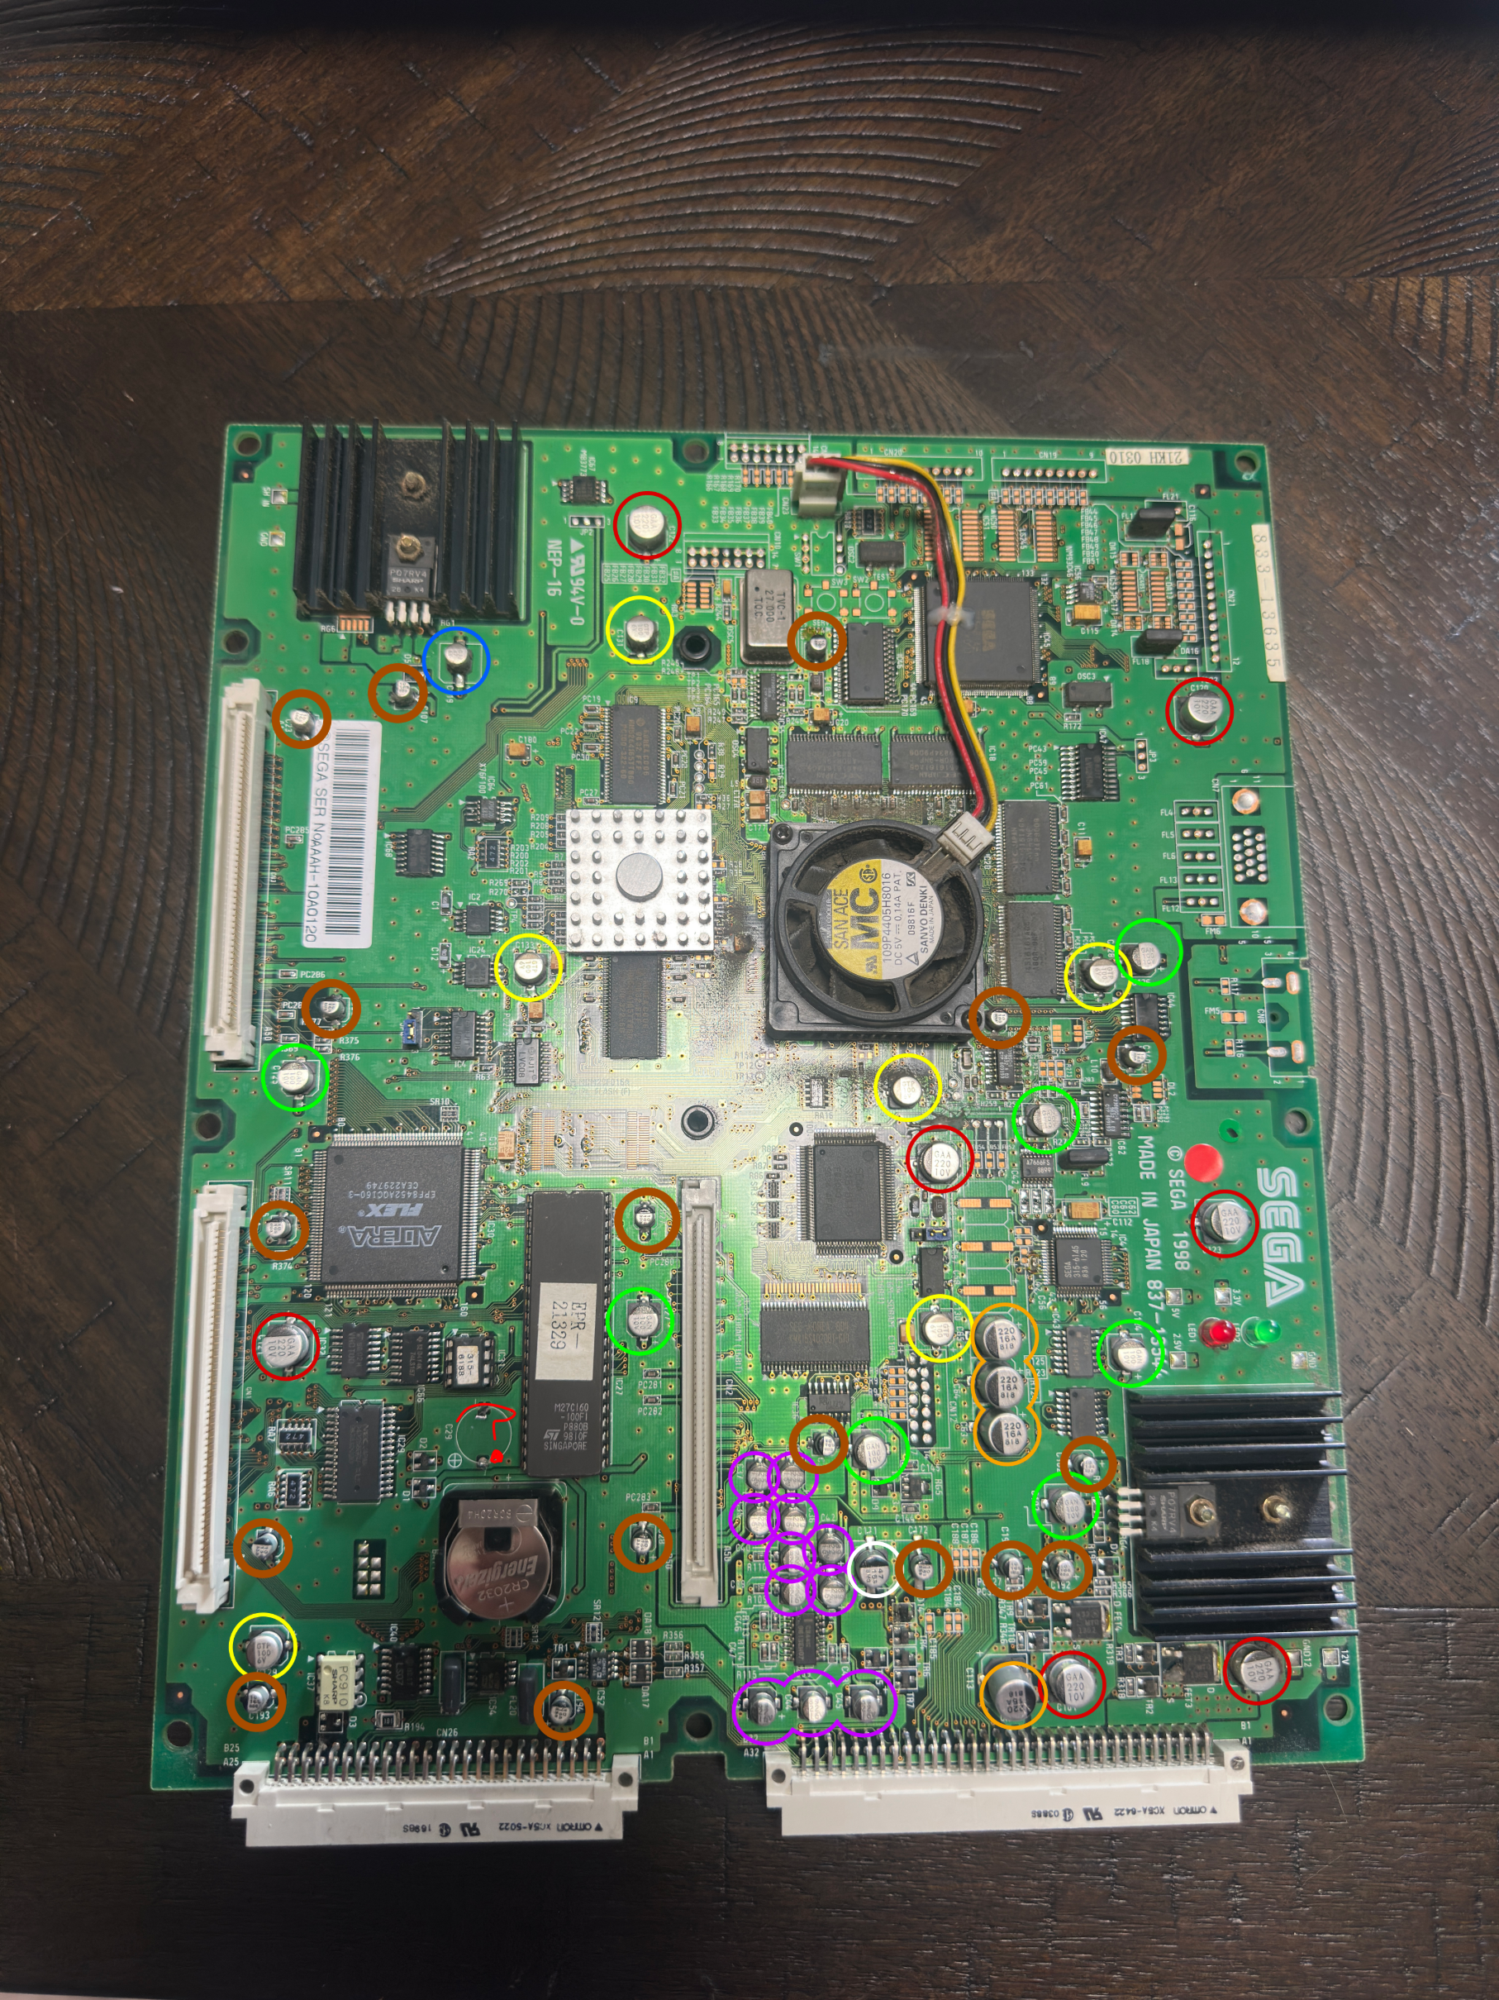
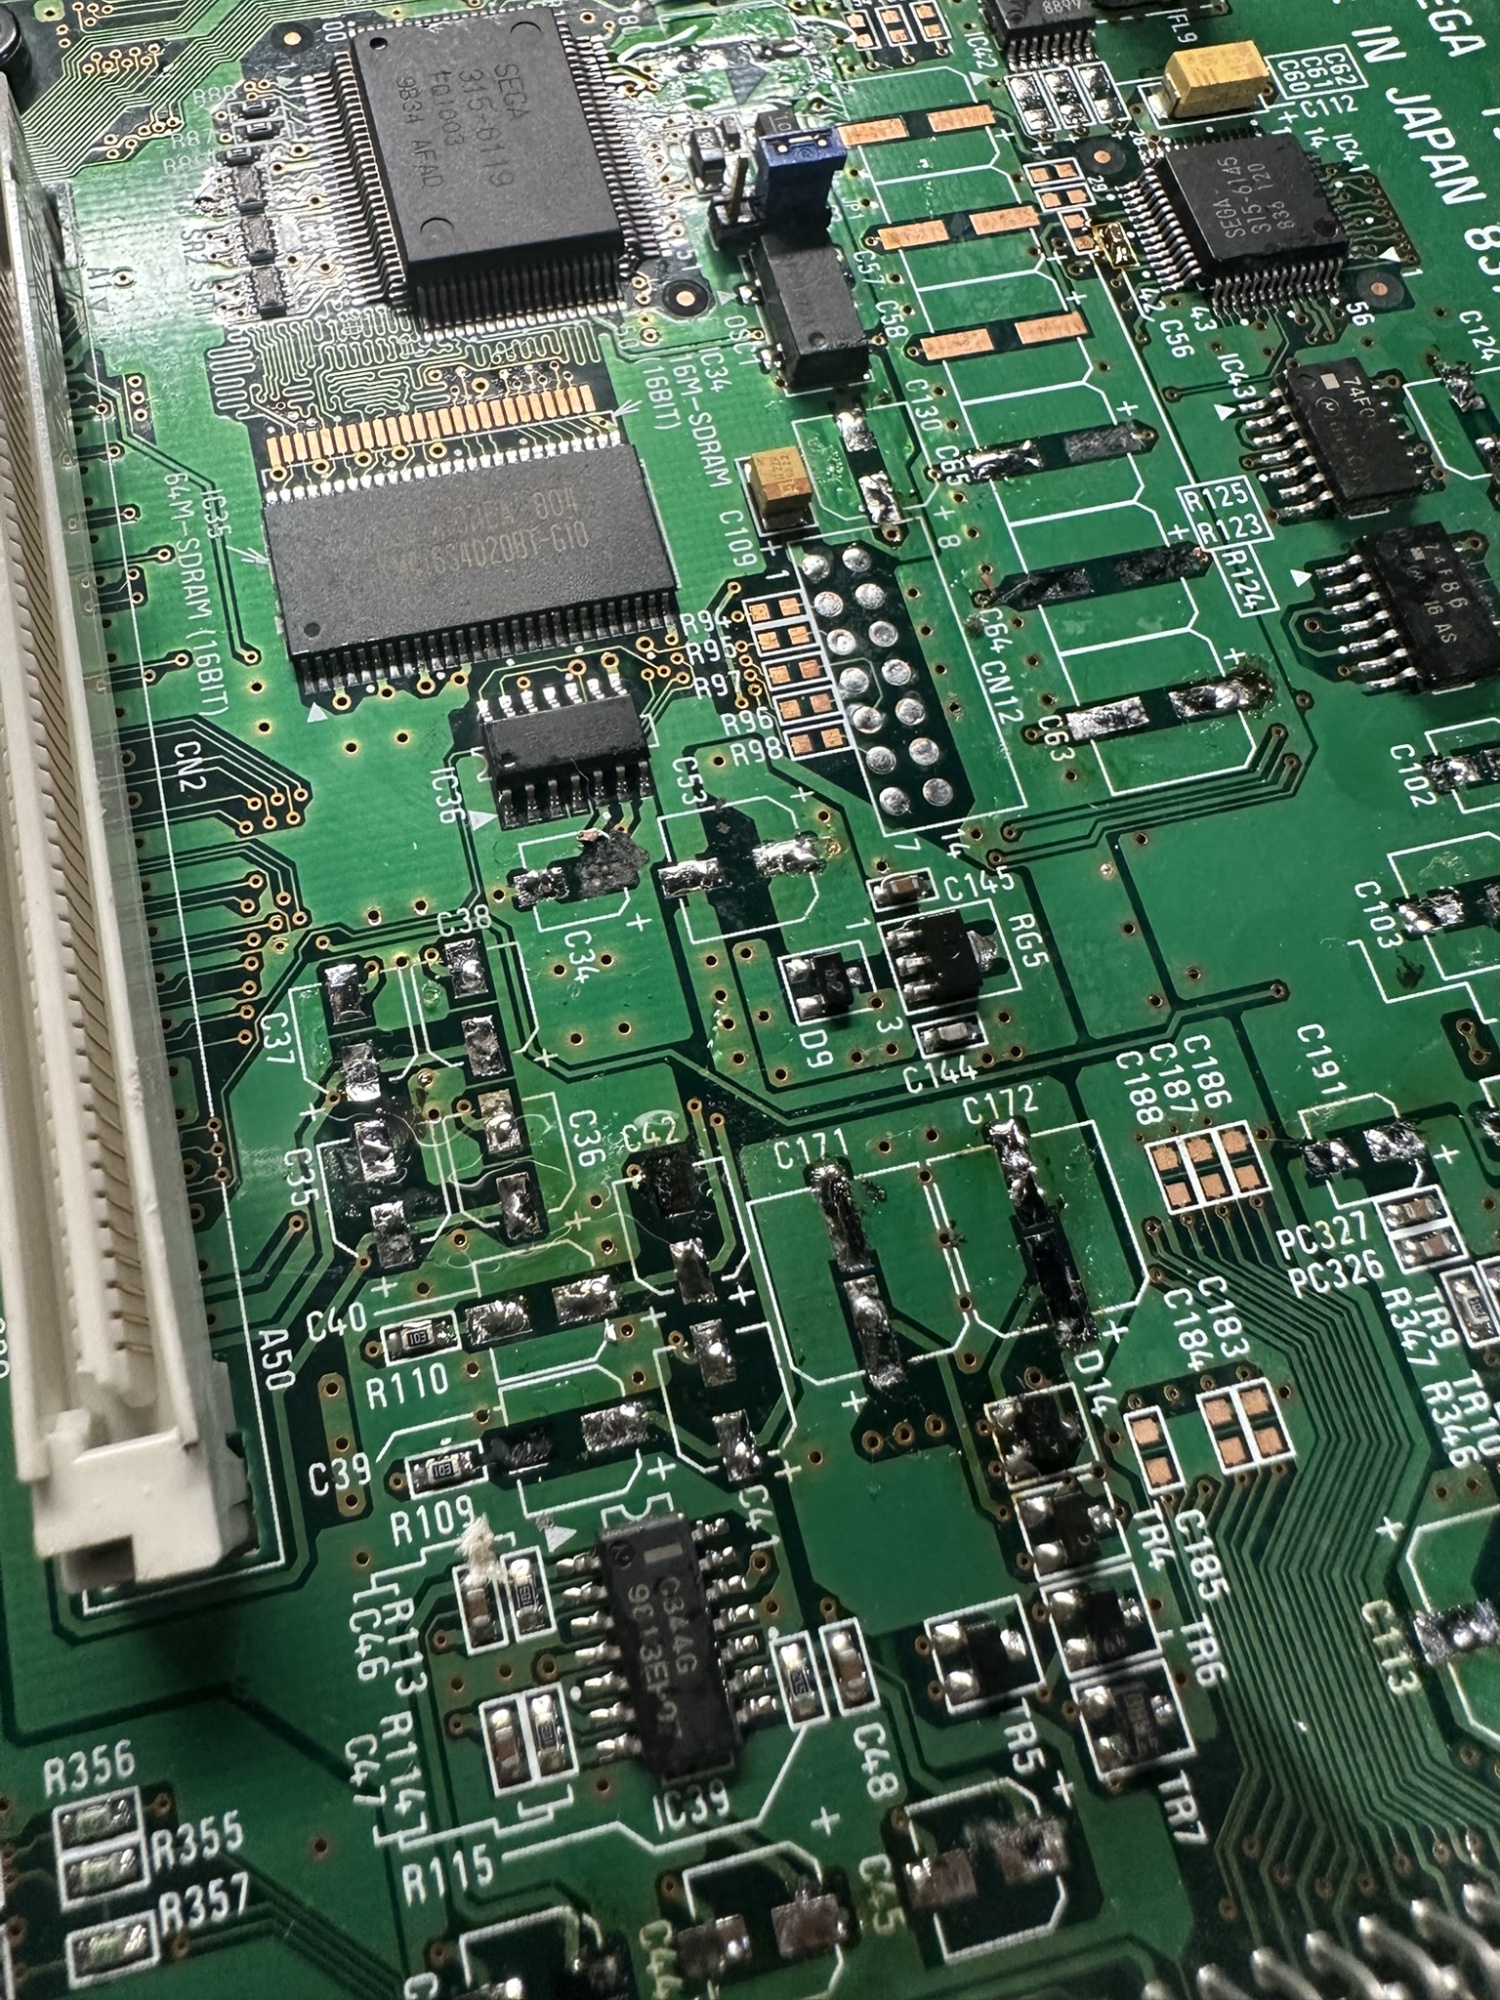
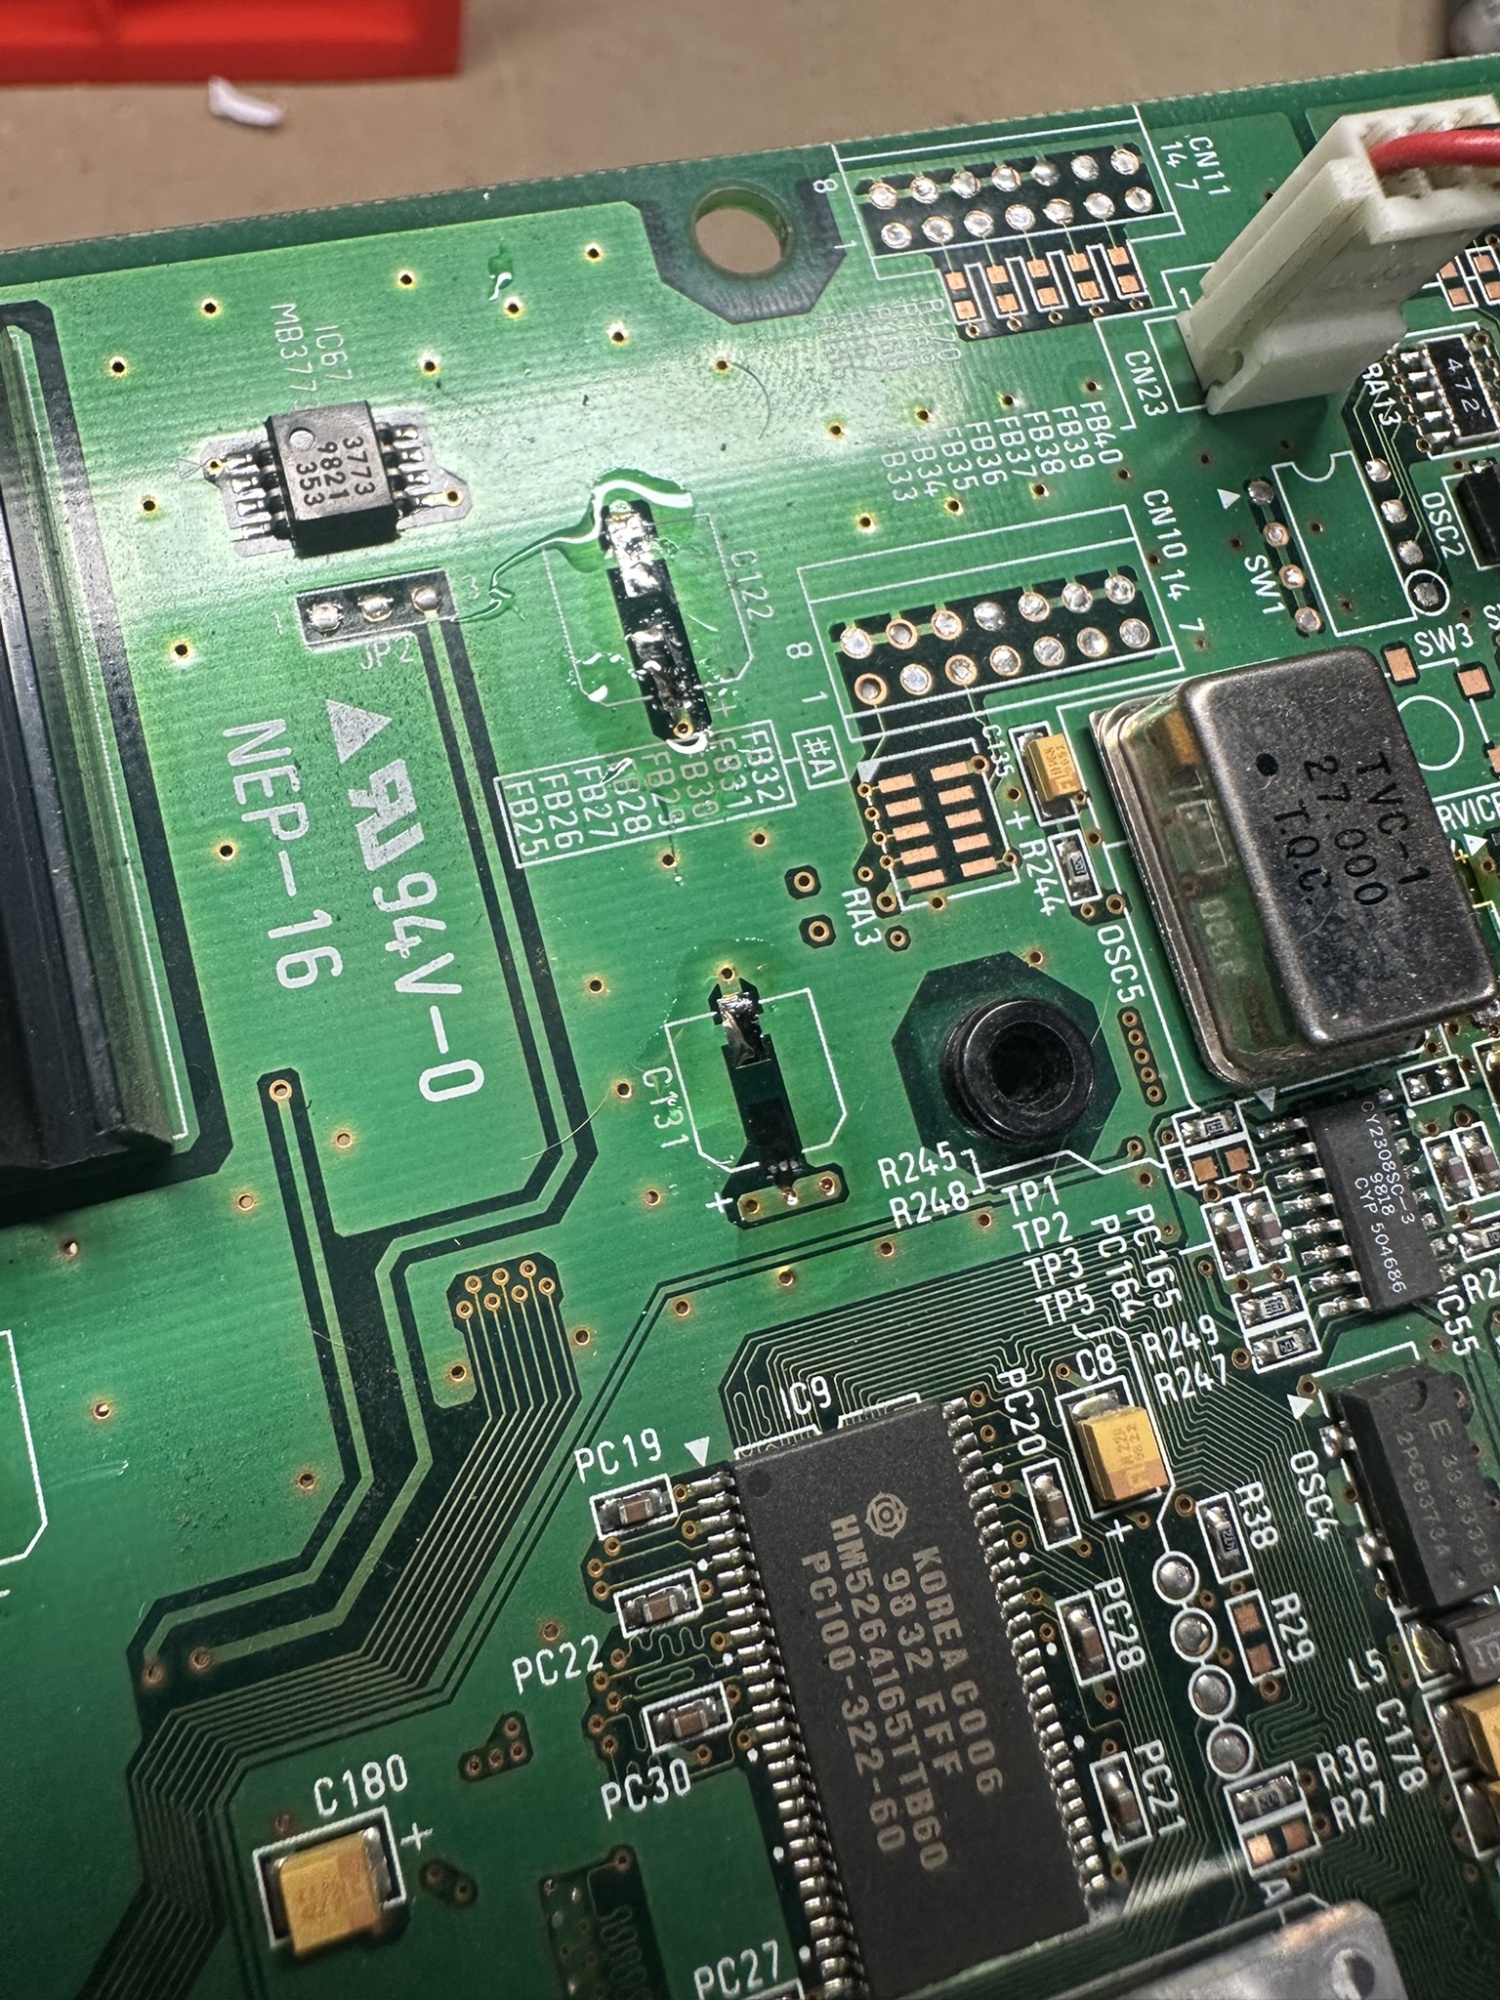
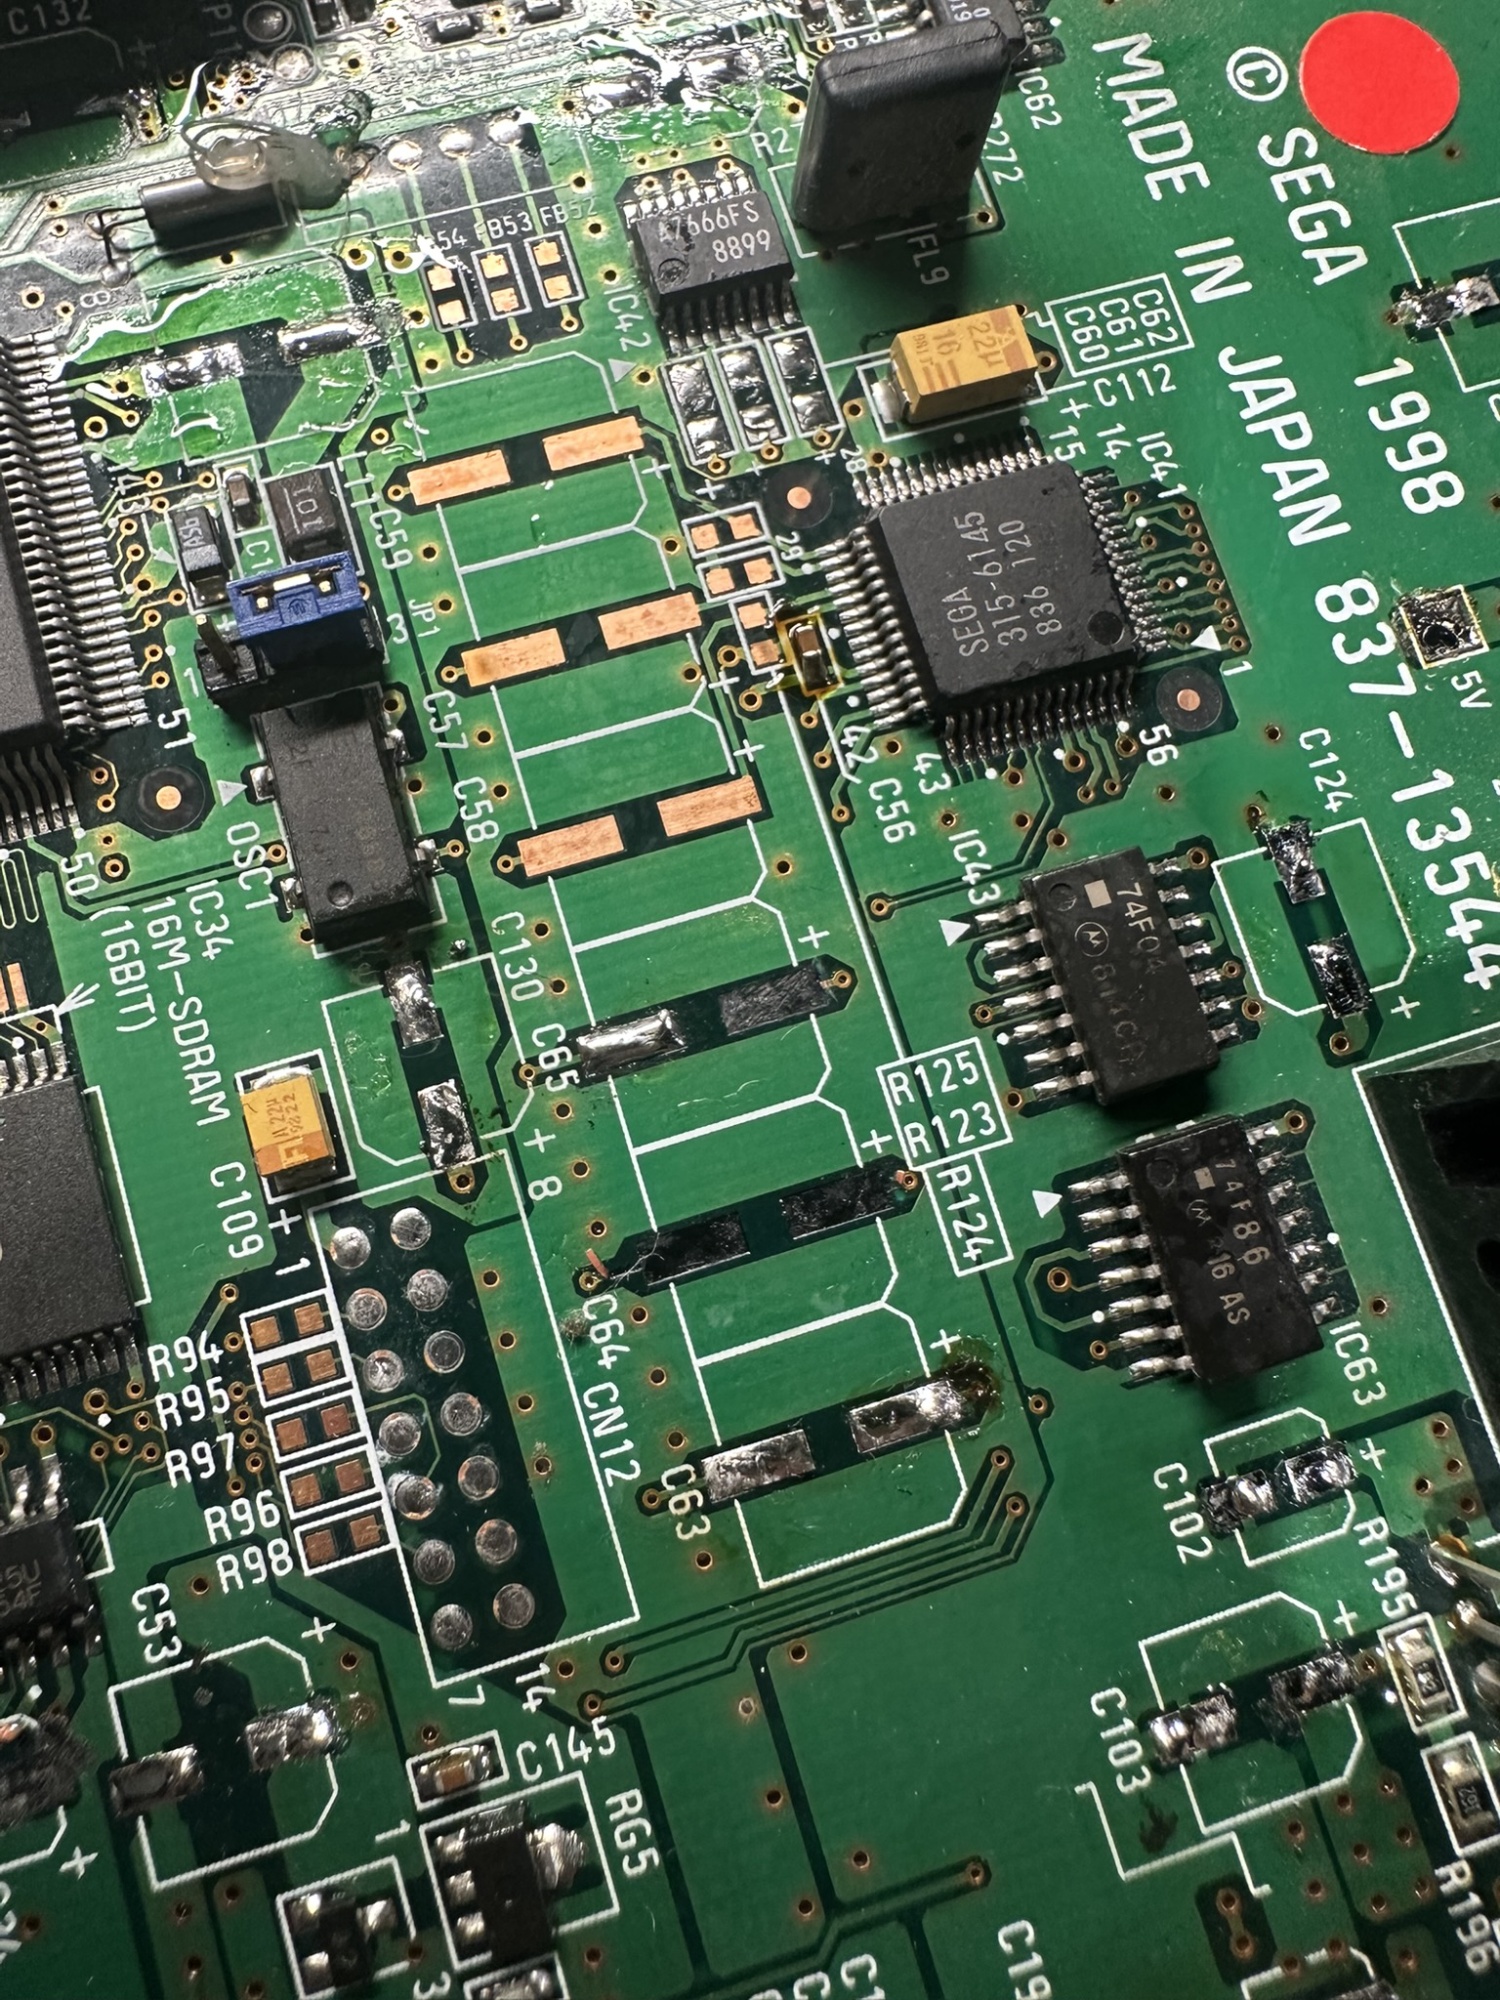
Finishing the recap (and the unexpected trace repair...) which, thankfully, mostly went without a hitch! Resistor legs are your best friend when you need a new pad to solder components to. Some of the caps aren't the best size for fitment, mostly the RGB filter caps at the bottom right, but I've since let Luke of console5 know about it and he plans to find a better fitting cap for future kits (thanks Luke for all the troubleshooting and verification help when sorting these out!). Now to see if we get a boot or if I casued more issues for myself...

0 comments
Stage 1: Rough Beginnings Oct 31, 2026

Very fitting for the first progress post to be here on October 31st. I've started on the repair of the board with replacing all the SMD caps and... man I don't miss replacing these. While most of the caps came off fine, a sizable handful decided to take their pads with them on the way out. It's not the end of the world but definitely turned an already testy job into something more. On top of this, I have no guarentee that this will actually solve the boot issue I was having so were still going in blind even after this job. We'll see where this takes us.


James: Remember, there's no such thing as a second chance.


0 comments

« all projects